

When going to an island that is famous for its insane natural highlights, it can be rather overwhelming to determine which exact hikes you should include in your Madeira itinerary.
Nevertheless, I’m of the firm belief that the PR1 hike from Pico do Arieiro to Pico Ruivo should be included at all times.
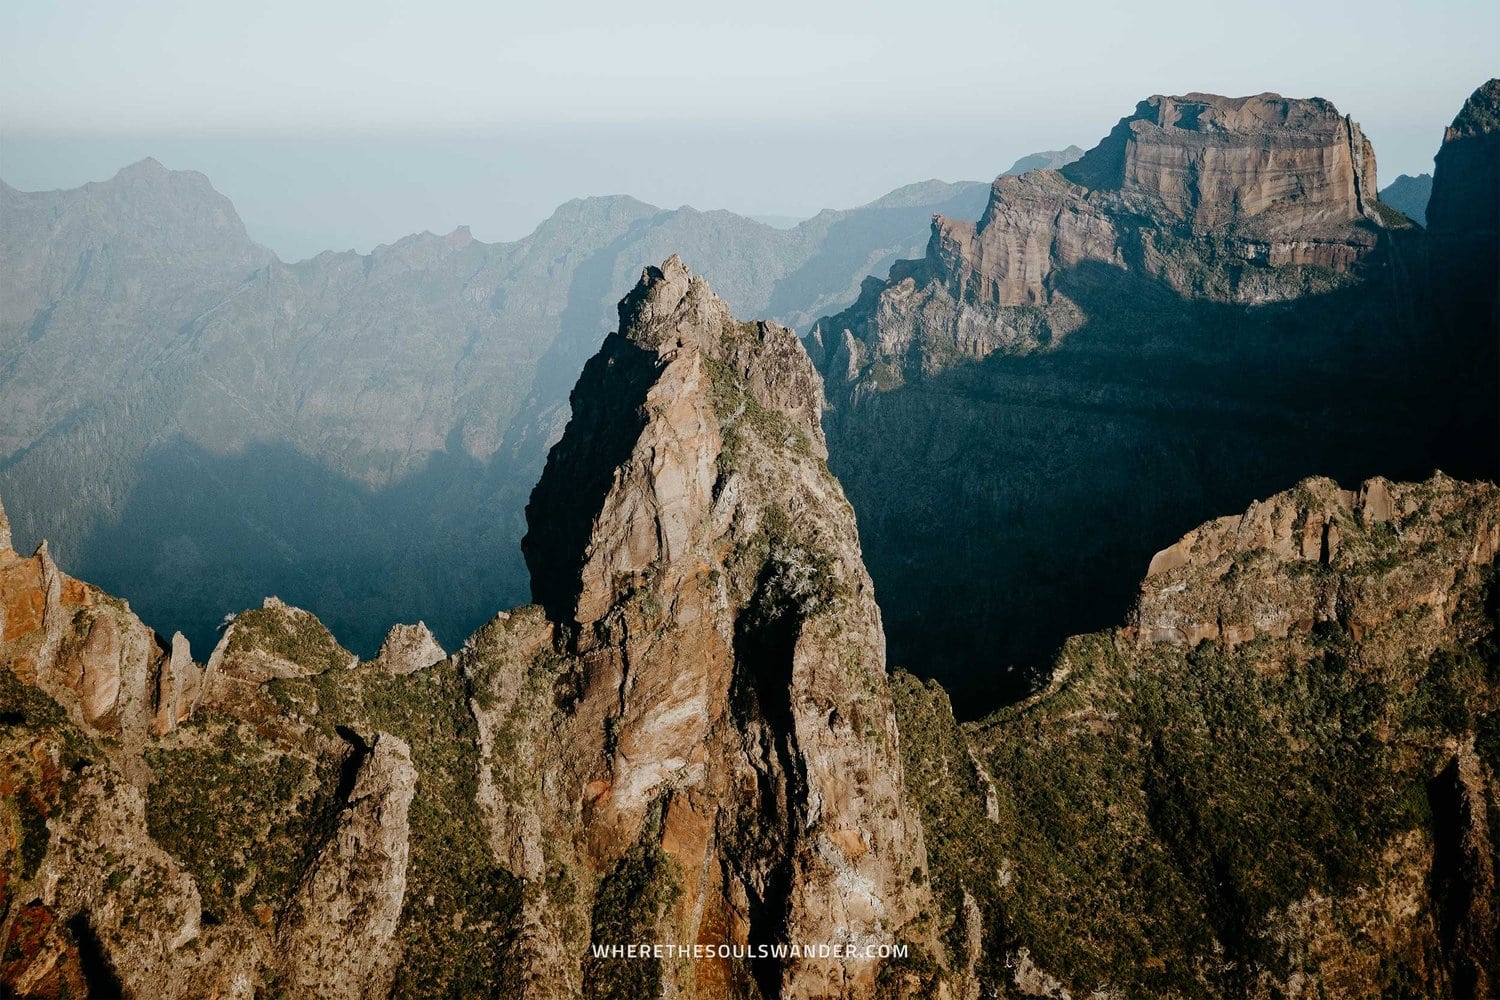
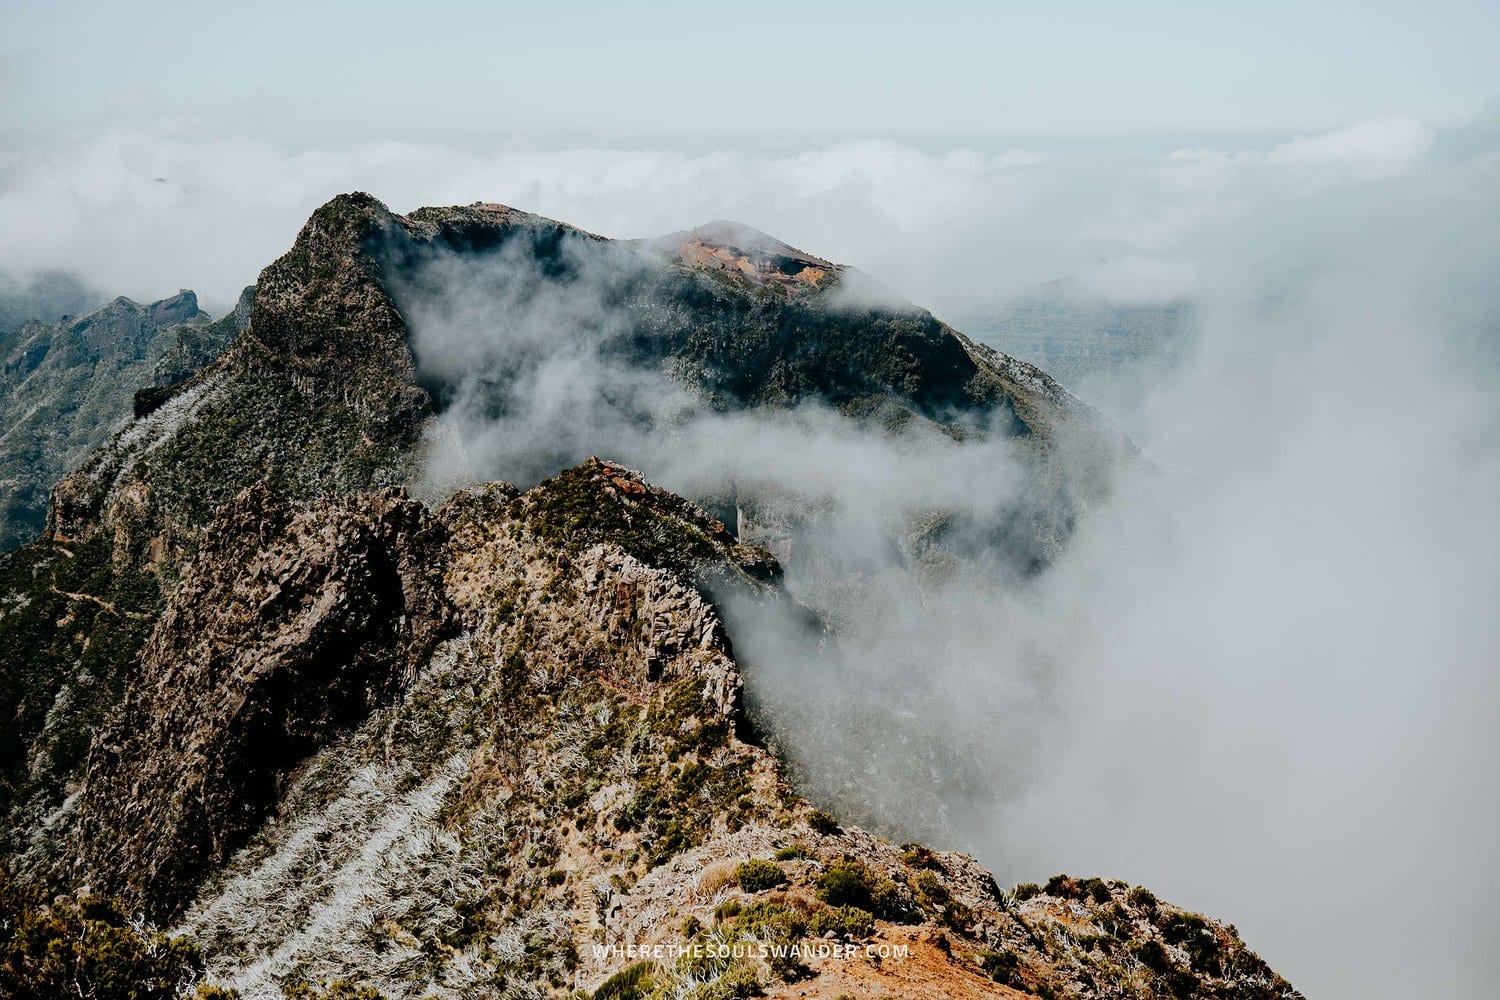
Running straight through the heart of Madeira’s Central Mountain Massif, the Vereda do Arieiro hike connects two of Madeira’s highest peaks; Pico do Arieiro and Pico Ruivo.
The hike itself – which is known as the PR1 hike too – has blown up in popularity over the last few years and has accordingly become the number one tourist attraction on Madeira.
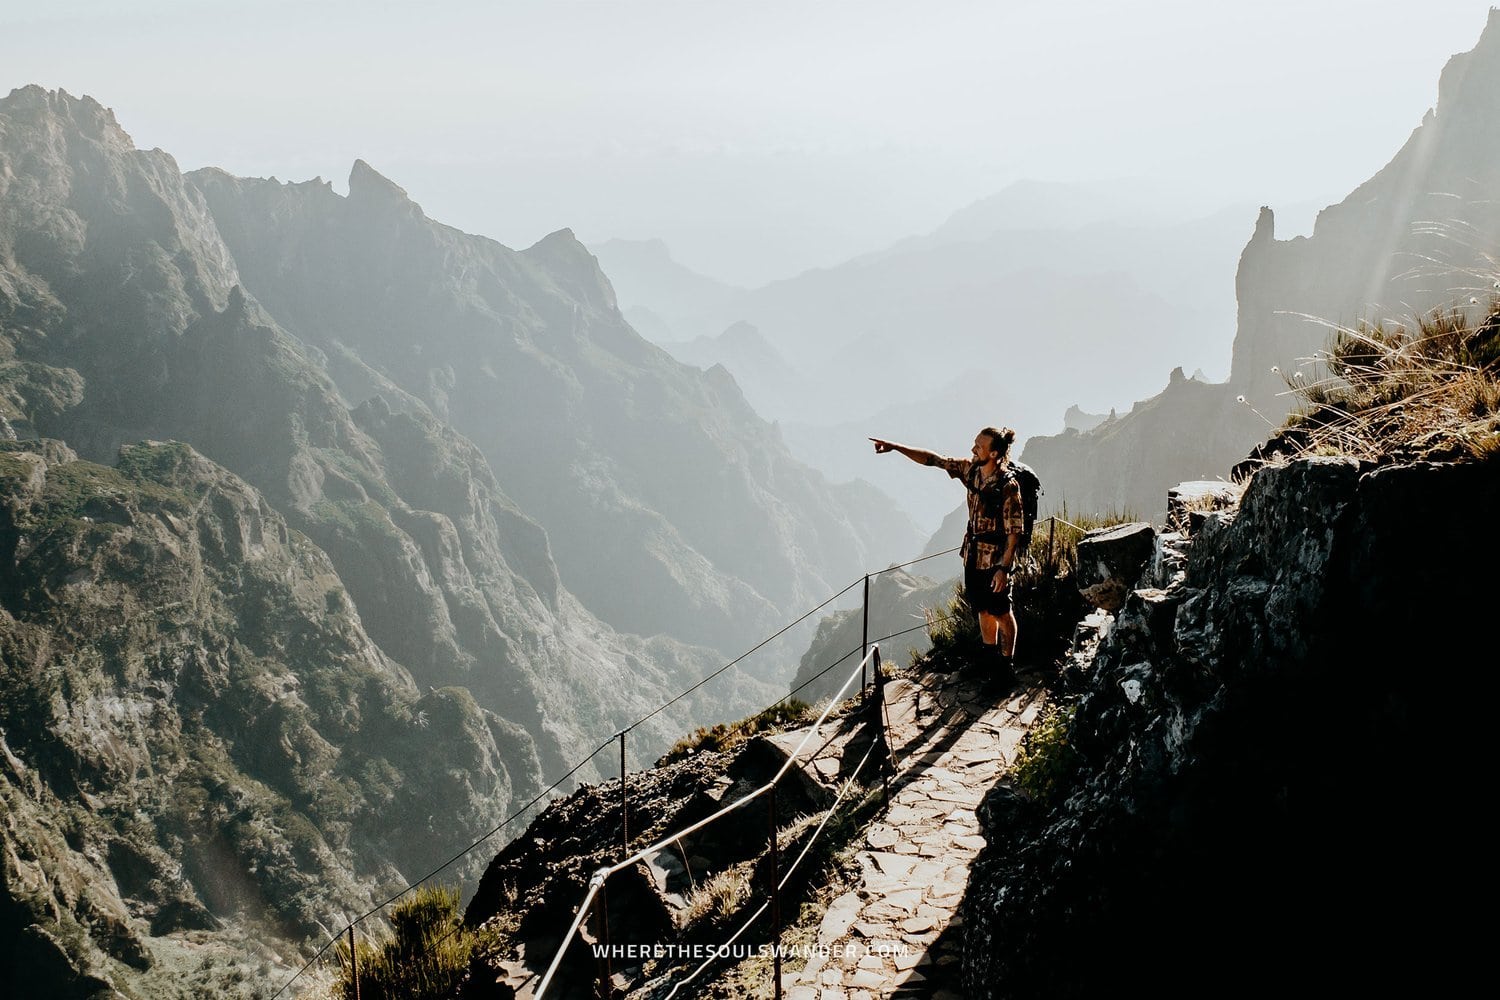
Home to arguably some of the most iconic views of Madeira, this hike is simply up there with the very best of ‘em, making it one of my absolute favourite hikes, ever!
But it isn’t only one of the most picturesque hikes on Madeira, no, it’s also one of the toughest, with an overall inclination of approximately 1,000 metres.
To help you have a comfortable hike, I’ve put together this in-depth guide on the PR1 hike from Pico do Arieiro to Pico Ruivo, including all the essentials and plenty of my best hiking tips too.
If you choose to use any of the links on this page, I may receive a small commission at no extra cost to you. By using these links, you’ll have a direct impact on WTSW and my ability to continue to create free insightful travel content for you. If you find any of my tips useful, you can support me by buying a virtual coffee here.
A complete guide to the PR1 hike from Pico do Arieiro to Pico Ruivo
Where is the PR1 hike from Pico do Arieiro to Pico Ruivo
Vereda do Arieiro connects two of Madeira’s highest peaks; Pico do Arieiro (1,818m) and Pico Ruivo (1,862m), and is situated in the heart of the Central Mountain Massif, at roughly an hour’s drive from Funchal.
Integrated within the Natura 2000 Network, this area is famous for its fascinating hiking trails, with the incredibly popular PR1 Vereda do Arieiro hike as its undisputed highlight.
Pico do Arieiro to Pico Ruivo hike details
Pico do Arieiro to Pico Ruivo hike details
HIKE DIFFICULTY
MODERATE – HARD
HIKE DURATION
5 – 7 HOURS
HIKE DISTANCE
12KM ROUND TRIP
ELEVATION GAIN
800 – 1,200 METERS

How to get to the Pico do Arieiro to Pico Ruivo hike
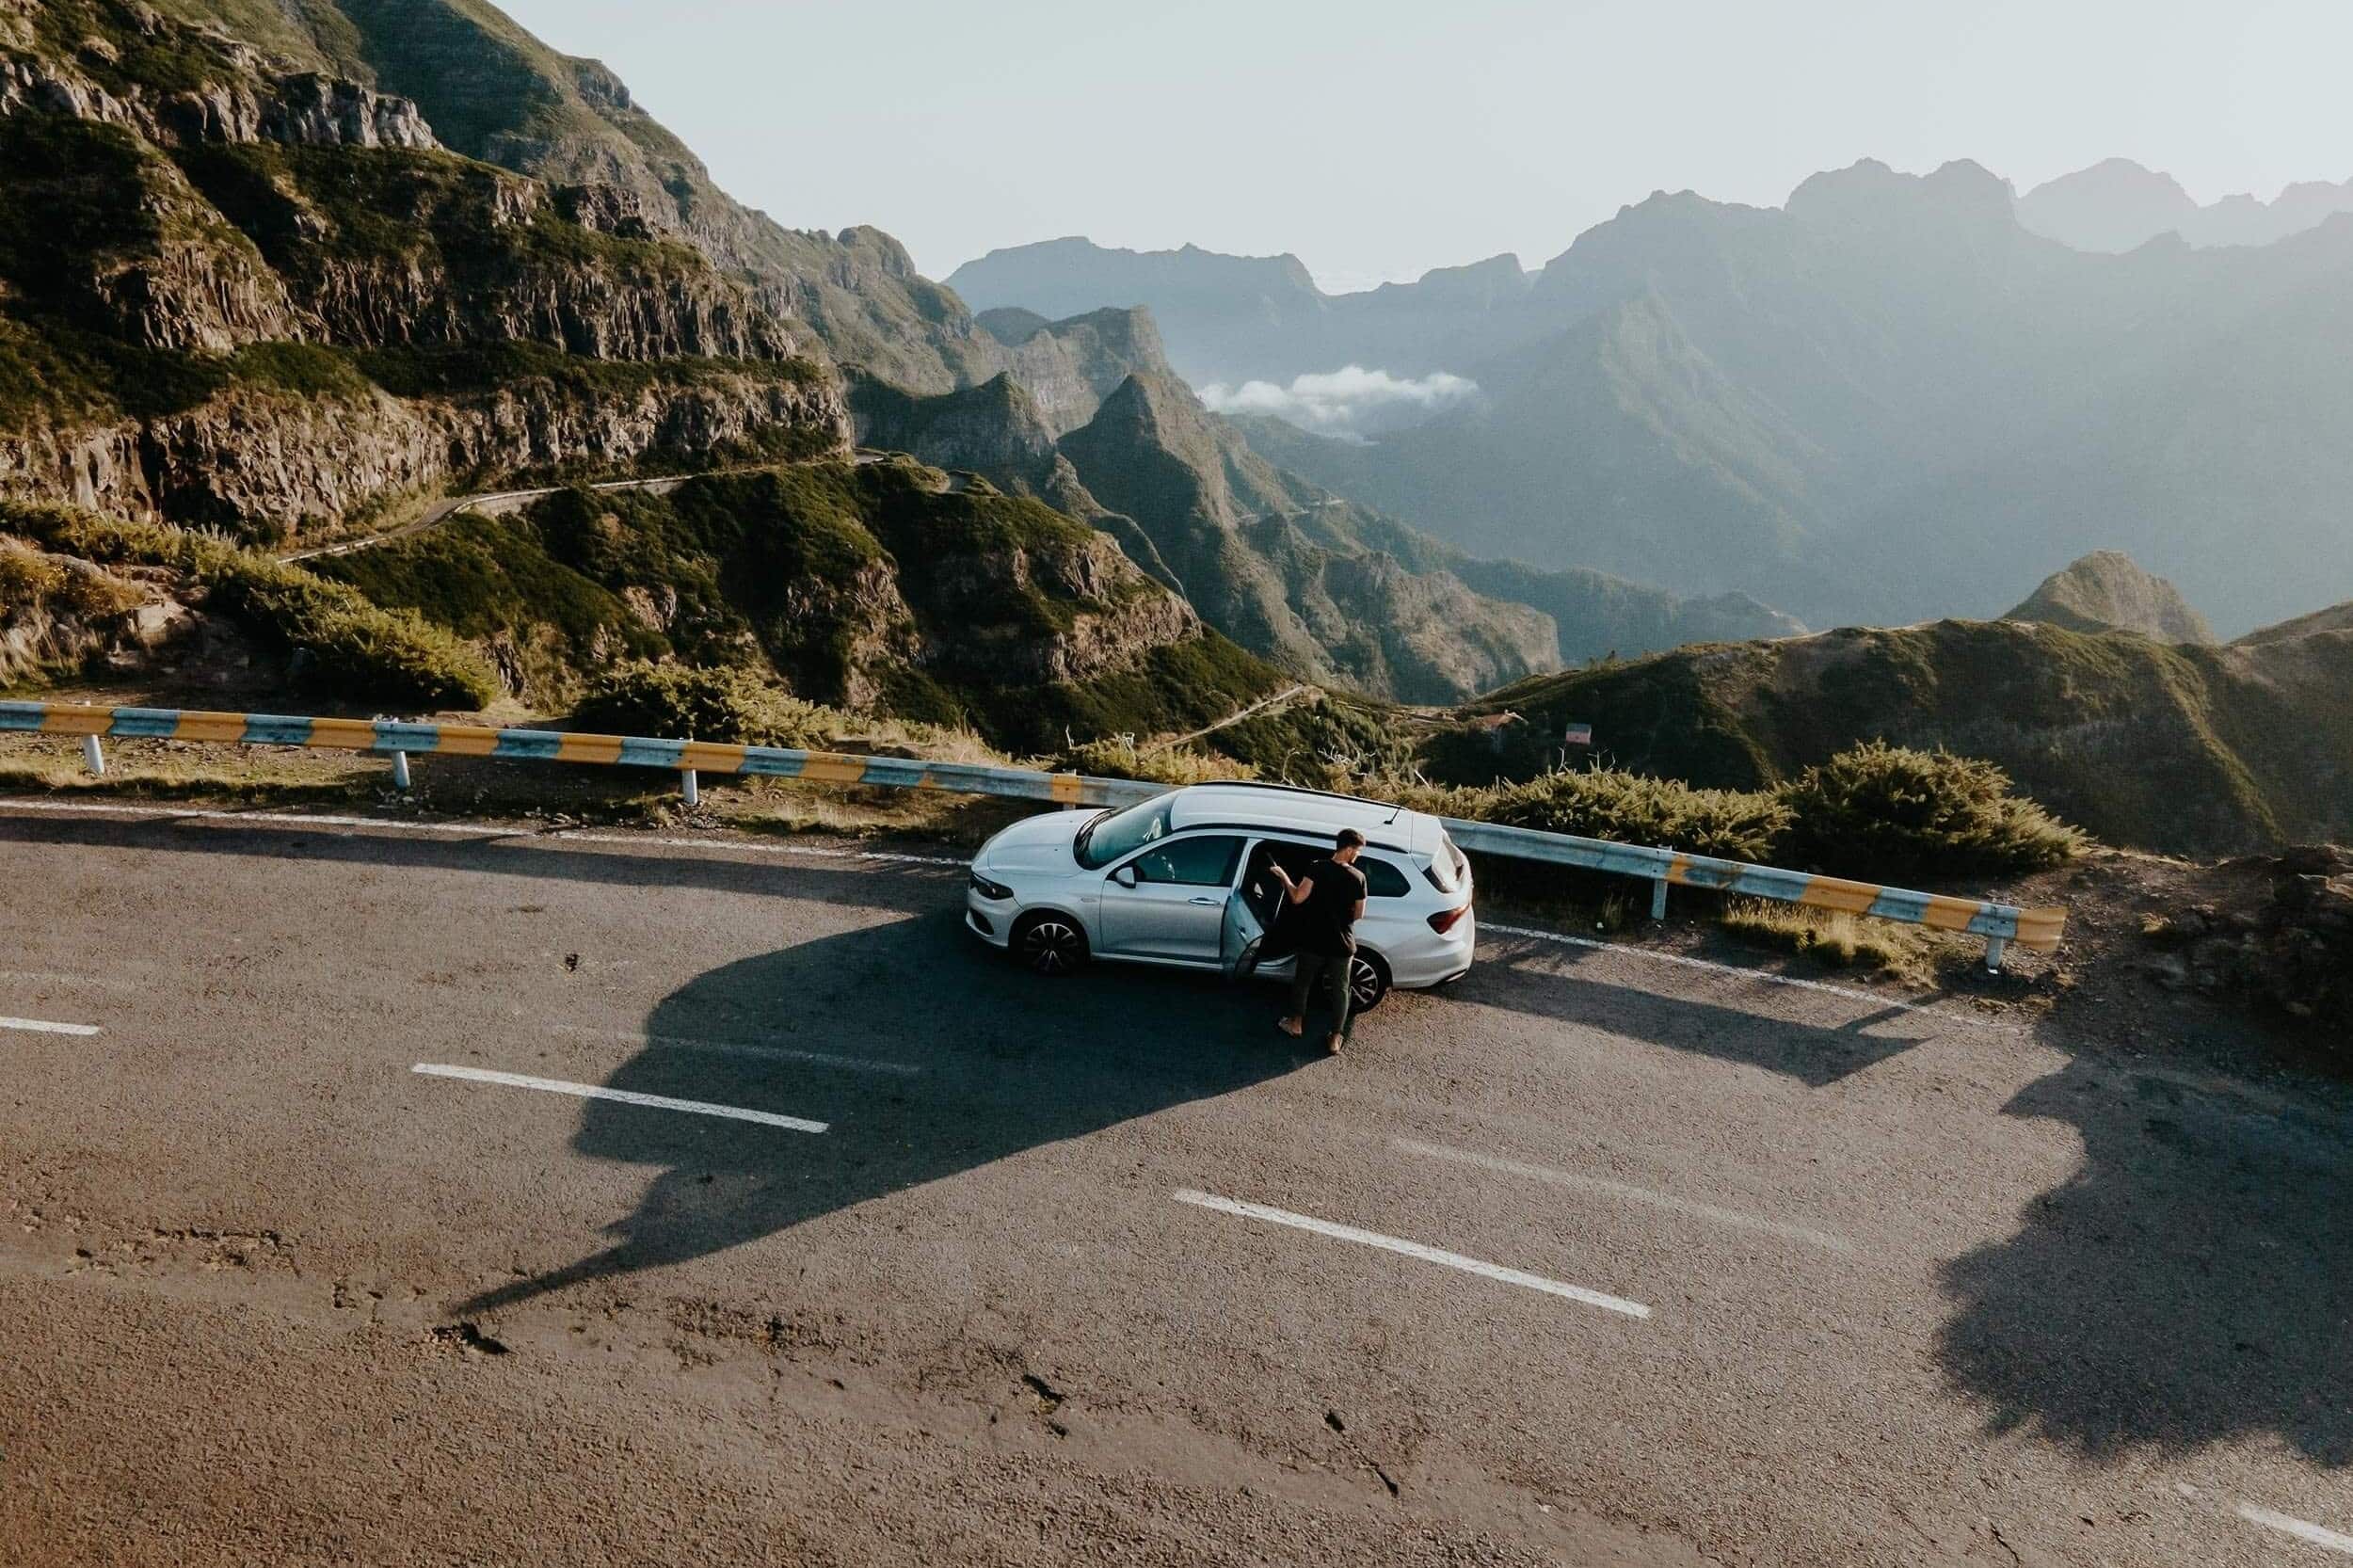
CAR | As with most of the highlights on Madeira, the starting point of the PR1 hike on Vereda do Arieiro is best reached by car, so I highly advise visiting as part of your own Madeira road trip.
From Funchal, it takes about 30 to 60 minutes to reach the car park of Pico do Arieiro. From here, it’s only two more minutes until you reach the iconic sunset viewpoint.
To me, the journey to Vereda do Arieiro adds a great dose of extra adventure to the overall experience, especially if you’re planning to start the hike before sunrise.
The road up is packed with hairpin bends, and you will also drive on some of the steepest bits of the island, so if you haven’t driven in a long time, be cautious! I’ve written this guide about driving on Madeira, so make sure you give that a read too.
For car rental on Madeira, I highly advise Rentalcars.com. Not only do they have a wide range of cars to choose from, but they also provide brilliant service and additional insurance options.
Additionally, I also highly recommend DiscoveryCars.
TOUR | If you’re not entirely sure if you want to rent a car, that’s okay, there are quite a few tours of the popular PR1 hike from Pico Do Arieiro to Pico Ruivo too.
For those keen to start the hike with sunrise, I highly recommend this guided hike of Vereda do Arieiro organised by a certified mountain guide. Not only does this tour offer hotel pickup and dropoff service from Caniço or Funchal, but the group size is also limited to only 8 people.
Not a morning person, opt for this full-day guided tour. With pickup time from your hotel at 08:30, this tour is perfect for those who prefer to sleep in during their holidays.
TRANSFER | While I’m of the firm belief that renting a car is the best way to explore Madeira, you can also choose to be driven to the starting point of the hike by Pico Transfers.
This budget-friendly option offers pickup and drop off in Funchal and Caniço, and is brilliant if you haven’t rented a car, or are looking to do the hike in one direction.
Once you arrive at Pico Do Arieiro, you can enjoy an epic sunrise before starting the hike to Pico Ruivo at your own pace. After the hike, you will be picked up at Achada Do Teixeira at the pre-arranged time. The transfer takes around 45 minutes and costs €33 per person.
The PR1 hike from Pico do Arieiro to Pico Ruivo
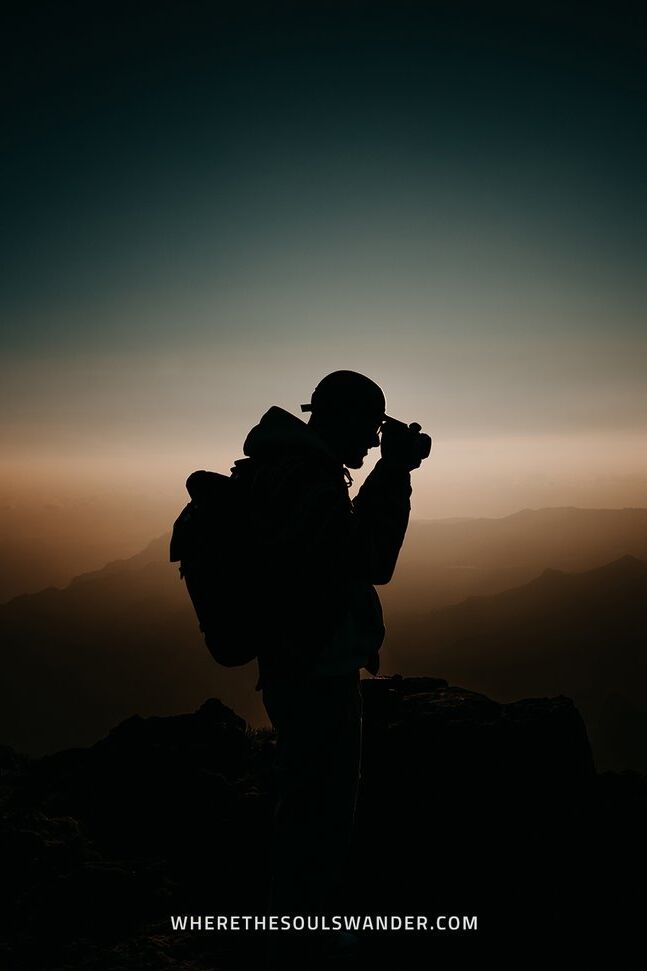
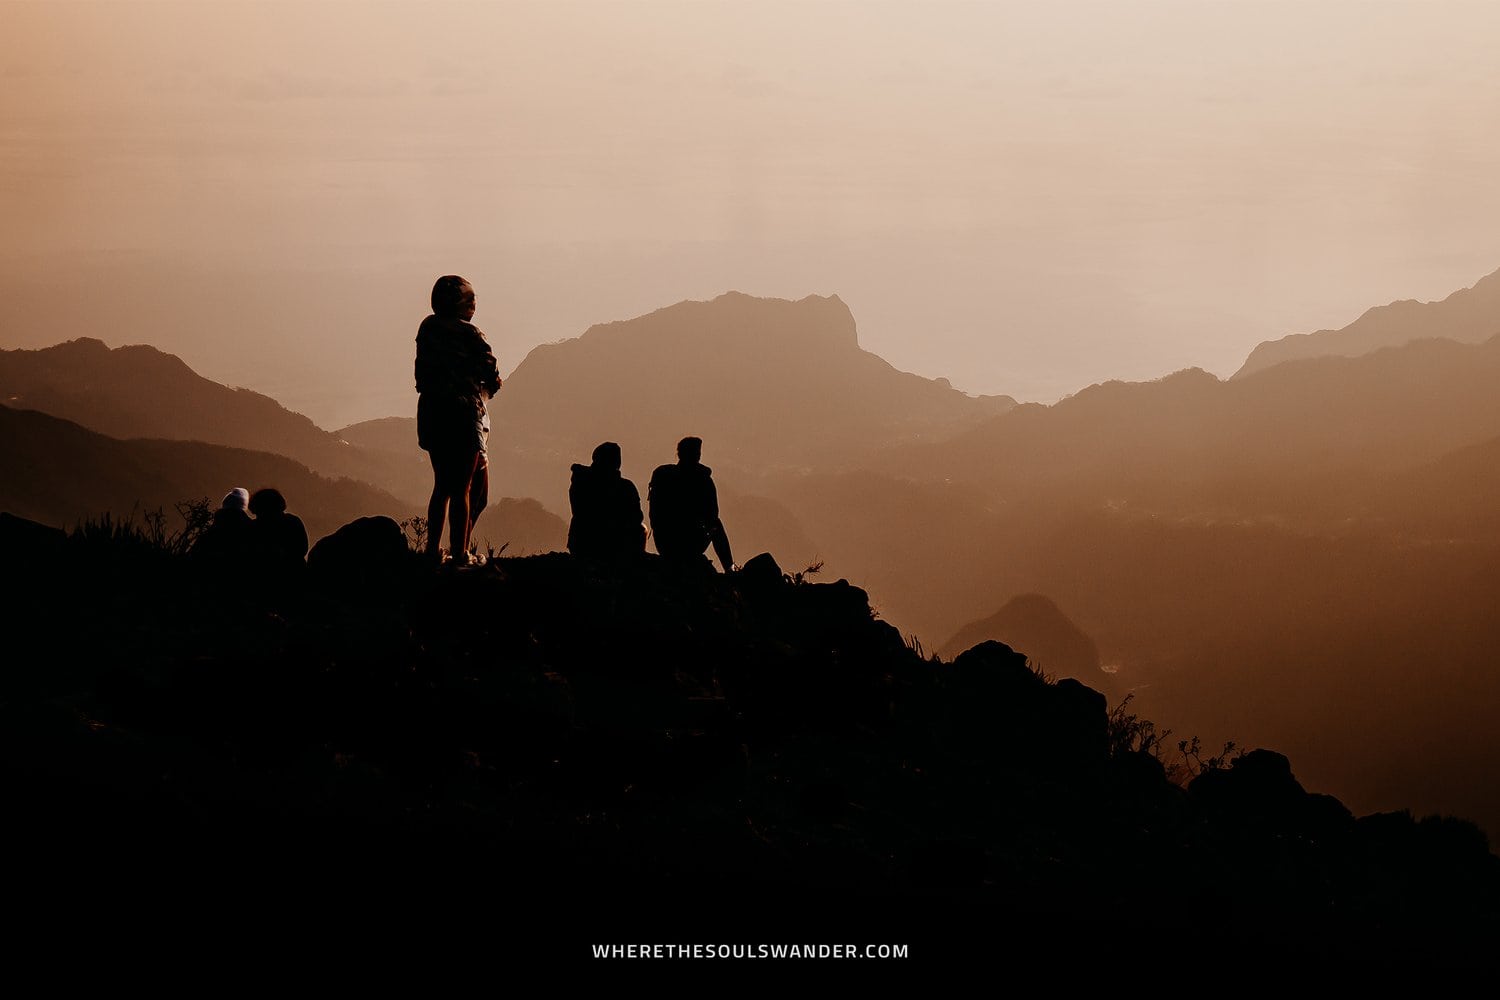
Sunrise at Pico do Arieiro
Upon arrival, I advise you to head directly to Miradouro Juncal, Pico Do Arieiro’s main sunrise point, and without question one of the best places to watch the sunrise on Madeira.
While the main viewpoint of Miradouro Juncal is usually overrun by fellow travellers, the area itself is relatively vast, which makes it easy to find a quiet space to watch an epic sunrise unfold.

Section I
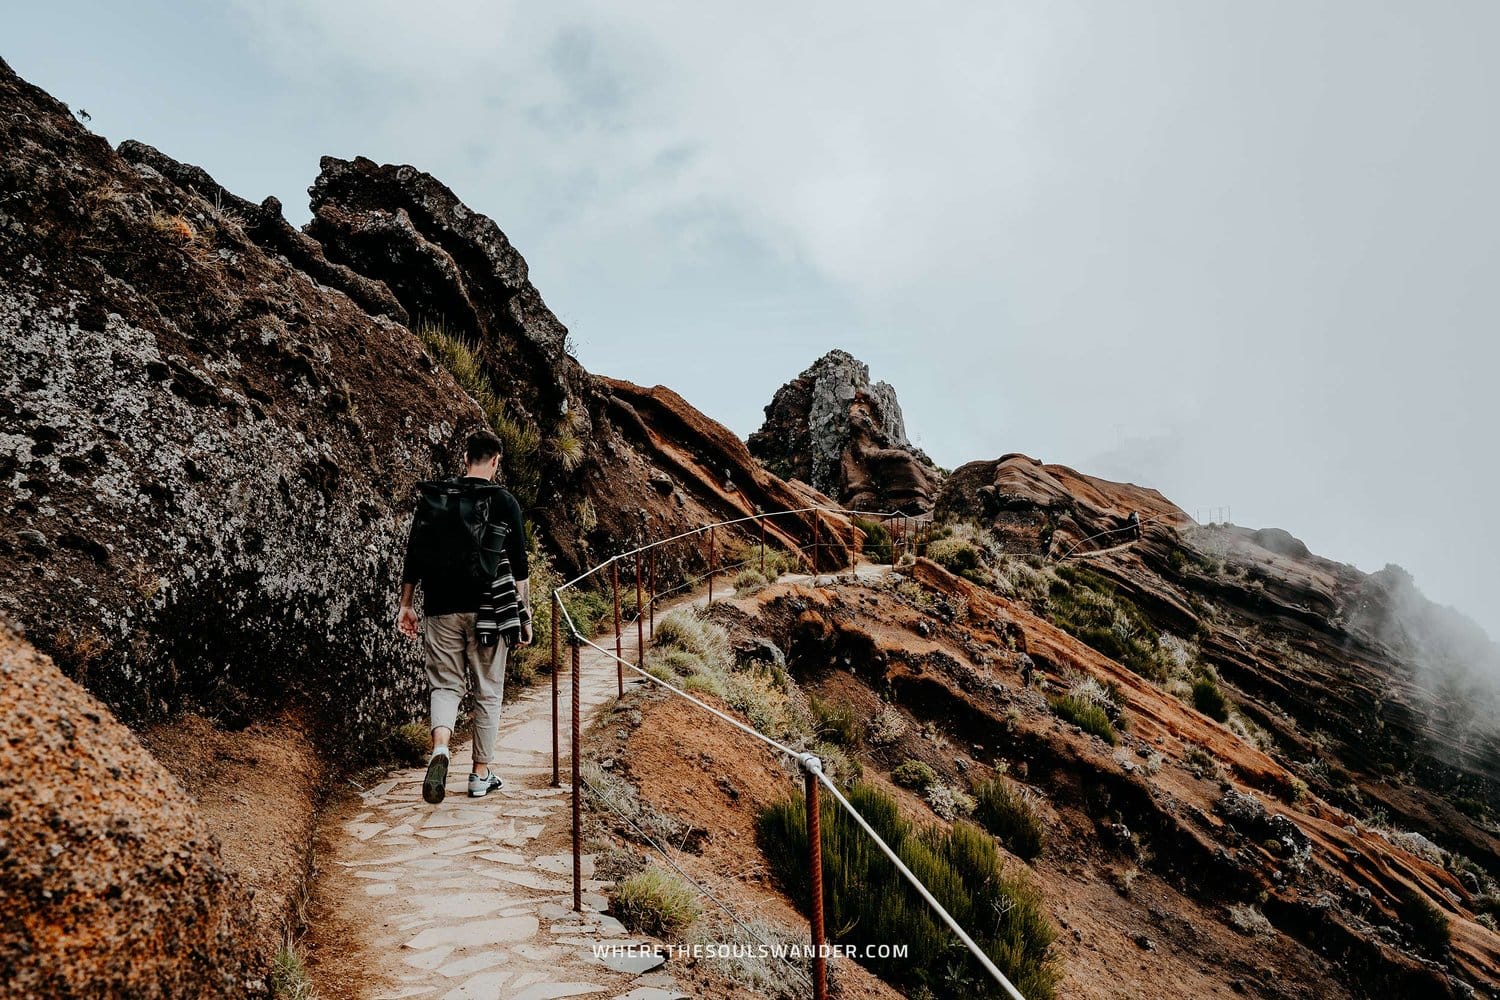
The starting point of the hike is situated on the left-hand side of the weather station, right after the parking area. The trail begins fairly easy with plenty of signposts and a clear paved pathway.
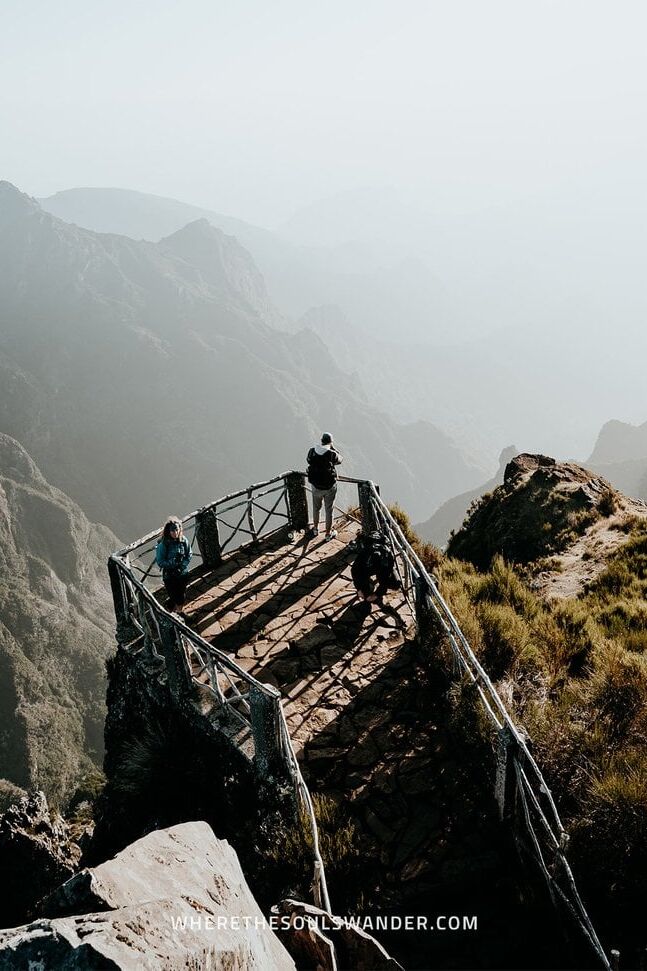
After about 15 minutes, you’ll reach the first real highlight; Miradouro do Ninho da Manta, a panorama viewpoint that is also known as the Buzzard’s Nest. Here you’ll find a small balcony that welcomes you to some of the best views of the surrounding valley.
After a short stop at Miradouro do Ninho da Manta, it is time to head in the direction of Miradouro Pedra Rija, where you will find the incredible Stairway to Heaven.
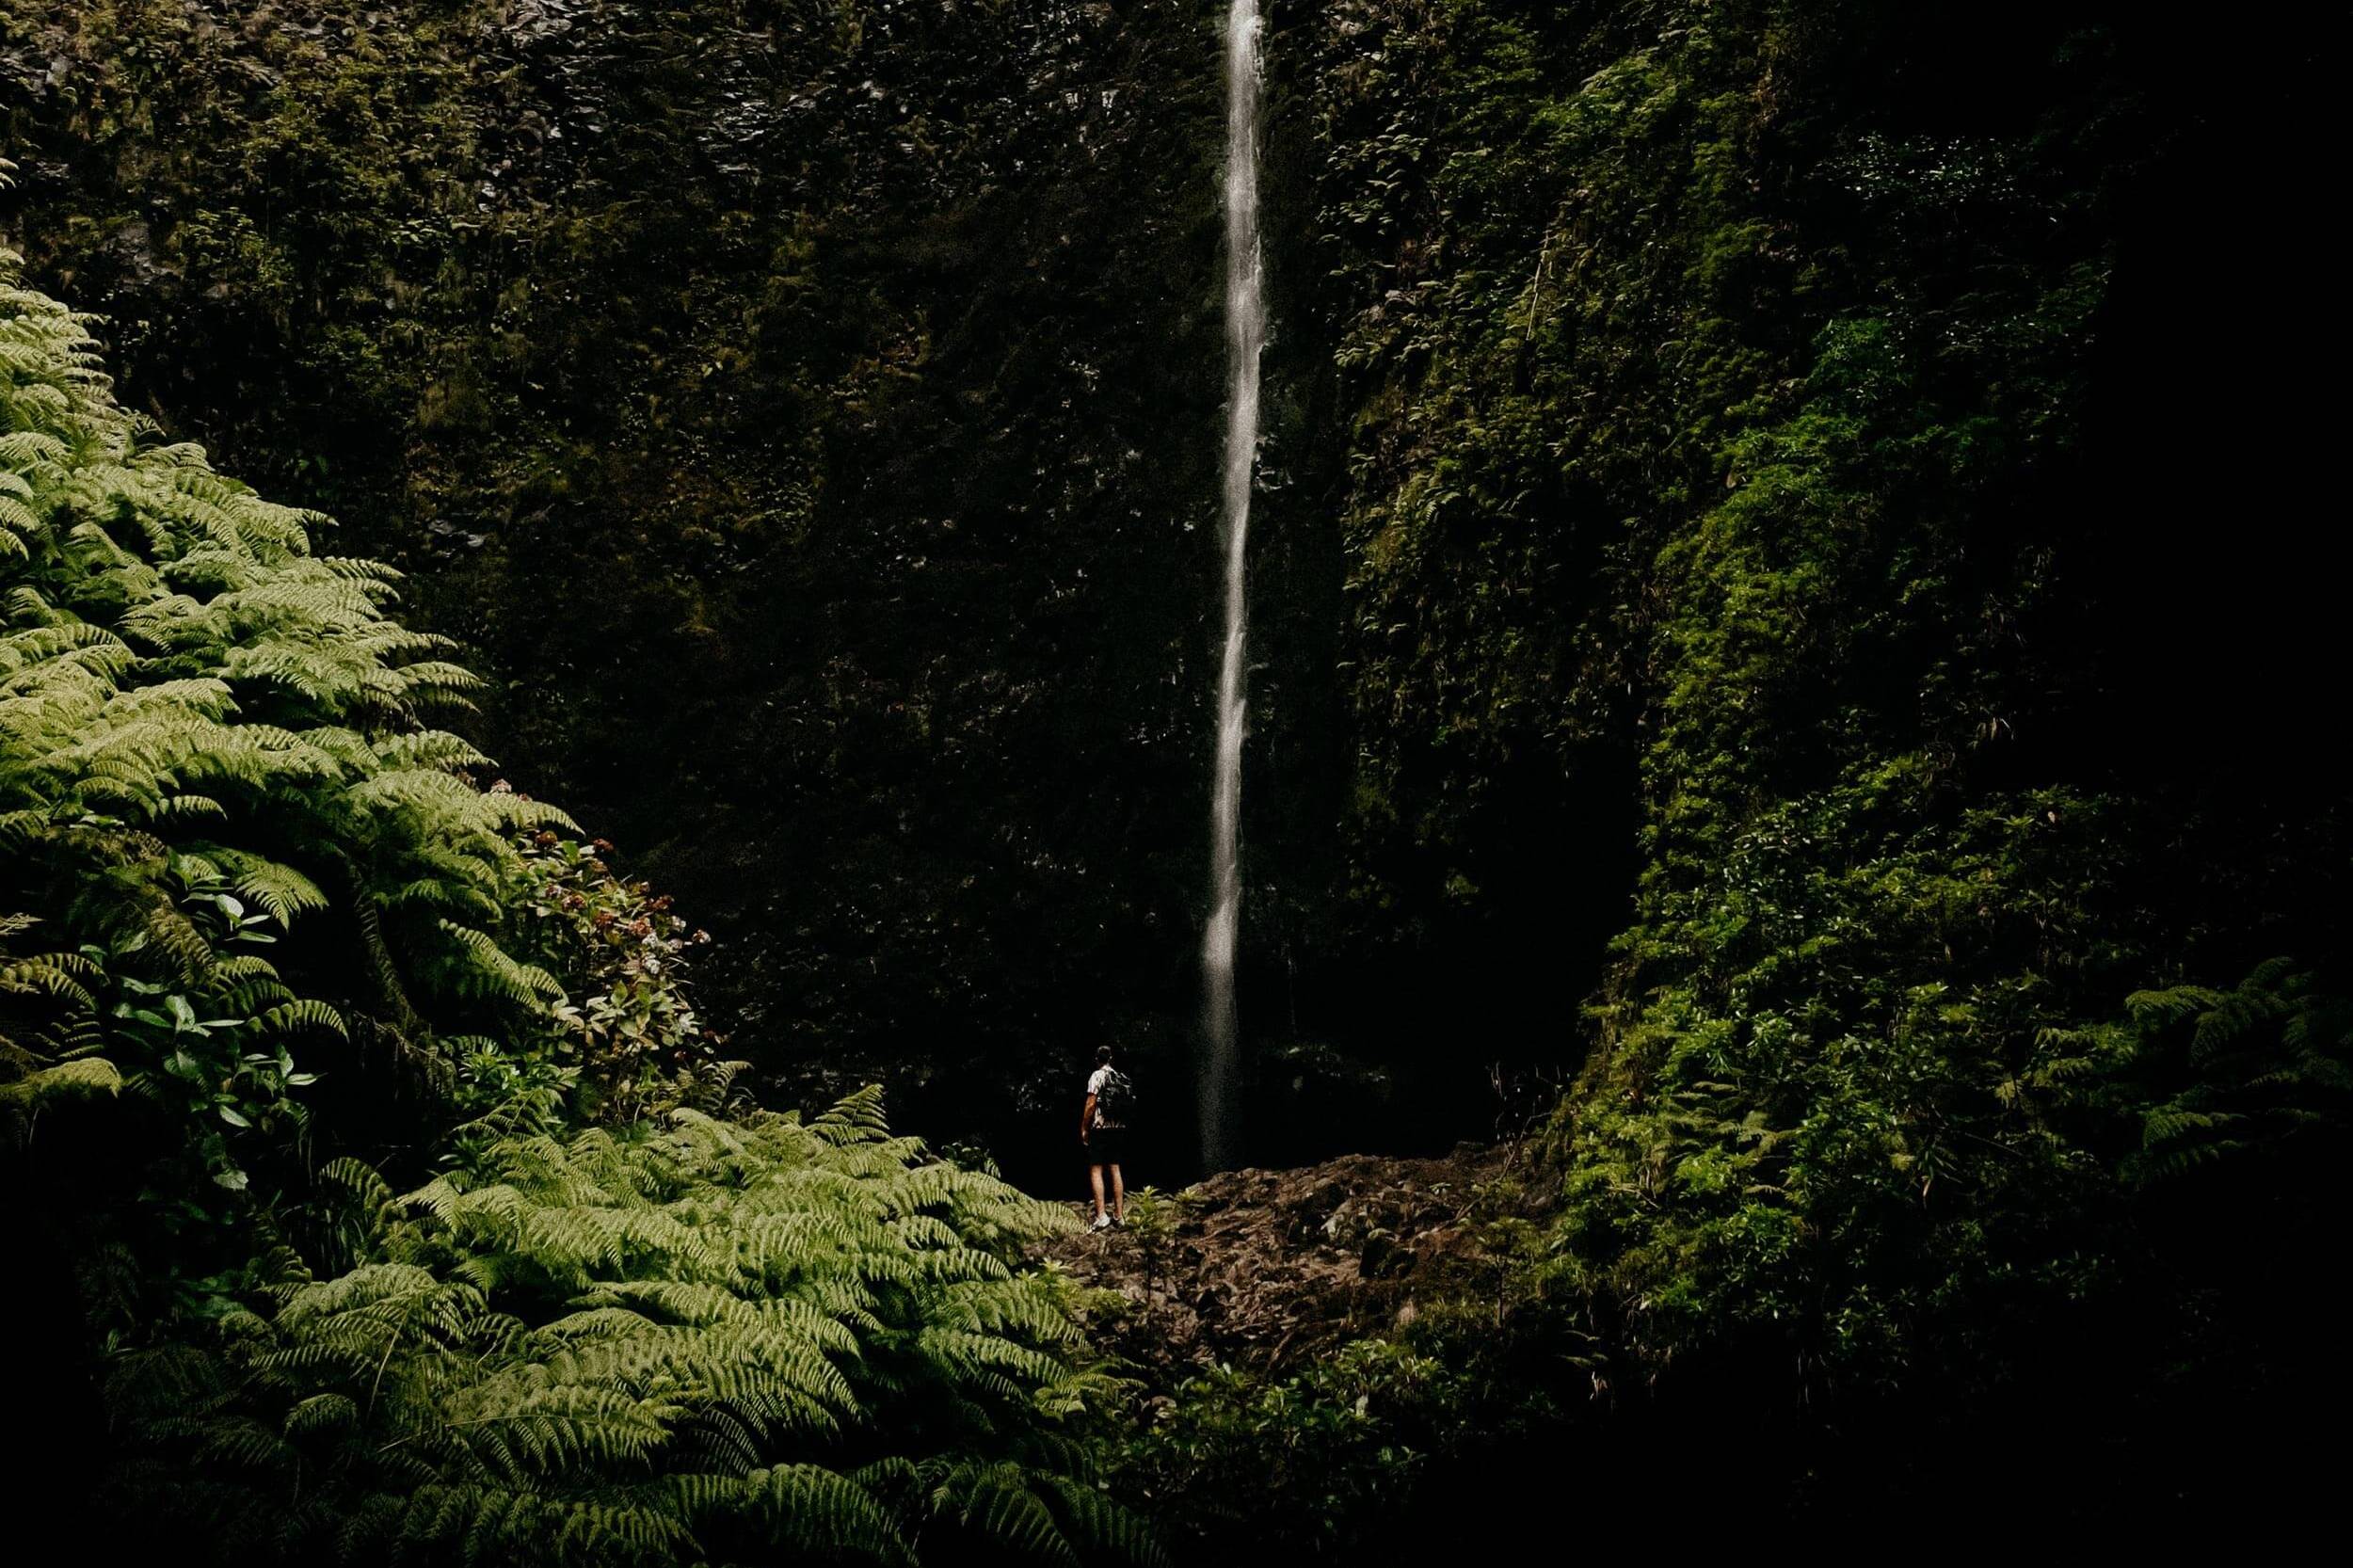
On a cloudy day, this section of the hike is incredibly moody and dramatic, which is why it has become my absolute favourite part of the PR1 hike from Pico Do Arieiro to Pico Ruivo.
Section II
Once you’ve passed Miradouro Pedra Rija, it is all about descending, with plenty of stairs down until you reach the first of a series of tunnels, with the longest being roughly 150 metres long.
After a short while, the trail becomes flat and is literally carved out of the side of a mountain. Though this part isn’t the most picturesque, it was excellent to catch a good breather before the steep climb up ahead.
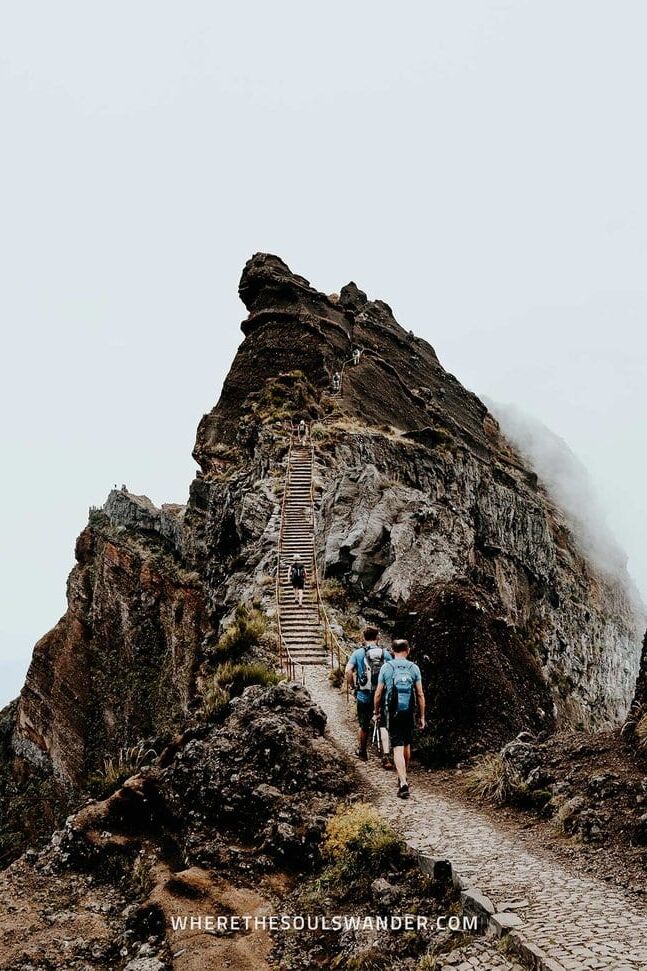
As mentioned above, it isn’t all fun and games. After following the narrow path for around 20 minutes, it is time to climb up a steep sequence of stairways, some of which are nearly completely vertical.
To me, this part is without question the toughest part of the entire hike, as it requires quite a bit of stamina to get to the other side of the mountain.
But as soon as you’ve reached the top, you will be greeted by stunning views of the entire region. I chose to have a short break here before I started the final section of the hike.
Section III
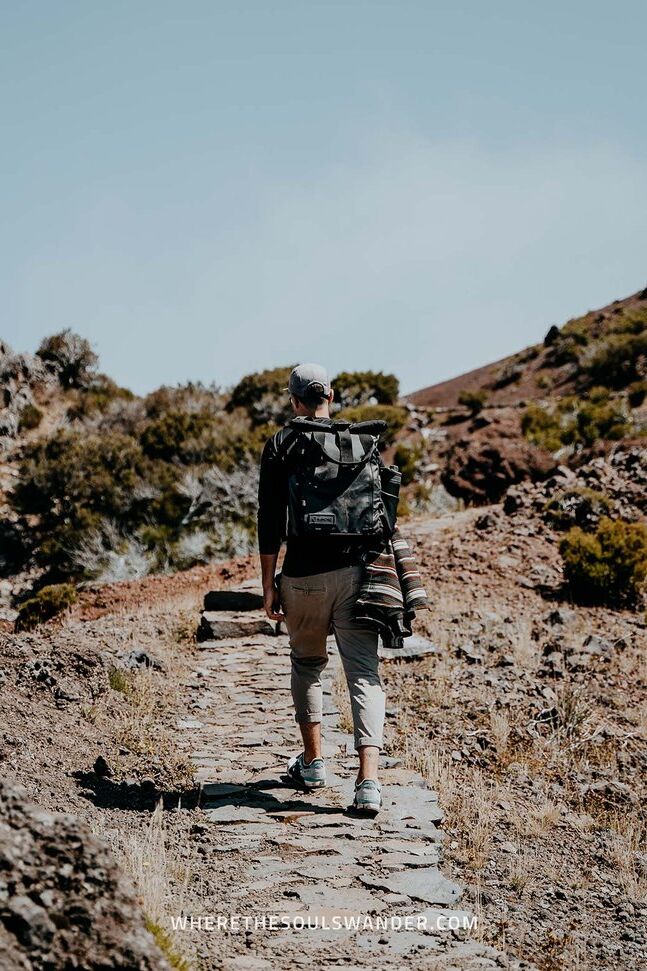
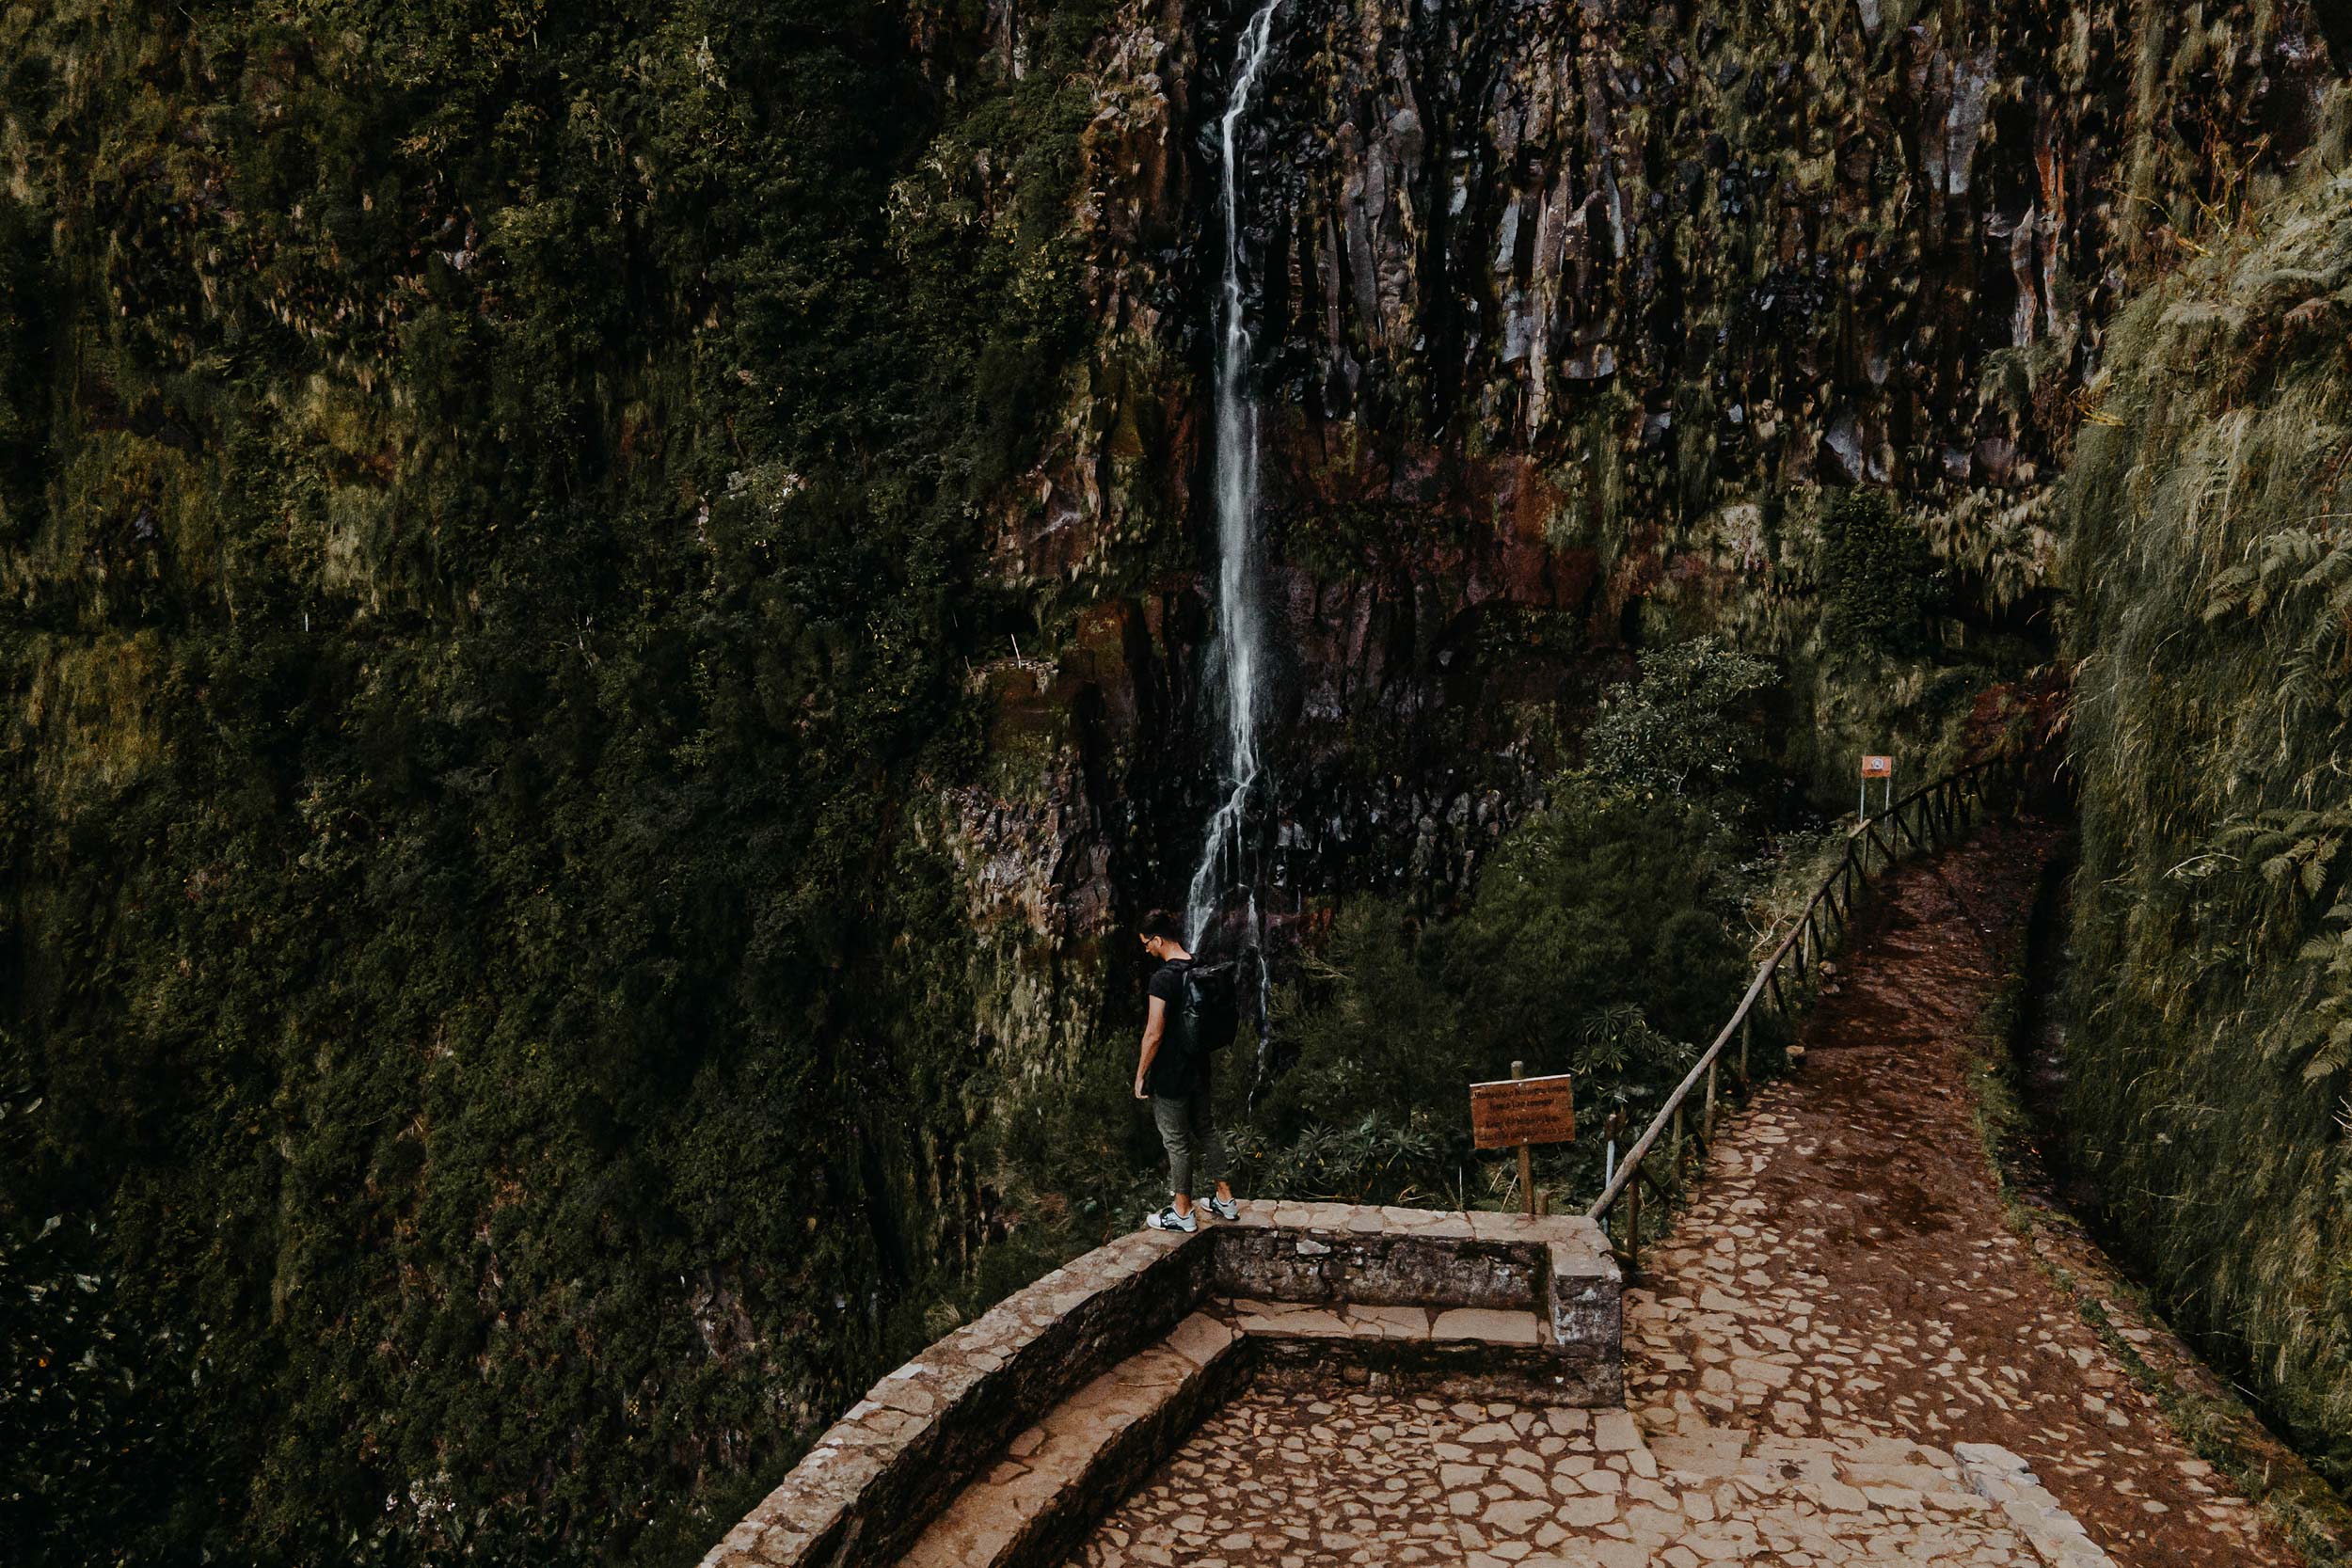
The third and final section of the hike begins with an easy, yet scenic path along a group of white dead trees. It’s pretty picturesque and relatively flat for nearly 25 minutes.
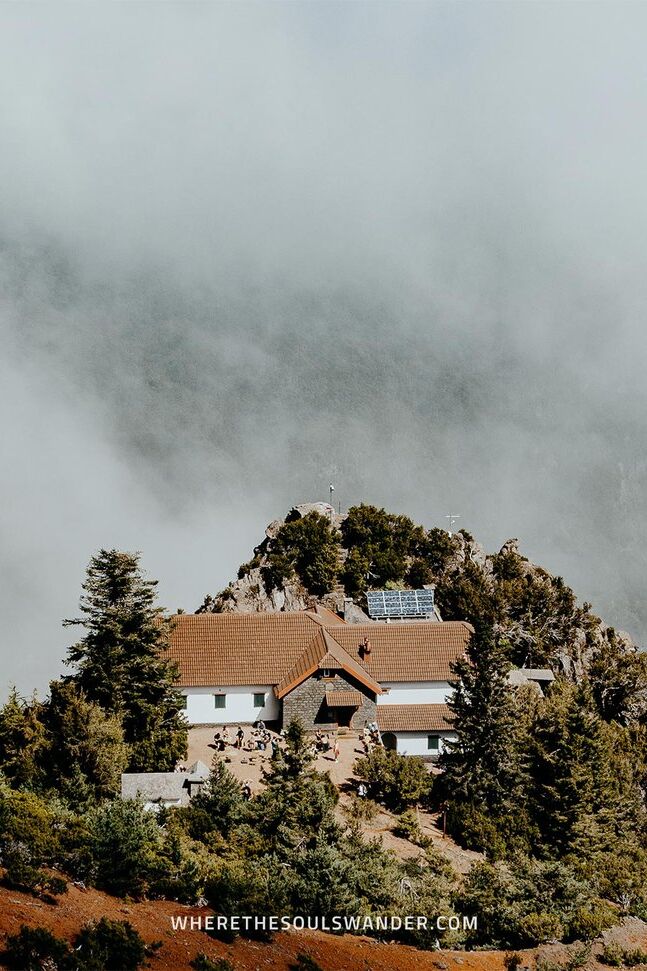
Right before the final climb, you stumble upon Casa do Abrigo Mountain Hut, a small cafe where you can get several beverages and snacks. After a quick stop and a coffee, it was finally time for the last climb up.
From the cafe, It took me only 10 minutes uphill until I reached the summit of Pico Ruivo
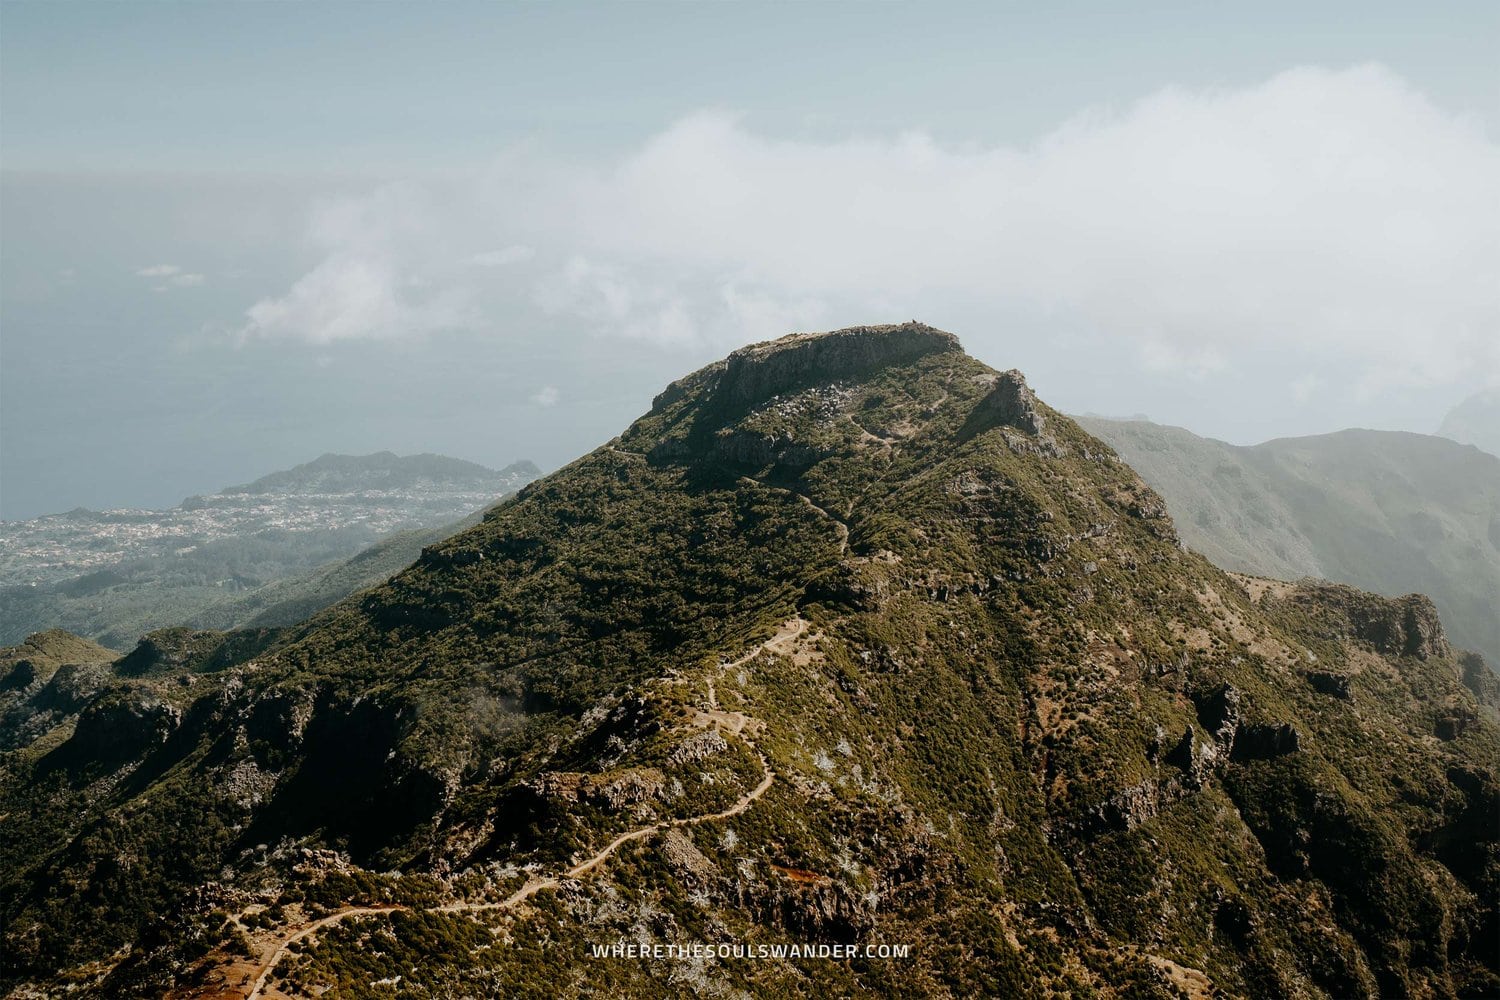
The Pico Ruivo summit
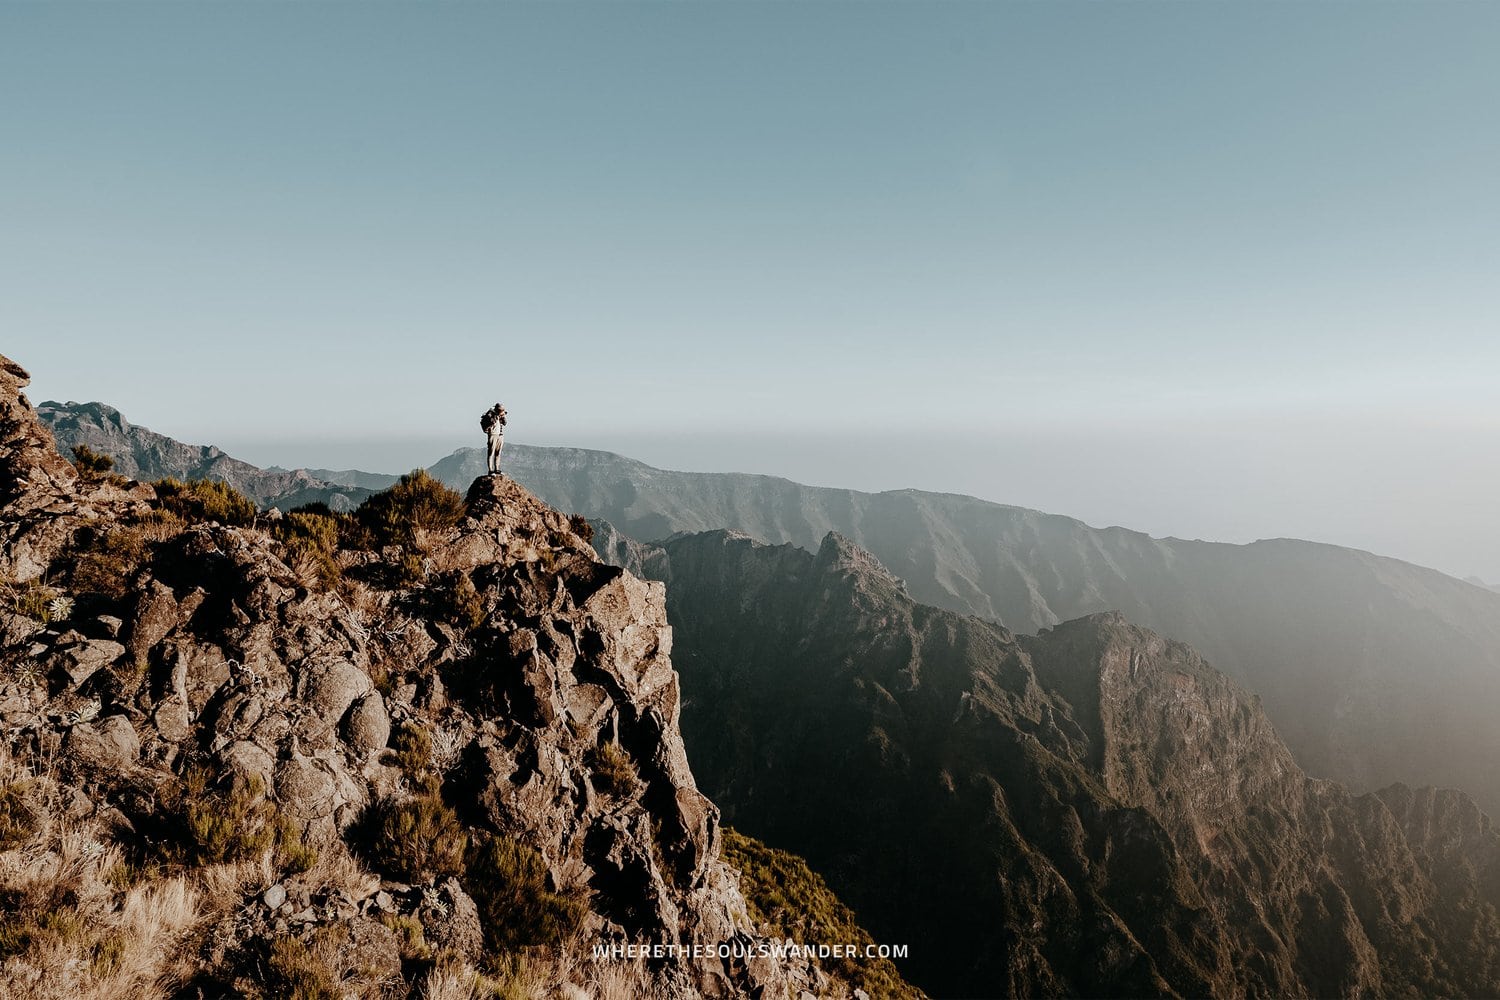
Upon arriving at the Pico Ruivo summit, you will be greeted by some of the best views of the island. On a clear day, you’ll have breathtaking views as far as the eye can see.
That, and you have now officially set foot upon the highest point on Madeira at 1,862m above sea level.
I’ve spent around an hour exploring the various corners and viewpoints of Pico Ruivo before making my way back to the trail.
How to wrap up the hike
While I personally chose to hike back to the starting point at Pico Do Arieiro, it’s also completely possible to do the hike in one direction.
Though it is worth saying that the hike out and back is rather intense, I also believe it’s an awesome experience, since the route back showcases the landscape from a totally different perspective.
For those looking to do the PR1 hike in one direction, I’d highly advise checking out Pico Transfers, as they offer affordable transfer services to the beginning and endpoint of the hike.
Additionally, if you’re an advanced hiker, it is also possible to combine the PR1 Vereda do Arieiro hike with either the PR1.2 Achada do Teixeira hike or the PR1.3 Vereda da Encumeada hike – but I’ll leave that up to you!
The best time of day to hike from Pico do Arieiro to Pico Ruivo
Given sunrise at Pico Do Arieiro is one of the absolute highlights on the island, I’d recommend arriving far before the iconic ‘golden hour’ starts.
However, with the weather being a tad unpredictable on Madeira, I’d highly suggest checking the weather conditions at Pico Do Arieiro before your visit via this convenient webcam.
If you’ve already experienced the sunrise at Pico Do Arieiro, you could also choose to start the hike a little later in the day. For me, this shouldn’t even be an option, since sunrise at Pico Do Arieiro is simply too good to miss out on!
The best time of year to hike from Pico do Arieiro to Pico Ruivo
Since Madeira enjoys comfortable weather year-round, I believe the PR1 hike from Pico Do Arieiro to Pico Ruivo isn’t necessarily subject to a particular time or season.
In terms of weather, June, Juli and August are considered the best months to explore the island. One thing worth mentioning is that you will be sharing your experience with bigger crowds during these summer months.
To me, the best time to visit Madeira and hike Vereda do Arieiro is during the shoulder months of May, September and October.
I hiked from Pico Do Arieiro to Pico Ruivo at the beginning of October and had excellent circumstances throughout the entire hike.
What to pack for the PR1 Verada do Arieiro hike
As with any hike, I believe it’s crucial that you’re well-equipped before you begin the PR1 hike from Pico Do Arieiro to Pico Ruivo.
To help you have a stress-free journey, I’d highly suggest packing the following items:
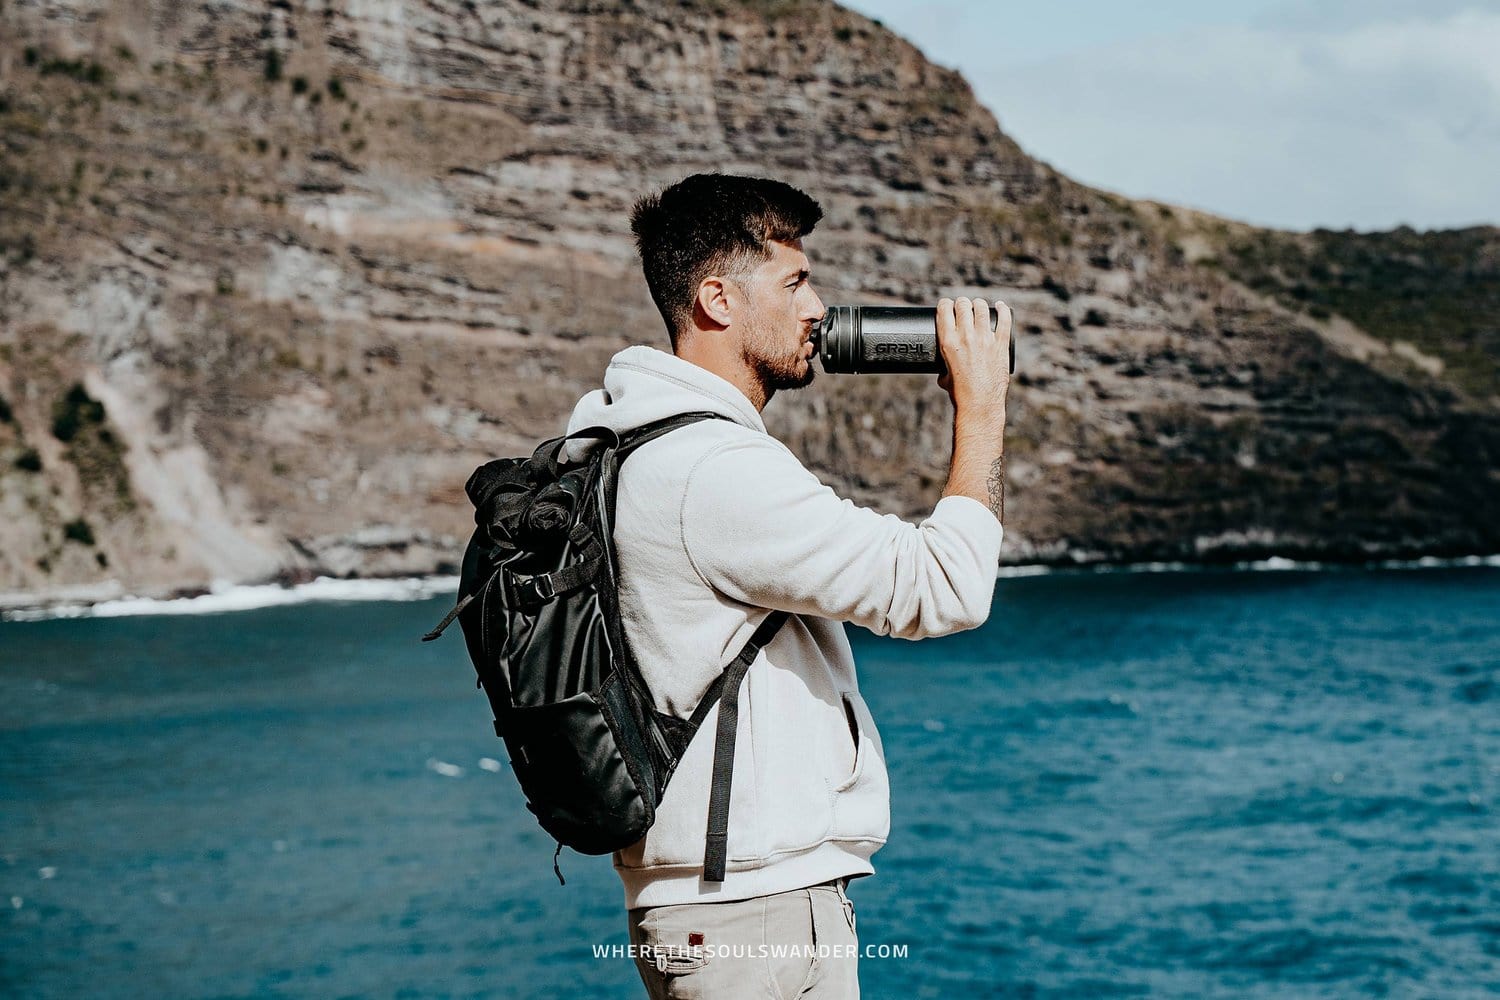
A REUSABLE WATER BOTTLE | One travel essential that I carry with me at all times is the Grayl Geopress. This reusable water purification bottle allows me to fill up water from nearly every water source, making it one of my best investments to date.
LAYERS | Since this hike is best started before sunrise, I highly recommend wearing layers. I took a hoodie with me, which was much needed, especially in the early morning. Also, given that the temperature can change dramatically at various points of the hike, it’s not a bad thing to bring a raincoat too.
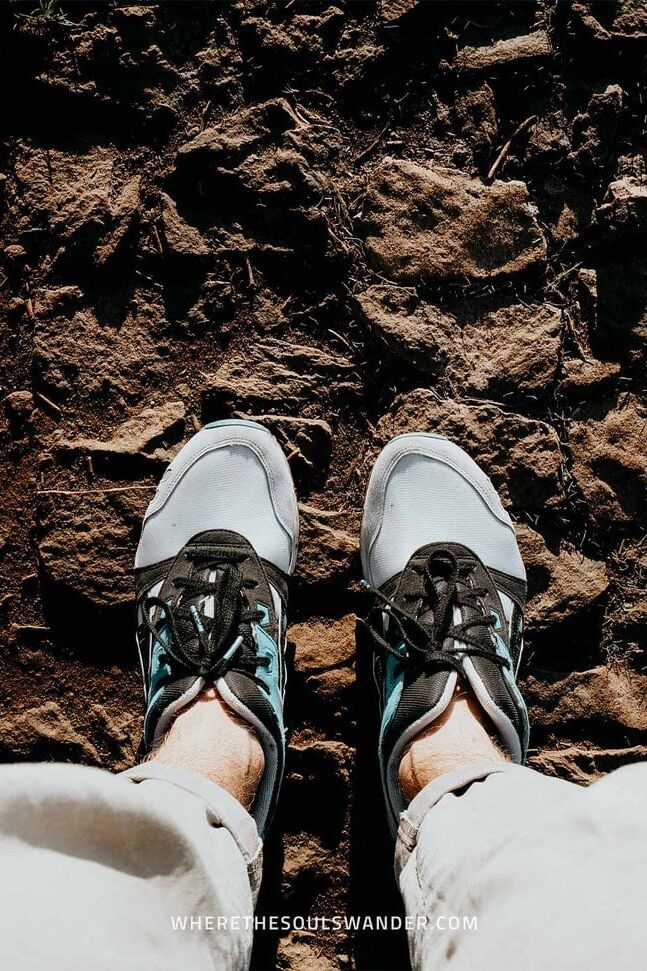
HIKING BOOTS OR A GOOD PAIR OF SNEAKERS | While hiking boots definitely provide more stability to your ankles, I believe you could easily get the job done in a good pair of sneakers – just be sure that they have a firm sole with enough grip, so you’re supported when things get slippery. I recently bought the New Balance Hierro v7, and am really happy with them, as they offer all the feats of a hiking boot, while still looking like a dope sneaker.
SUN PROTECTION | Given that there is hardly any shelter throughout the hike, it is wise to bring good sunscreen and a hat. Even when the sun hides behind the clouds, it is still possible to get burnt.
SNACKS | Even though I practise intermittent fasting, and prefer to hike on an empty stomach, I always bring a few snacks to fuel me during my hikes. And I advise everyone to do the same, especially since you’ll only be able to buy something at the beginning or end of the hike. So, don’t mind bringing some fruits, nuts and a few protein bars. Also, bring enough cash to get a coffee or some snacks from the mountain hut if necessary.
HIKING POLES | I did the PR1 hike without hiking poles, but if you have poor knees or prefer a little support during the more strenuous parts of the trail, I highly suggest/advise bringing a set of quality hiking poles. These Montem Ultra Strong Hiking Poles are light, collapsible, and a great value for the price.
Where to stay on Madeira
Given Madeira is rather compact, I highly recommend anyone to base themselves in Funchal, Madeira’s vibrant capital city.
Funchal is an awesome city in its own right and is home to plenty of excellent accommodation options, is packed with history and culture, plus it has trendy restaurants and cafes at just about every corner.
To help you find suitable accommodation, I’ve listed three of my favourites below, one of which is marked – this is the place where I stayed.
+ Vila Baleira | This was my base for the whole of my trip, and if you’re seeking comfort without spending your entire budget straight away, Vila Baleira will be perfect for you too. Located within the popular Lido area, this hotel offers spacious rooms, comfortable beds, and a large rooftop terrace with a swimming pool. They also have a tasty breakfast spread, excellent wifi throughout the entire property, and a secured parking lot right under the property.
NEXT – Savoy Signature | This budget-friendly hotel in the centre of Funchal has spacious modern-style rooms with comfortable double beds and a brilliant private bathroom with a rain shower. They also have an incredible rooftop swimming pool with amazing sea views. Double rooms at only €50,- per night make this place one of the best picks in Funchal.
Hotel Cajú | Set within the heart of Funchal, Hotel Cajú is a great place to stay, with stylish double rooms, friendly staff, and a small yet excellent in-house fitness centre. All bookings come with exceptional breakfast too. One small downside though, they don’t have private parking.
Stay safe on Madeira | Travel insurance
Since travelling on Madeira is all about hiking and nature, I recommend everyone to sort out good travel insurance before setting out on their own adventure.
Where we prefer that everything goes smoothly during our travels, something unfortunate can happen at any moment, whether it’s an injury during a hike or an accident on the road.
For travel insurance, I use Heymondo, as they offer full covid-19 coverage, as well as a handy app with 24-hour medical assistance. Make sure you check it out – readers of WTSW receive 5% off any insurance policy too.
Cheers!
I’ve been on this travel blogging journey since 2019.
If you appreciate what I do here, these are some ways you can support me.

Plan your Madeira adventures with these essential guides


Some photographs in this guide are captured by my dear friend Andre Smits – make sure you will have a look at his insane work here.