I’ve recently received quite a few Instagram DM’s with the following question; what camera do you use for your travel photography.
After updating just about every piece of gear I owned, I decided it was finally time to write an in-depth guide around the topic – what’s in my camera bag.
With a burning passion for photography, I always aim to find the most innovative camera gear, and it’s thus my goal to update this post as soon as I discover better alternatives.
What I’ll show you in this post are the camera, drone and lenses that I use right now – plus all the ingenious accessories that enable me to shoot and edit stunning photography.
It took me 4 years to balance out this setup, and I’m pretty satisfied with the result.
With this guide, I want to give you a good insight into my camera gear, and I hope it inspires you to create an epic photography setup that suits your needs.
If you choose to use any of the links on this page, I receive a small commission at no extra cost to you. By using these links, you’ll have a direct impact on WTSW and support me to continue to create free insightful travel content for you. If you find any of my tips useful, you can support me by buying a virtual coffee here.
What's in my camera bag as a travel photographer in 2024
My cameras
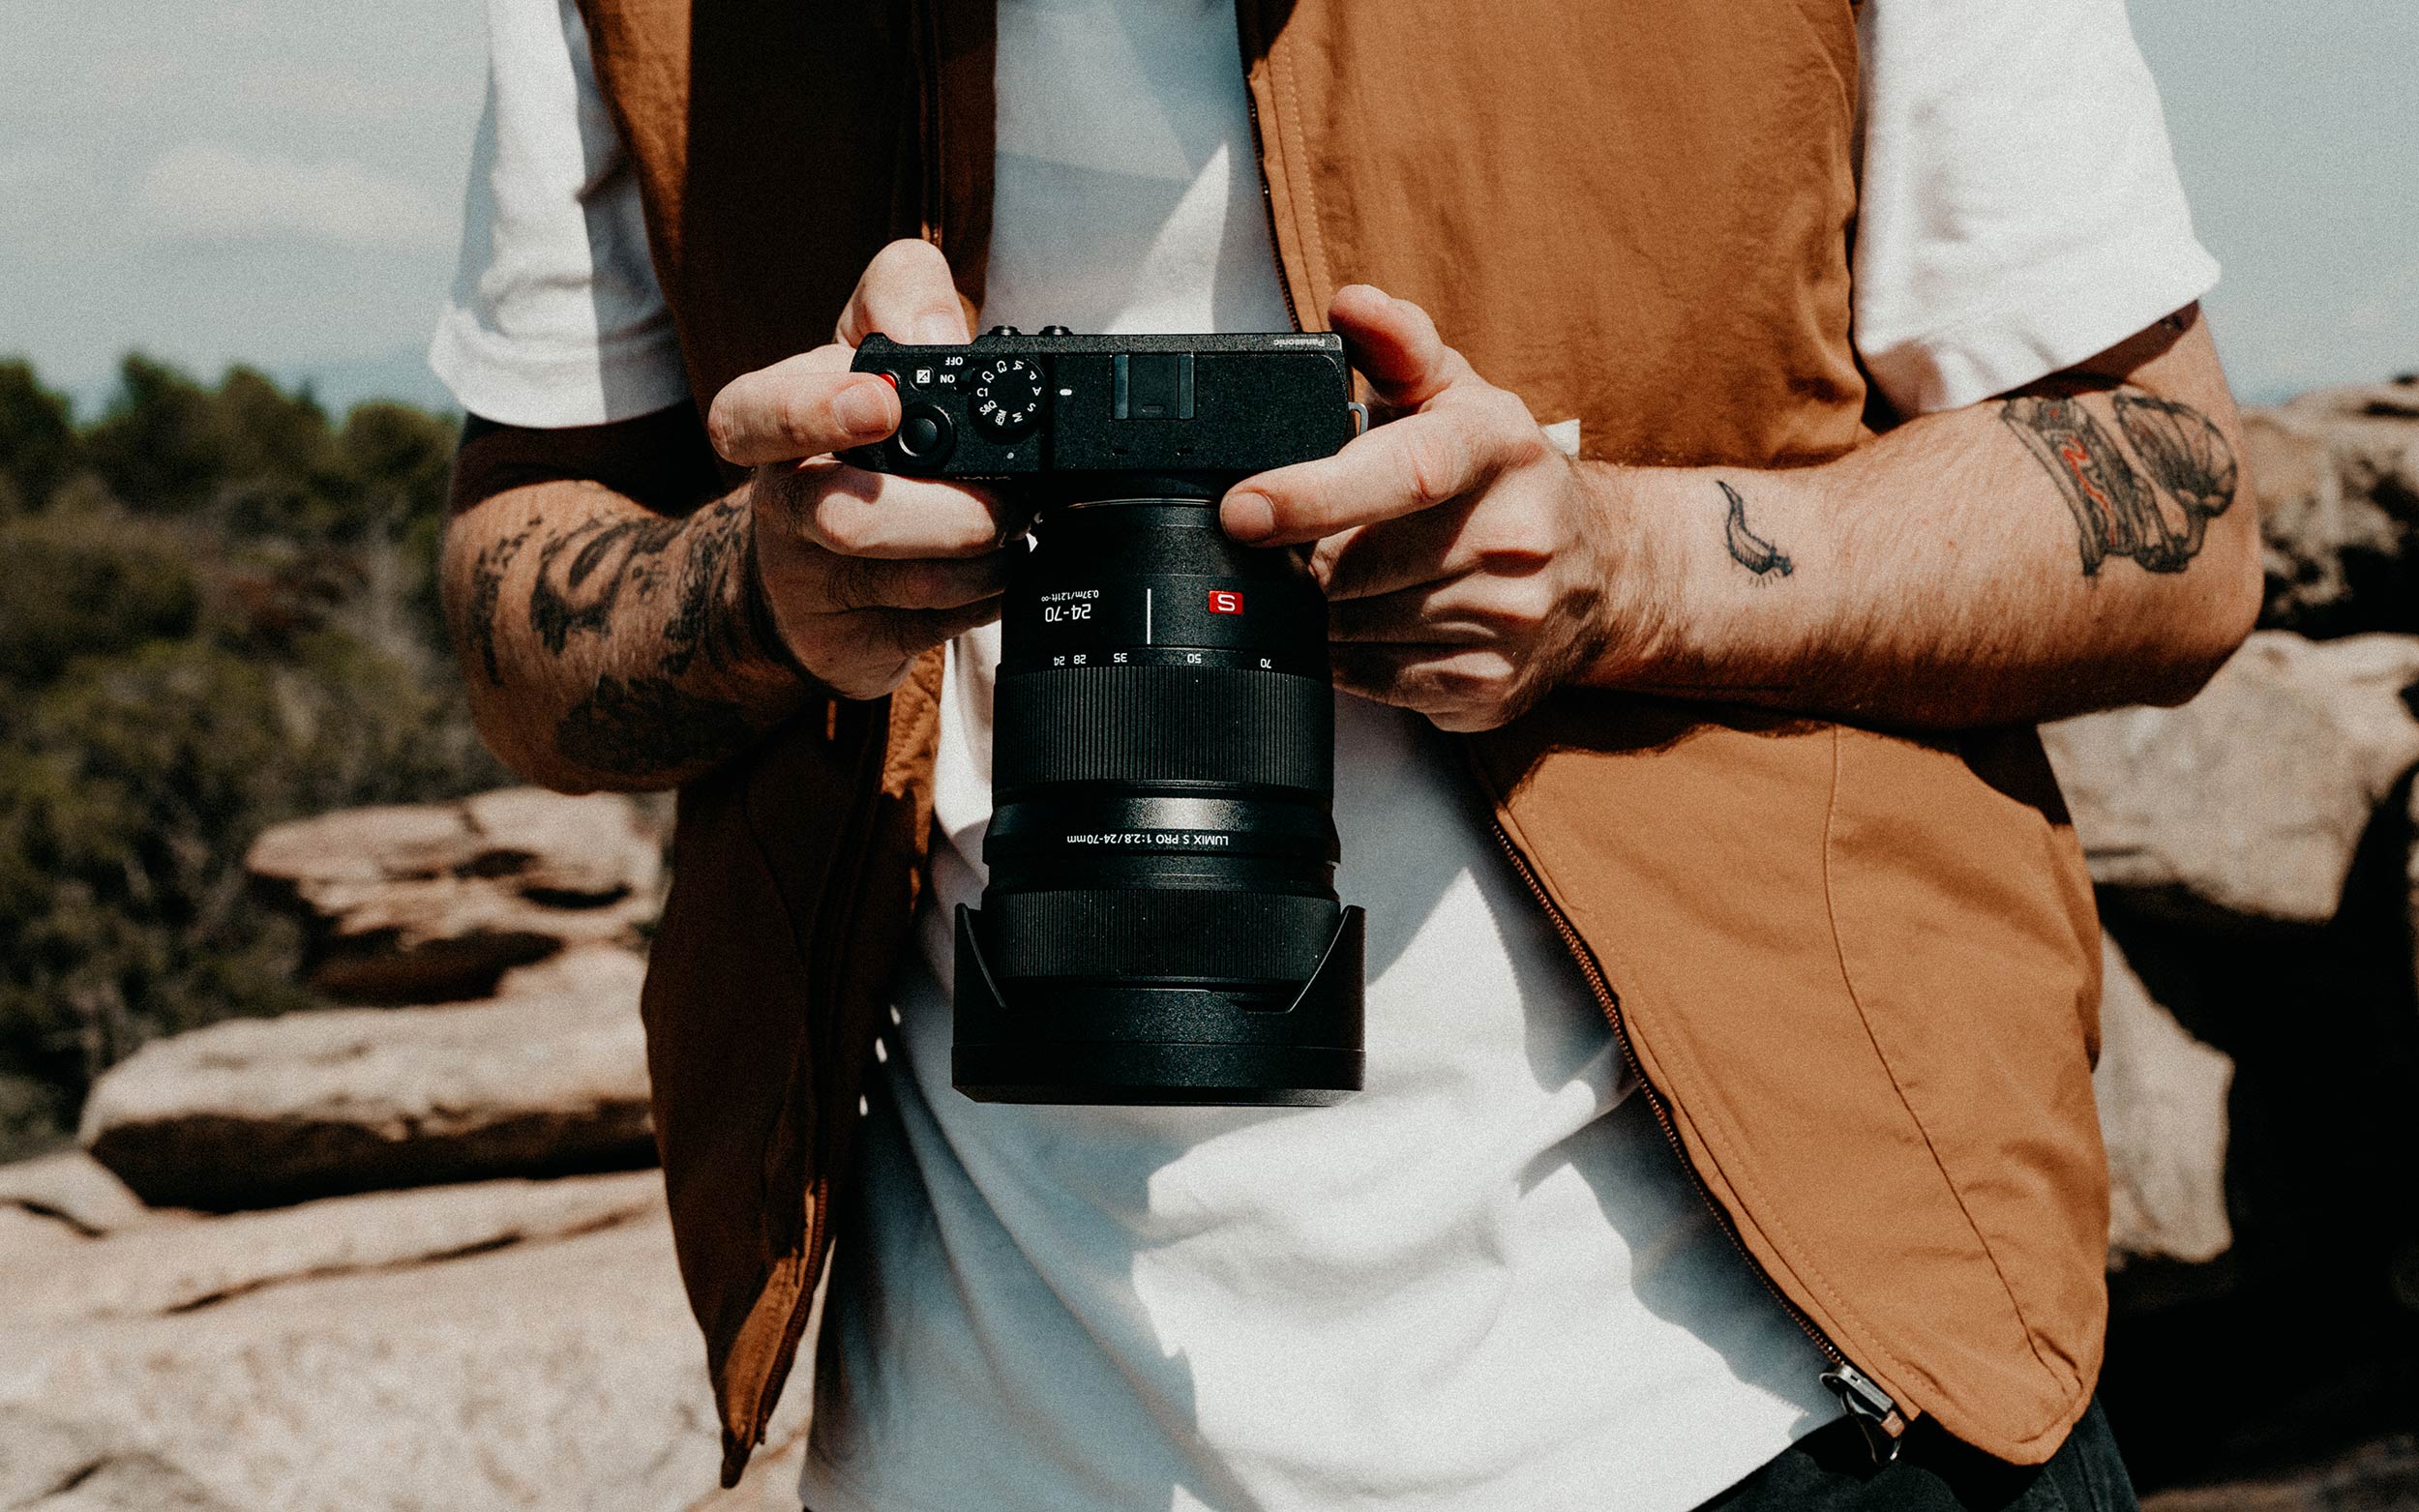
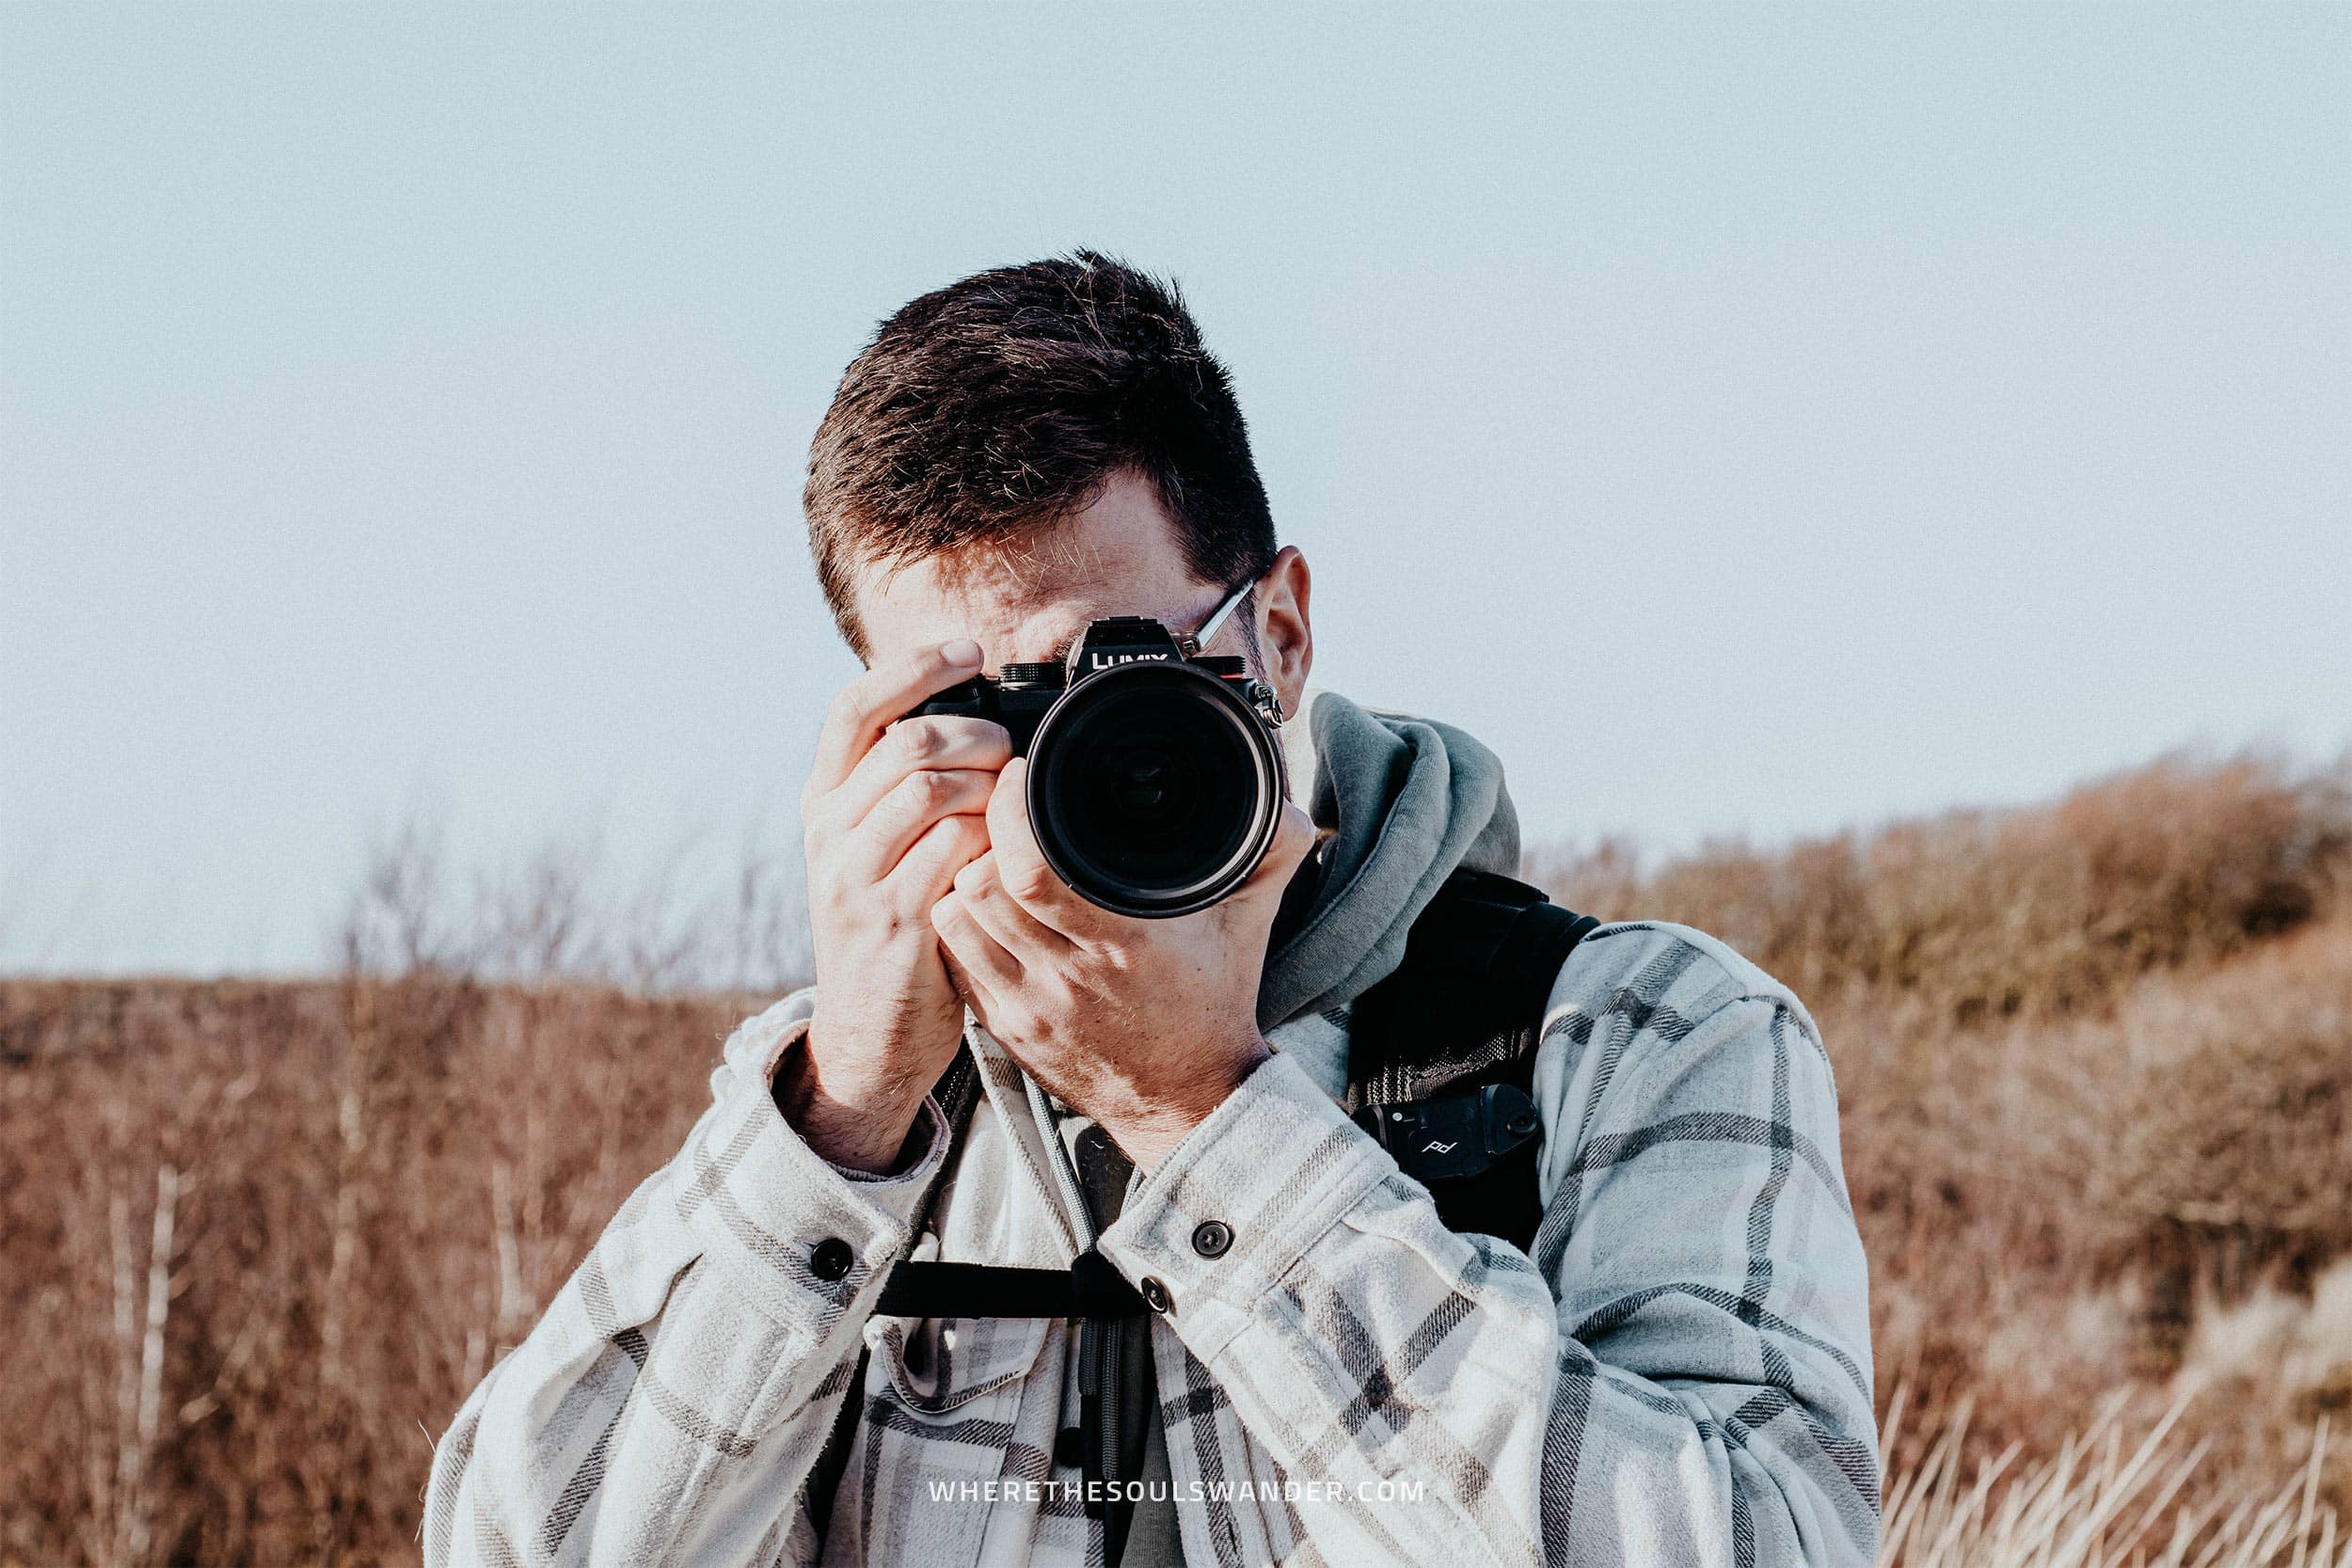
The Panasonic LUMIX S5II
Ever since I bought my first Panasonic Lumix G80, I’ve been hooked to the Panasonic LUMIX camera line-up, and I’m always eagerly awaiting the next big thing coming from them.
So when Lumix decided to create a full-frame line, I was excited to get my hands on their S5.
Recently, after years of heavy use and lots of travel adventures with my S5, I decided to upgrade to the Lumix S5II, which has significantly improved autofocus, an even better in-body image stabilization, and a new processor with L² Technology created in cooperation with Leica.
While top-notch technical capabilities are definitely important when looking to invest in a camera, I believe it is easy to be blinded if you’re looking solely at high numbers and fancy words in the specs sheets of a camera.
One thing I like most about all the LUMIX models that I’ve worked with, is the fact that both the design of the camera body and the menu interface are so neatly put together, that working with LUMIX becomes super intuitive and straightforward – which is exactly what I look for in a camera.
Ever since I upgraded to the Lumix S5II, the quality of my content advanced to a higher level, and with the 24.2 megapixel sensor, I’m able to print bigger and higher-quality fine art prints too.
The Panasonic LUMIX S9
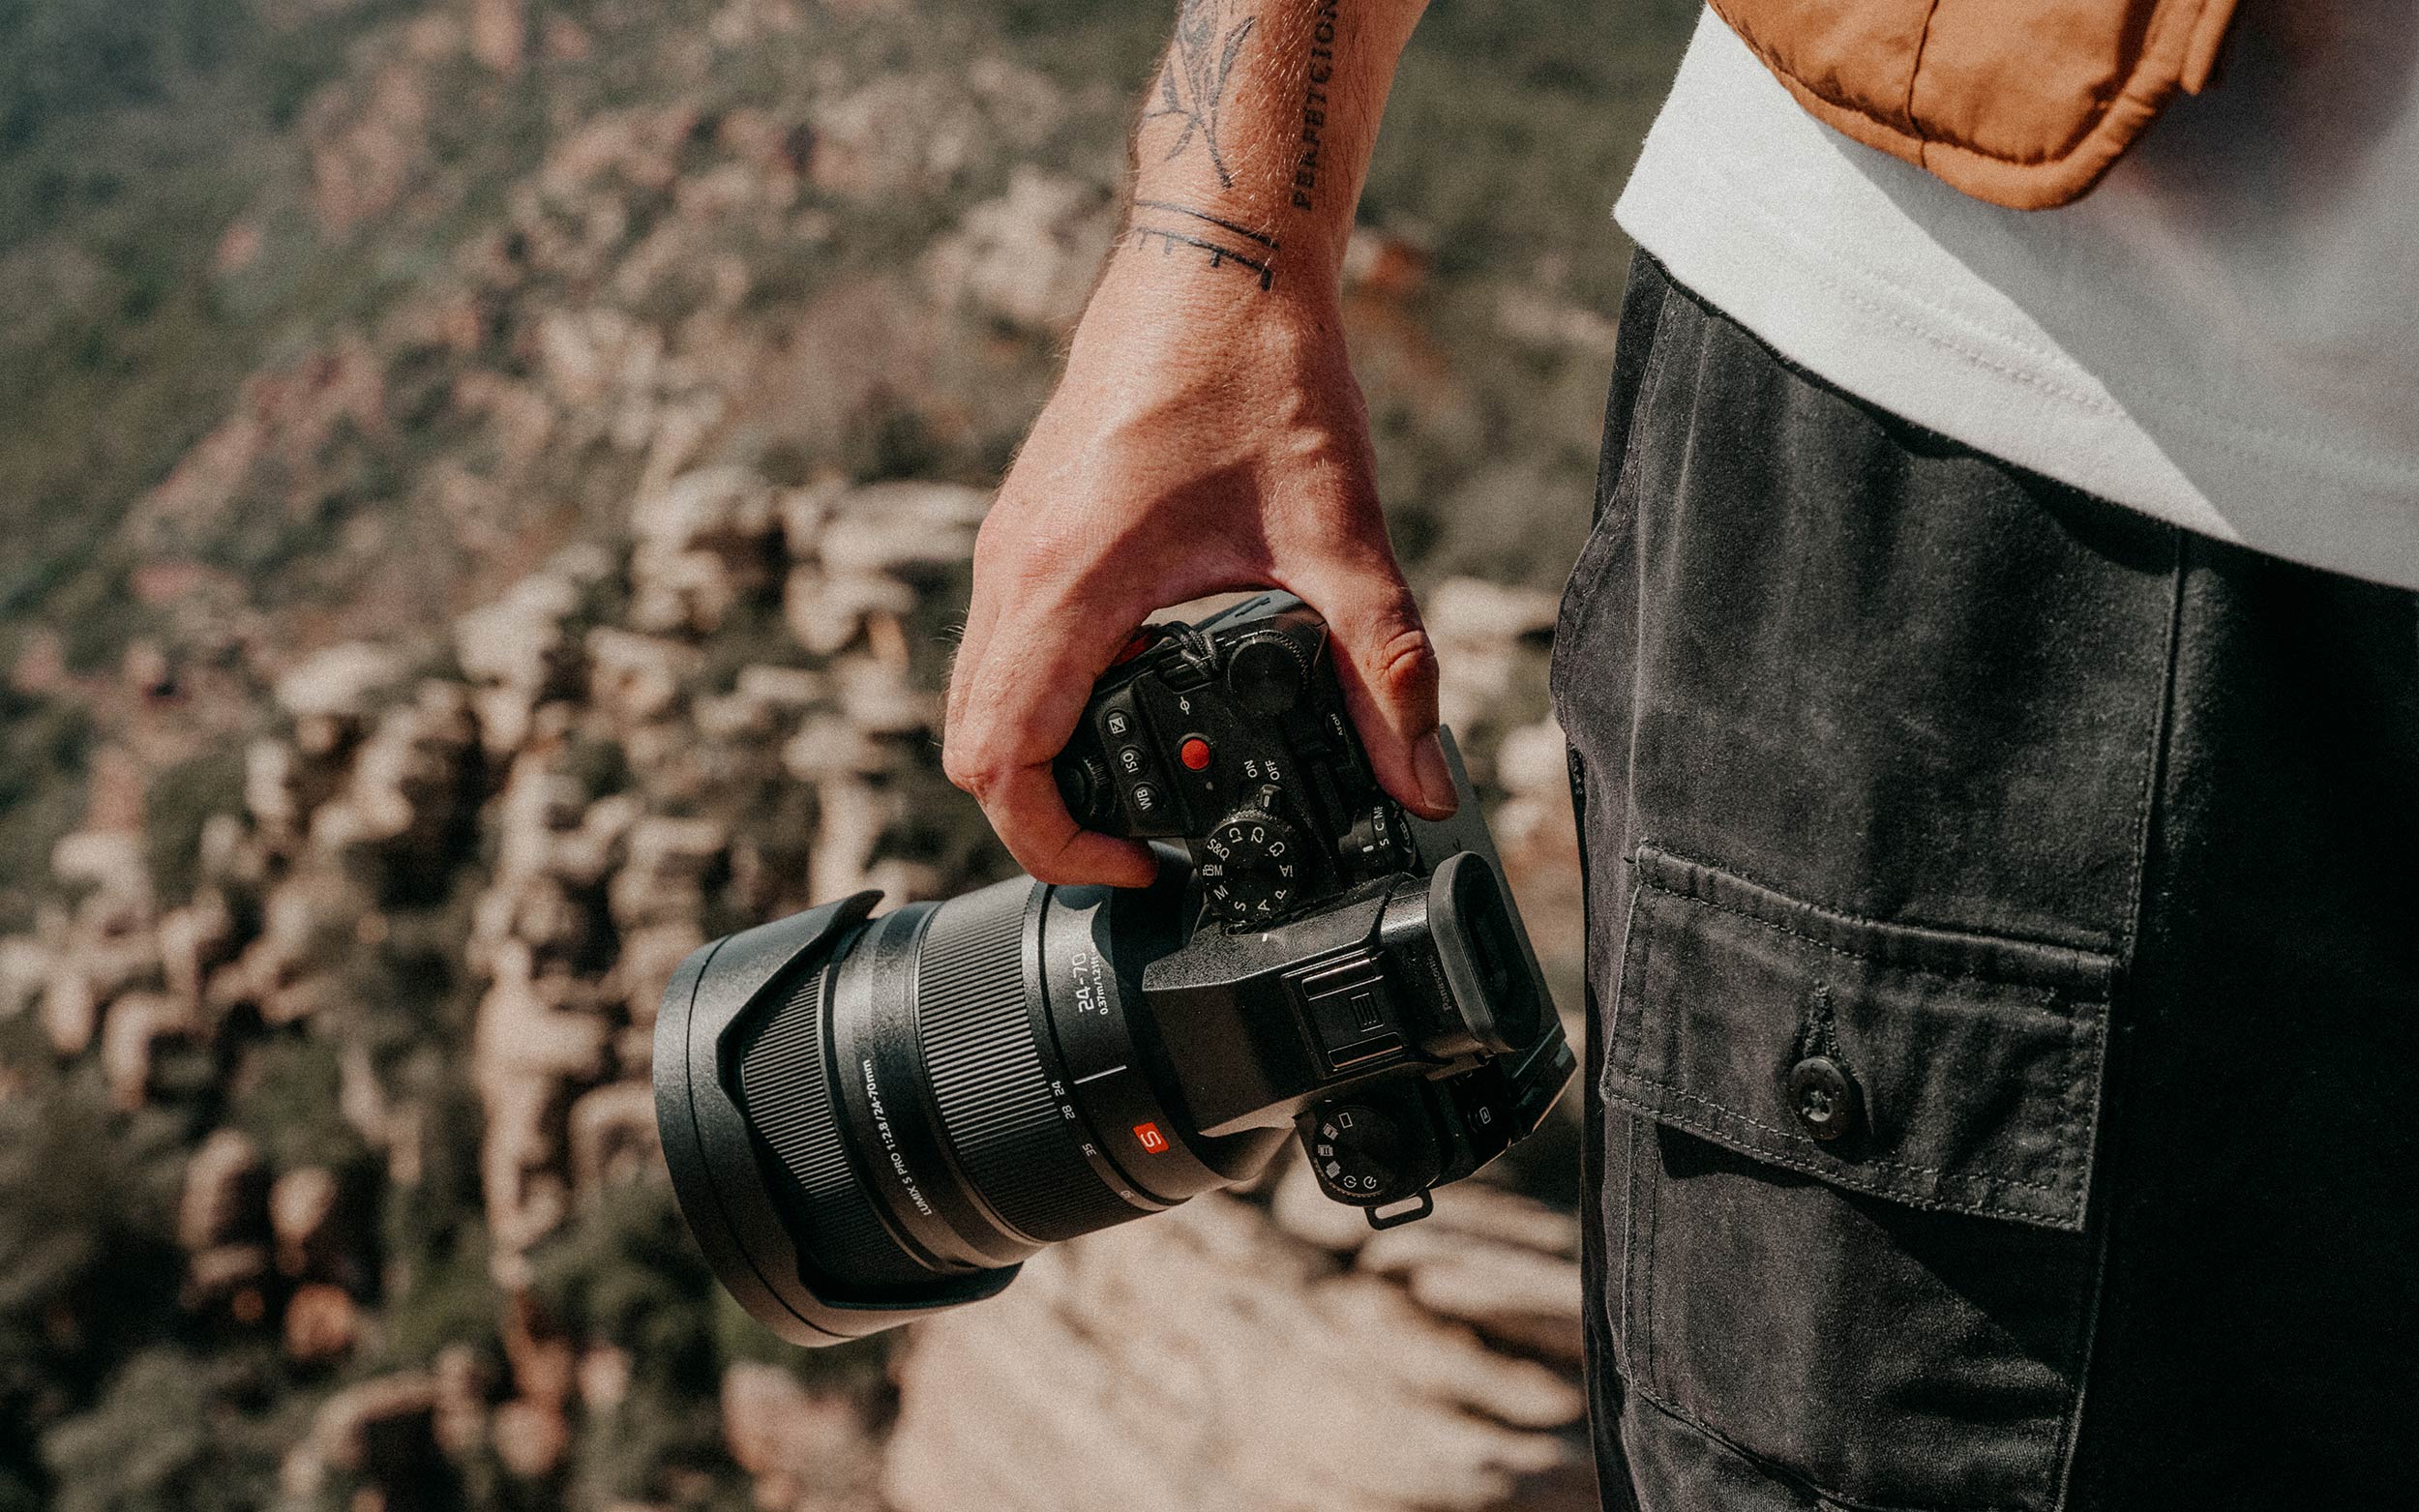
Compact, super sleek design, lightweight, and razor-sharp, the LUMIX S9 is the newest addition to my camera gear setup, and instantly became my weapon of choice when going for a roam around a yet-to-discover place and don’t want to take out loads of heavy camera gear.
The reason for this is the fact that it is super easy to carry around, and extremely straightforward to work with, while still having an impressive 24.2 megapixel full-frame sensor that provides me with equally as impressive stills as its bigger brother the S5II.
Though I have to admit that I had some initial discomfort when I first started shooting without a viewfinder, working with the S9 has grown on me, and I now know how to use it to my advantage. I do, however, still prefer my S5II, since I simply worship working with the combination of an electronic viewfinder and a joystick – but that’s my personal preference.
Another great thing about the S9, is its battery life, which is second to none, making it the perfect camera for travel and outdoor adventures.
I’ve recently carried it around Valencia for two straight days, and surprisingly still had battery life – Panasonic officially states that you can shoot around 470 shots a battery, which is truly something special if you ask me
While I only just started shooting with it, I already figured that the S9 is a beast for stills. Add to that a weight of only 486 grams, and the fact I can easily switch my lenses between the S9 and S5II, and I’m pretty sure I will value it even more as time goes on.
My Lenses
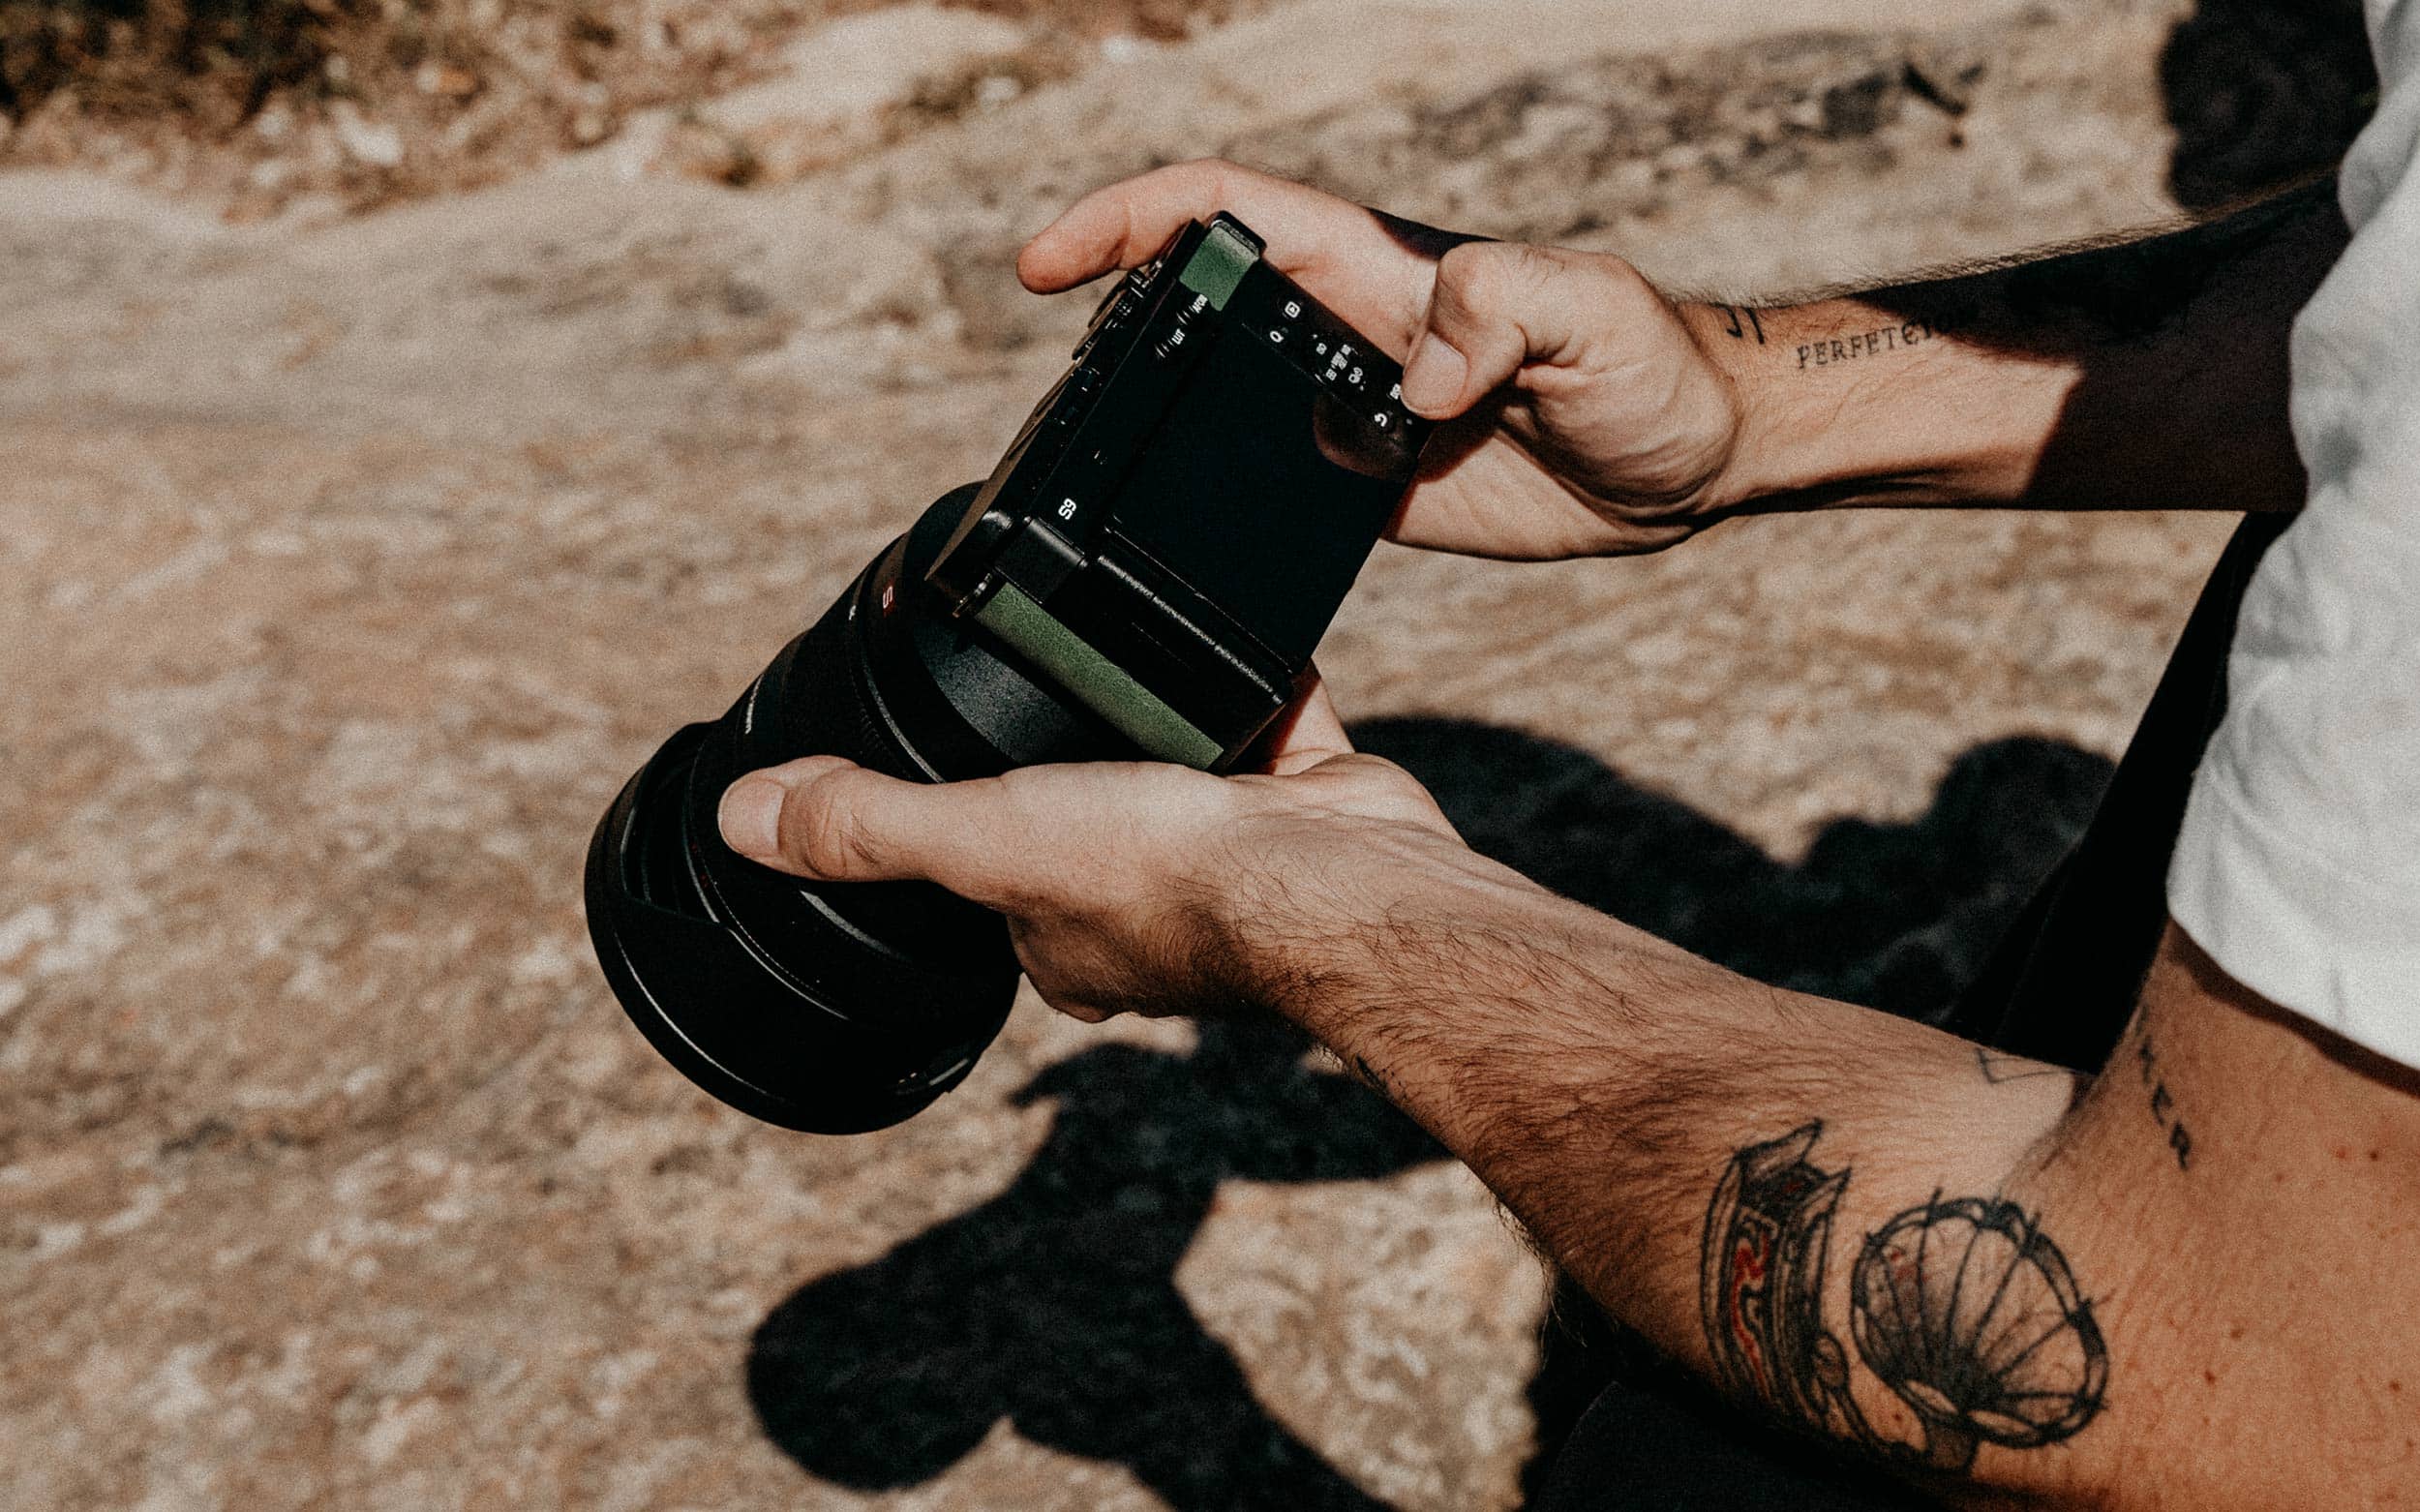
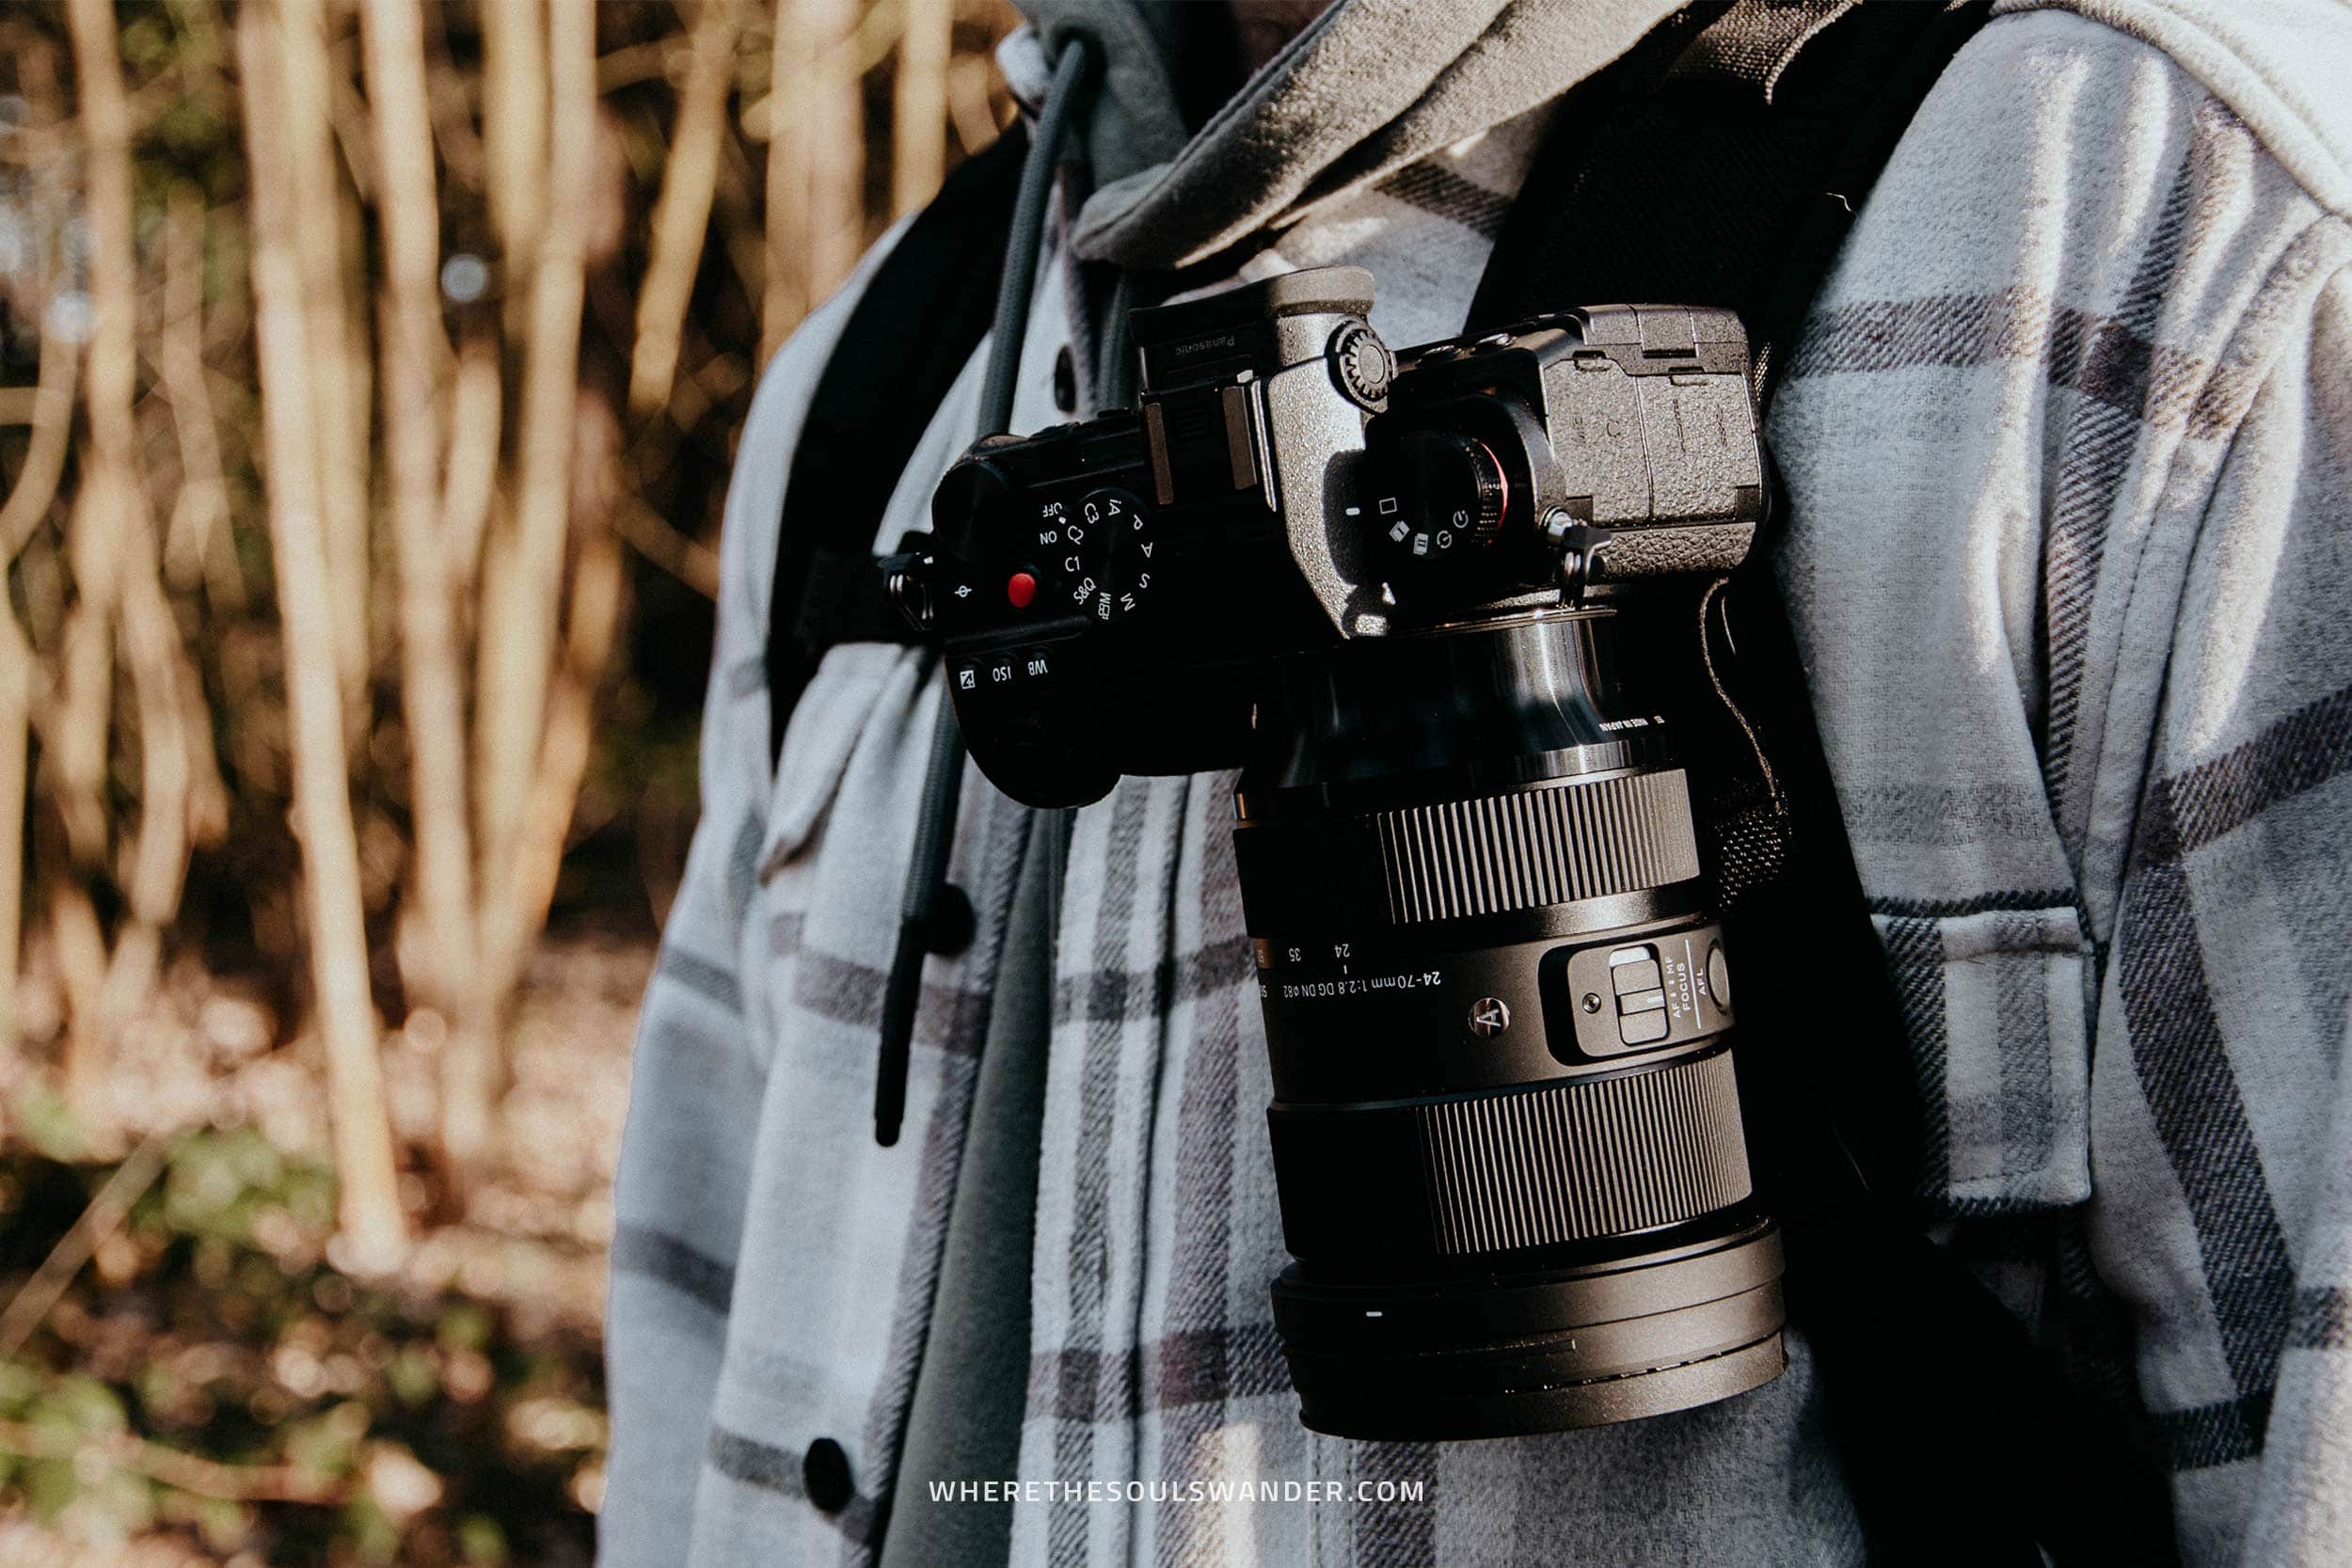
Sigma 24-70MM F2.8
The Sigma 24-70MM F2.8 is by far my favourite lens and is basically always mounted to my Lumix S5.
The wide zoom range gives me the freedom to shoot beautiful landscape stills, while it’s also a brilliant lens to shoot street photography and portraits.
While it’s slightly larger than other 24-70MM lenses, the F2.8 makes it one of the most versatile zoom lenses in this zoom range. Add to that, that it’s insanely sharp and still relatively compact, and the Sigma 24 -70MM F2.8 becomes an excellent option for travel photography.
It’s one of the lenses that I wanted to add to my camera bag for a long time, so when I finally made the purchase, I couldn’t wait to plan my next trip overseas.
Panasonic Lumix 50MM F1.8
This lens was part of my Lumix S5 kit, and despite being a kit lens – the Lumix 50MM F1.8 has been an absolute beast.
With its F1.8, this lens is extremely sharp and is able to capture an excellent bokeh effect too, making it the perfect lens for street photography and portraits.
It also performs incredibly well in low-light situations, which makes shooting at night a lot more fun.
My drone
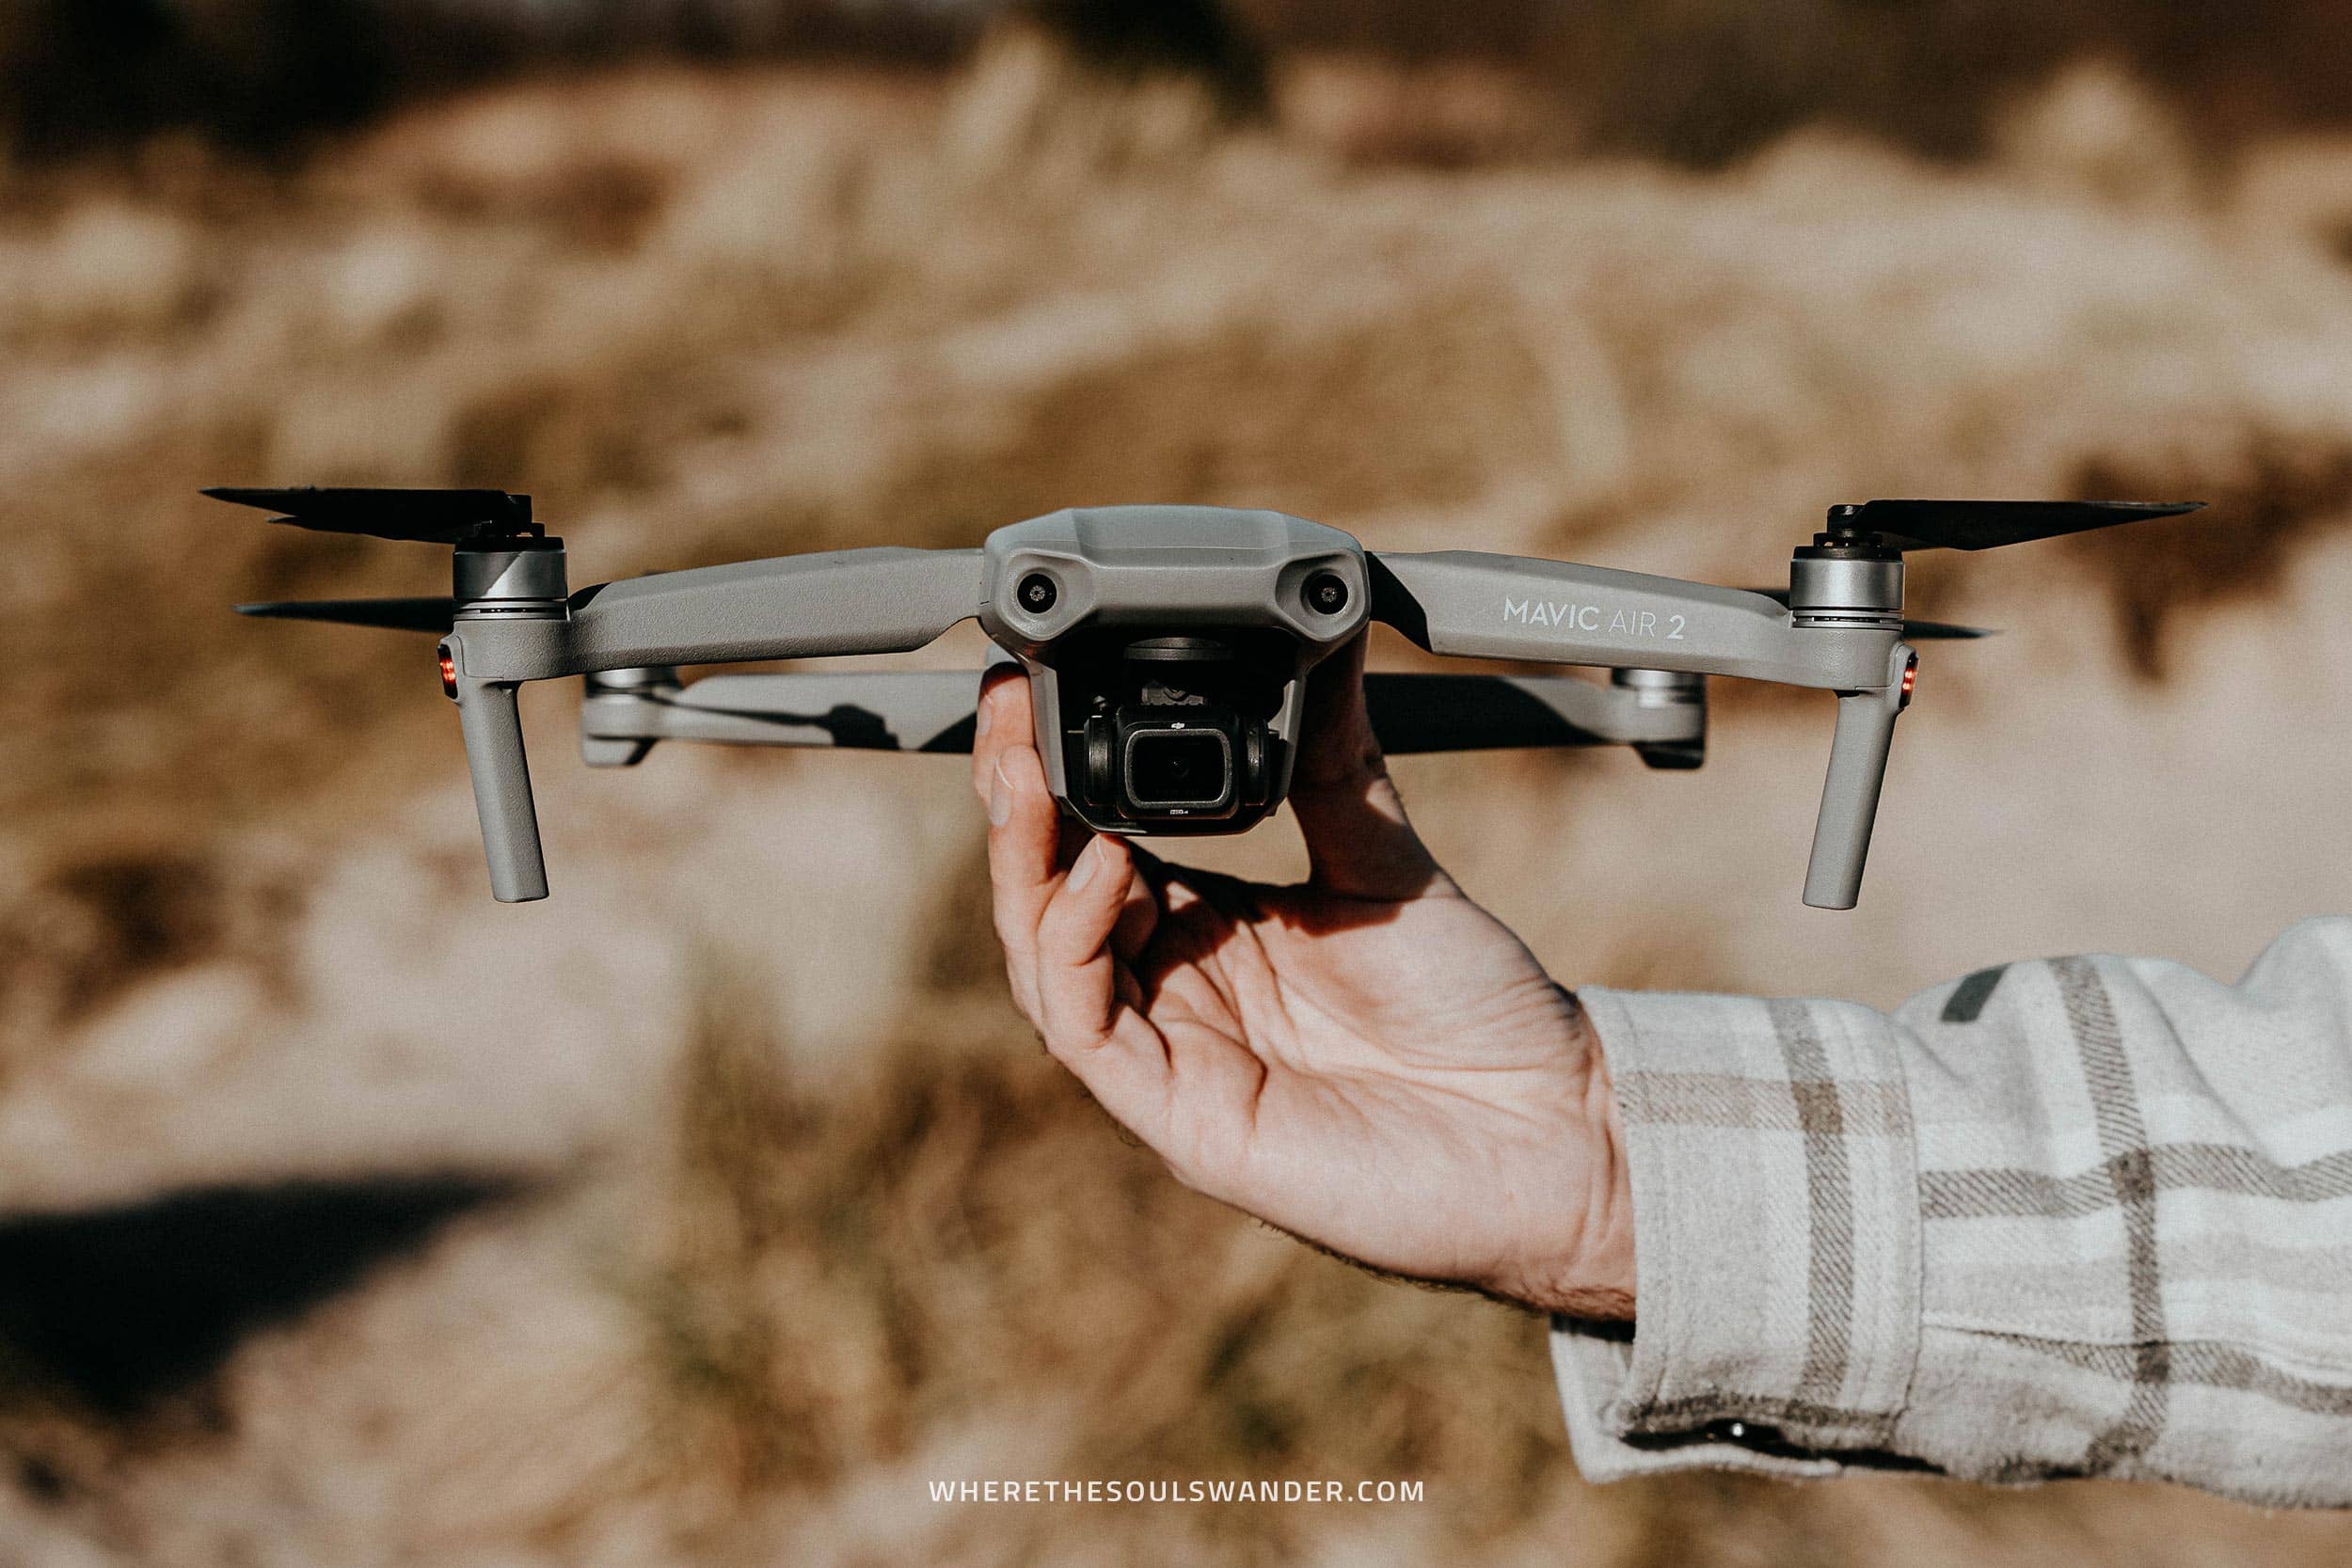
DJI Mavic Air 2
After using the DJI Mavic Air for over two years to get my aerial shots, I chose to replace it with DJI’s newer model; the Mavic Air II. To this day, I’m still pretty stoked about the upgrade.
The reason why I chose the Mavic Air II, is that it’s much lighter than DJI’s Mavic Pro series, while it still shoots high-resolution images in JPEG + RAW as well as high-definition 4K video, which makes it the perfect drone for travelling.
If there’s one thing that adds a new dimension to your travel photography game, it will definitely be the purchase of a drone.
For me, my drone has quickly become my favourite piece of photography gear, since it provides me with the options to capture a landscape or city from totally different perspectives.
My camera Bag
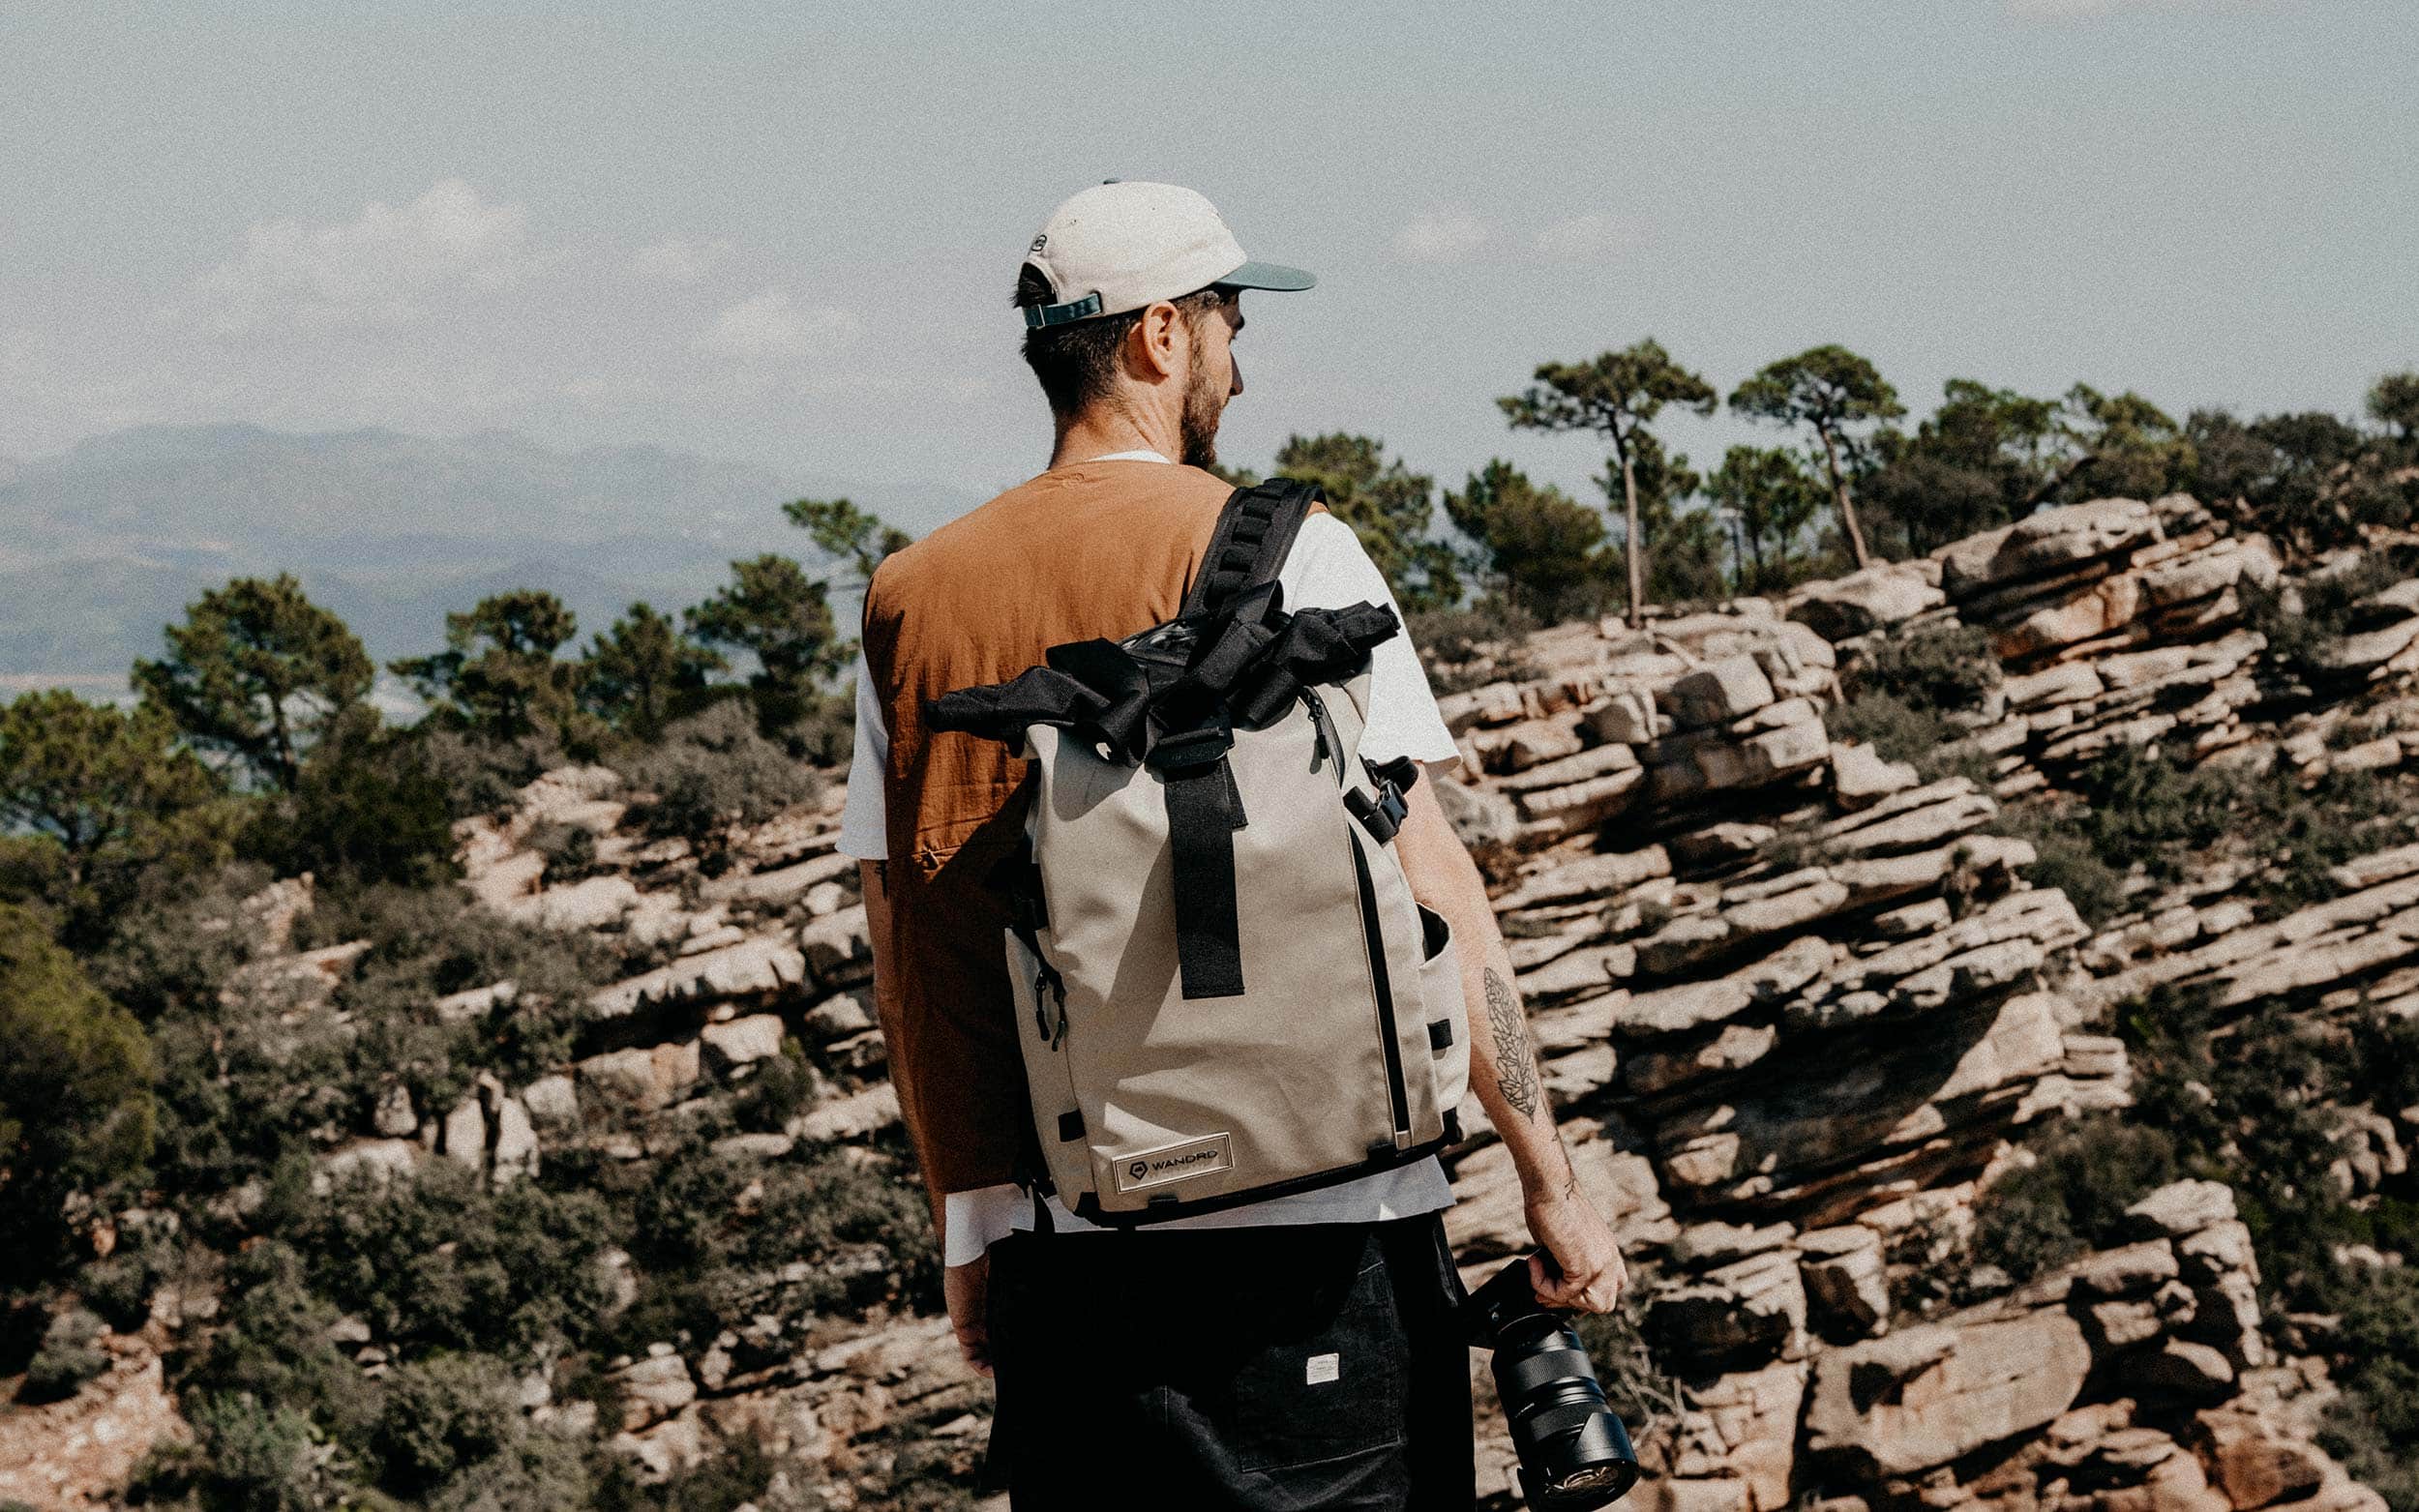
Wandrd PRVKE 31L
My go-to backpack for travel and everyday commuting is the Wandrd PRVKE 31L, a well-thought-out backpack with all the innovative spaces to keep my camera gear protected and organized in tough situations and environments.
The award-winning PRVKE backpack has a separate laptop sleeve, a secure passport pocket, and the possibility to organize your camera gear as exactly as you wish, to name but a few of the many handy features.
On top of that, the PRVKE is weather resistant and pretty damn comfortable, which for me, is an absolute must when you’re carrying around tons of heavy camera gear.
My camera accessories
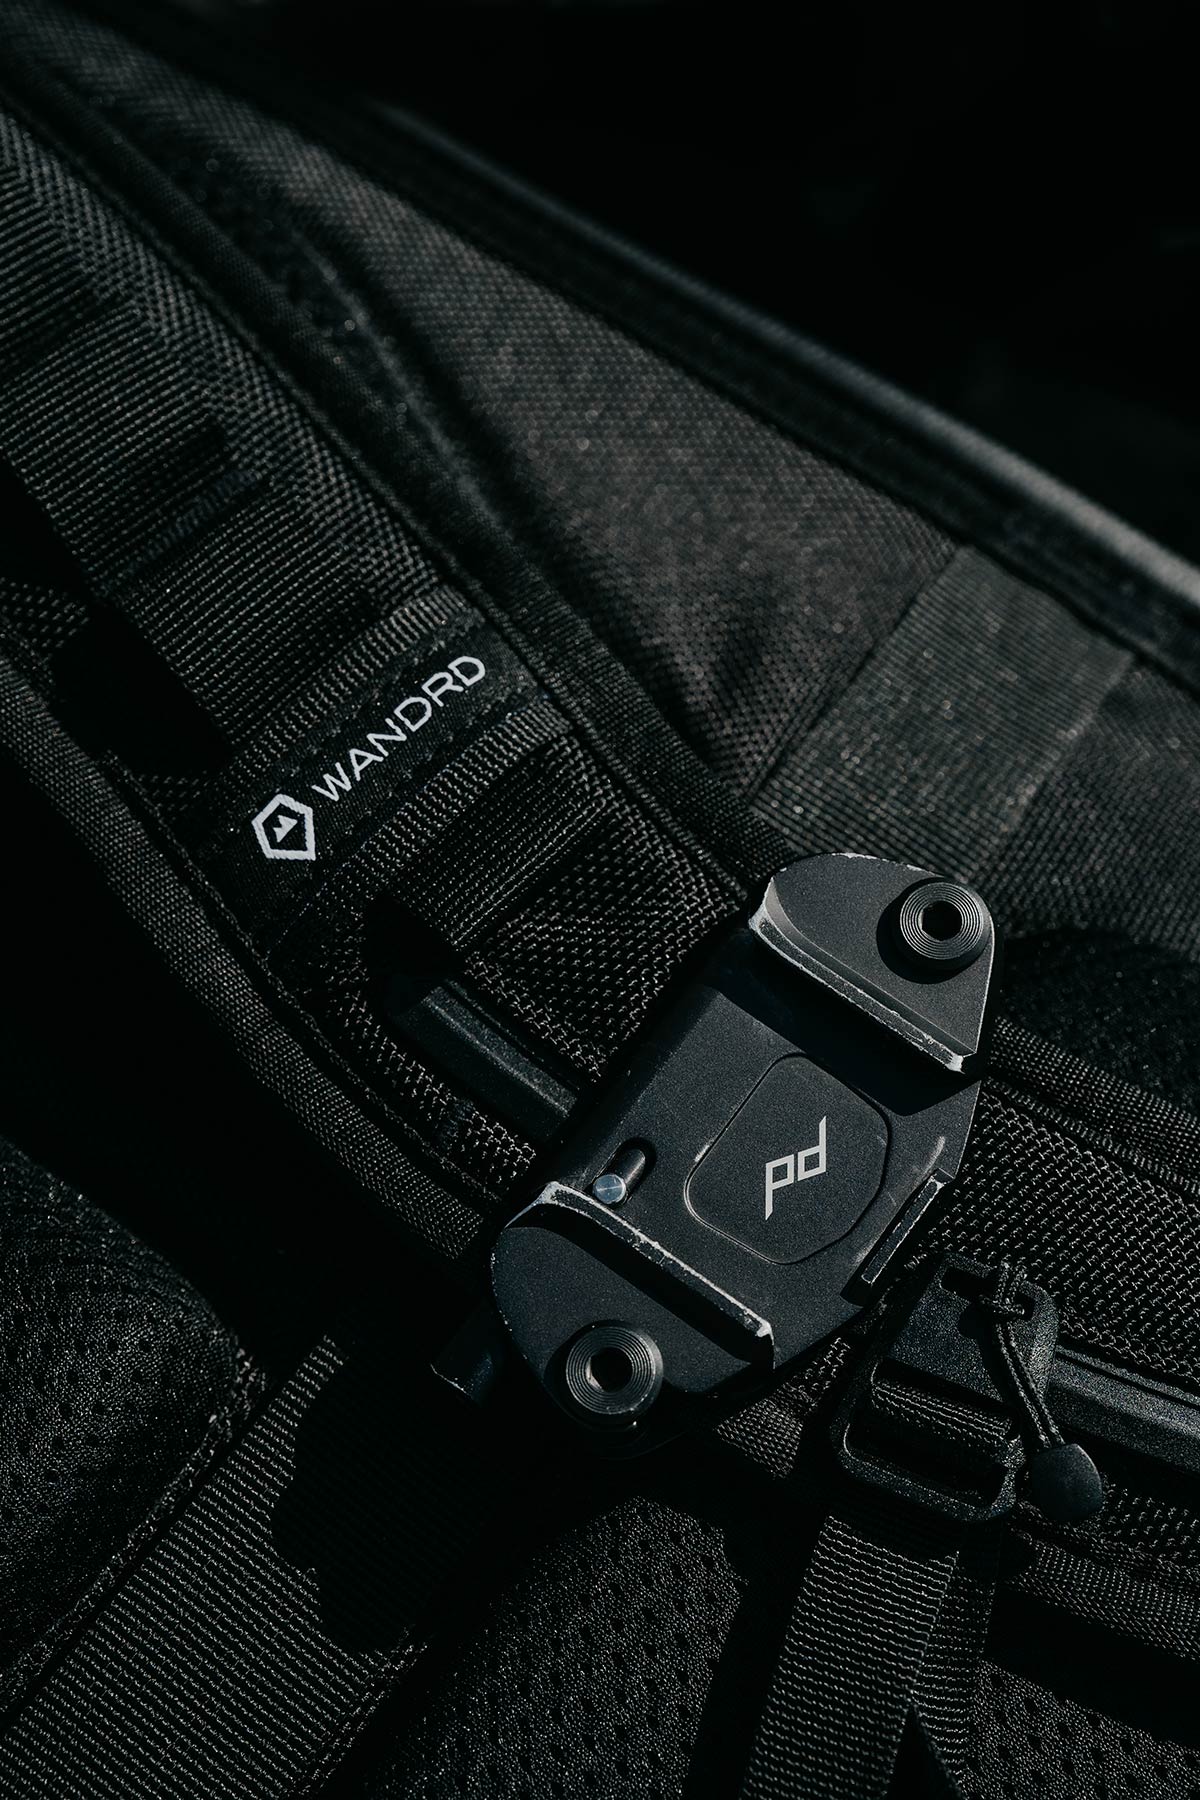
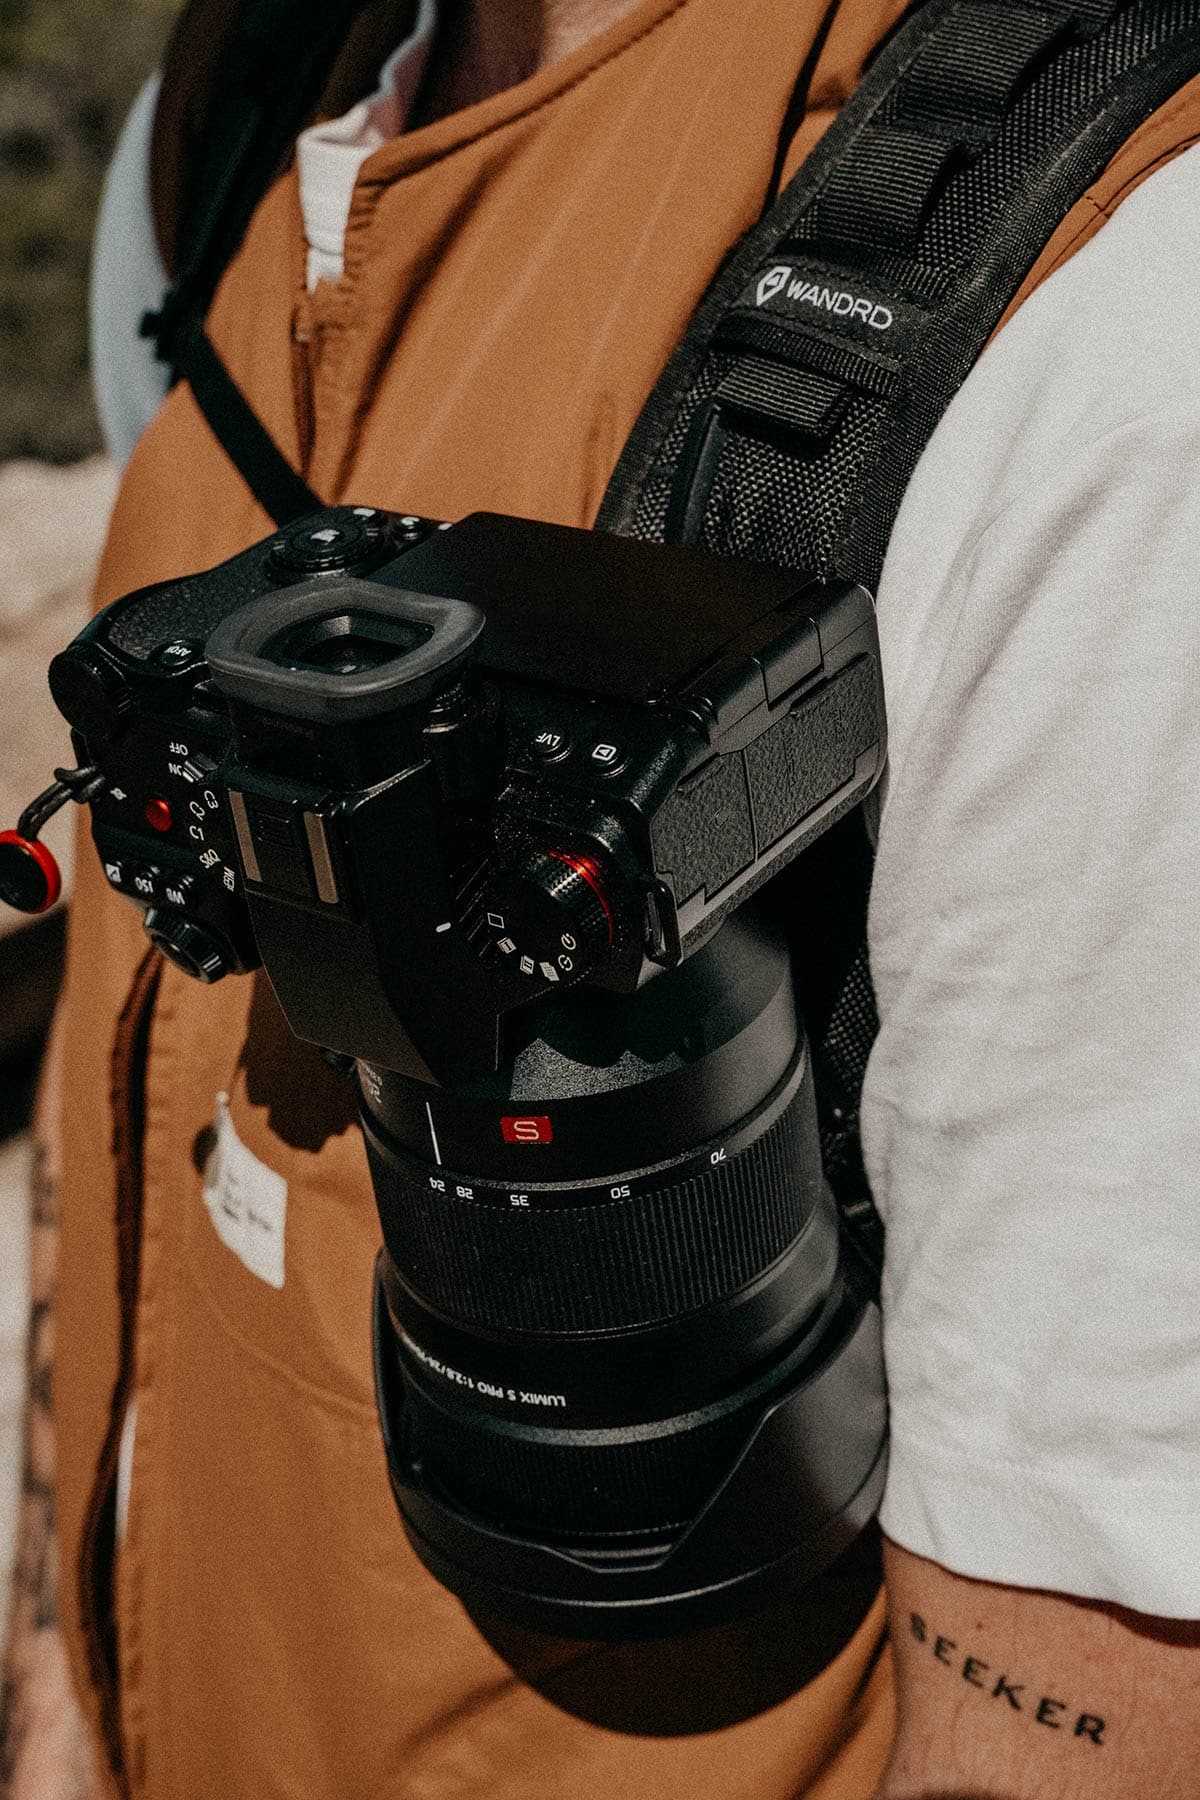
Peak Design Capture
My favourite piece of gear by a milestone, the Peak Design Capture clip is an easily accessible camera clip that gives quick access to your camera, while also keeping your camera stable and secure.
One of the greatest advantages of the Peak Design Capture is that you will have your camera in hand reach at all times, meaning you’ll easily capture a spontaneous scene.
On top of that, I feel confident when my camera is attached to the capture during my travels since it’s stable and completely locked while hiking or wandering around a jam-packed city.
Cullmann Nanomax 400T Tripod
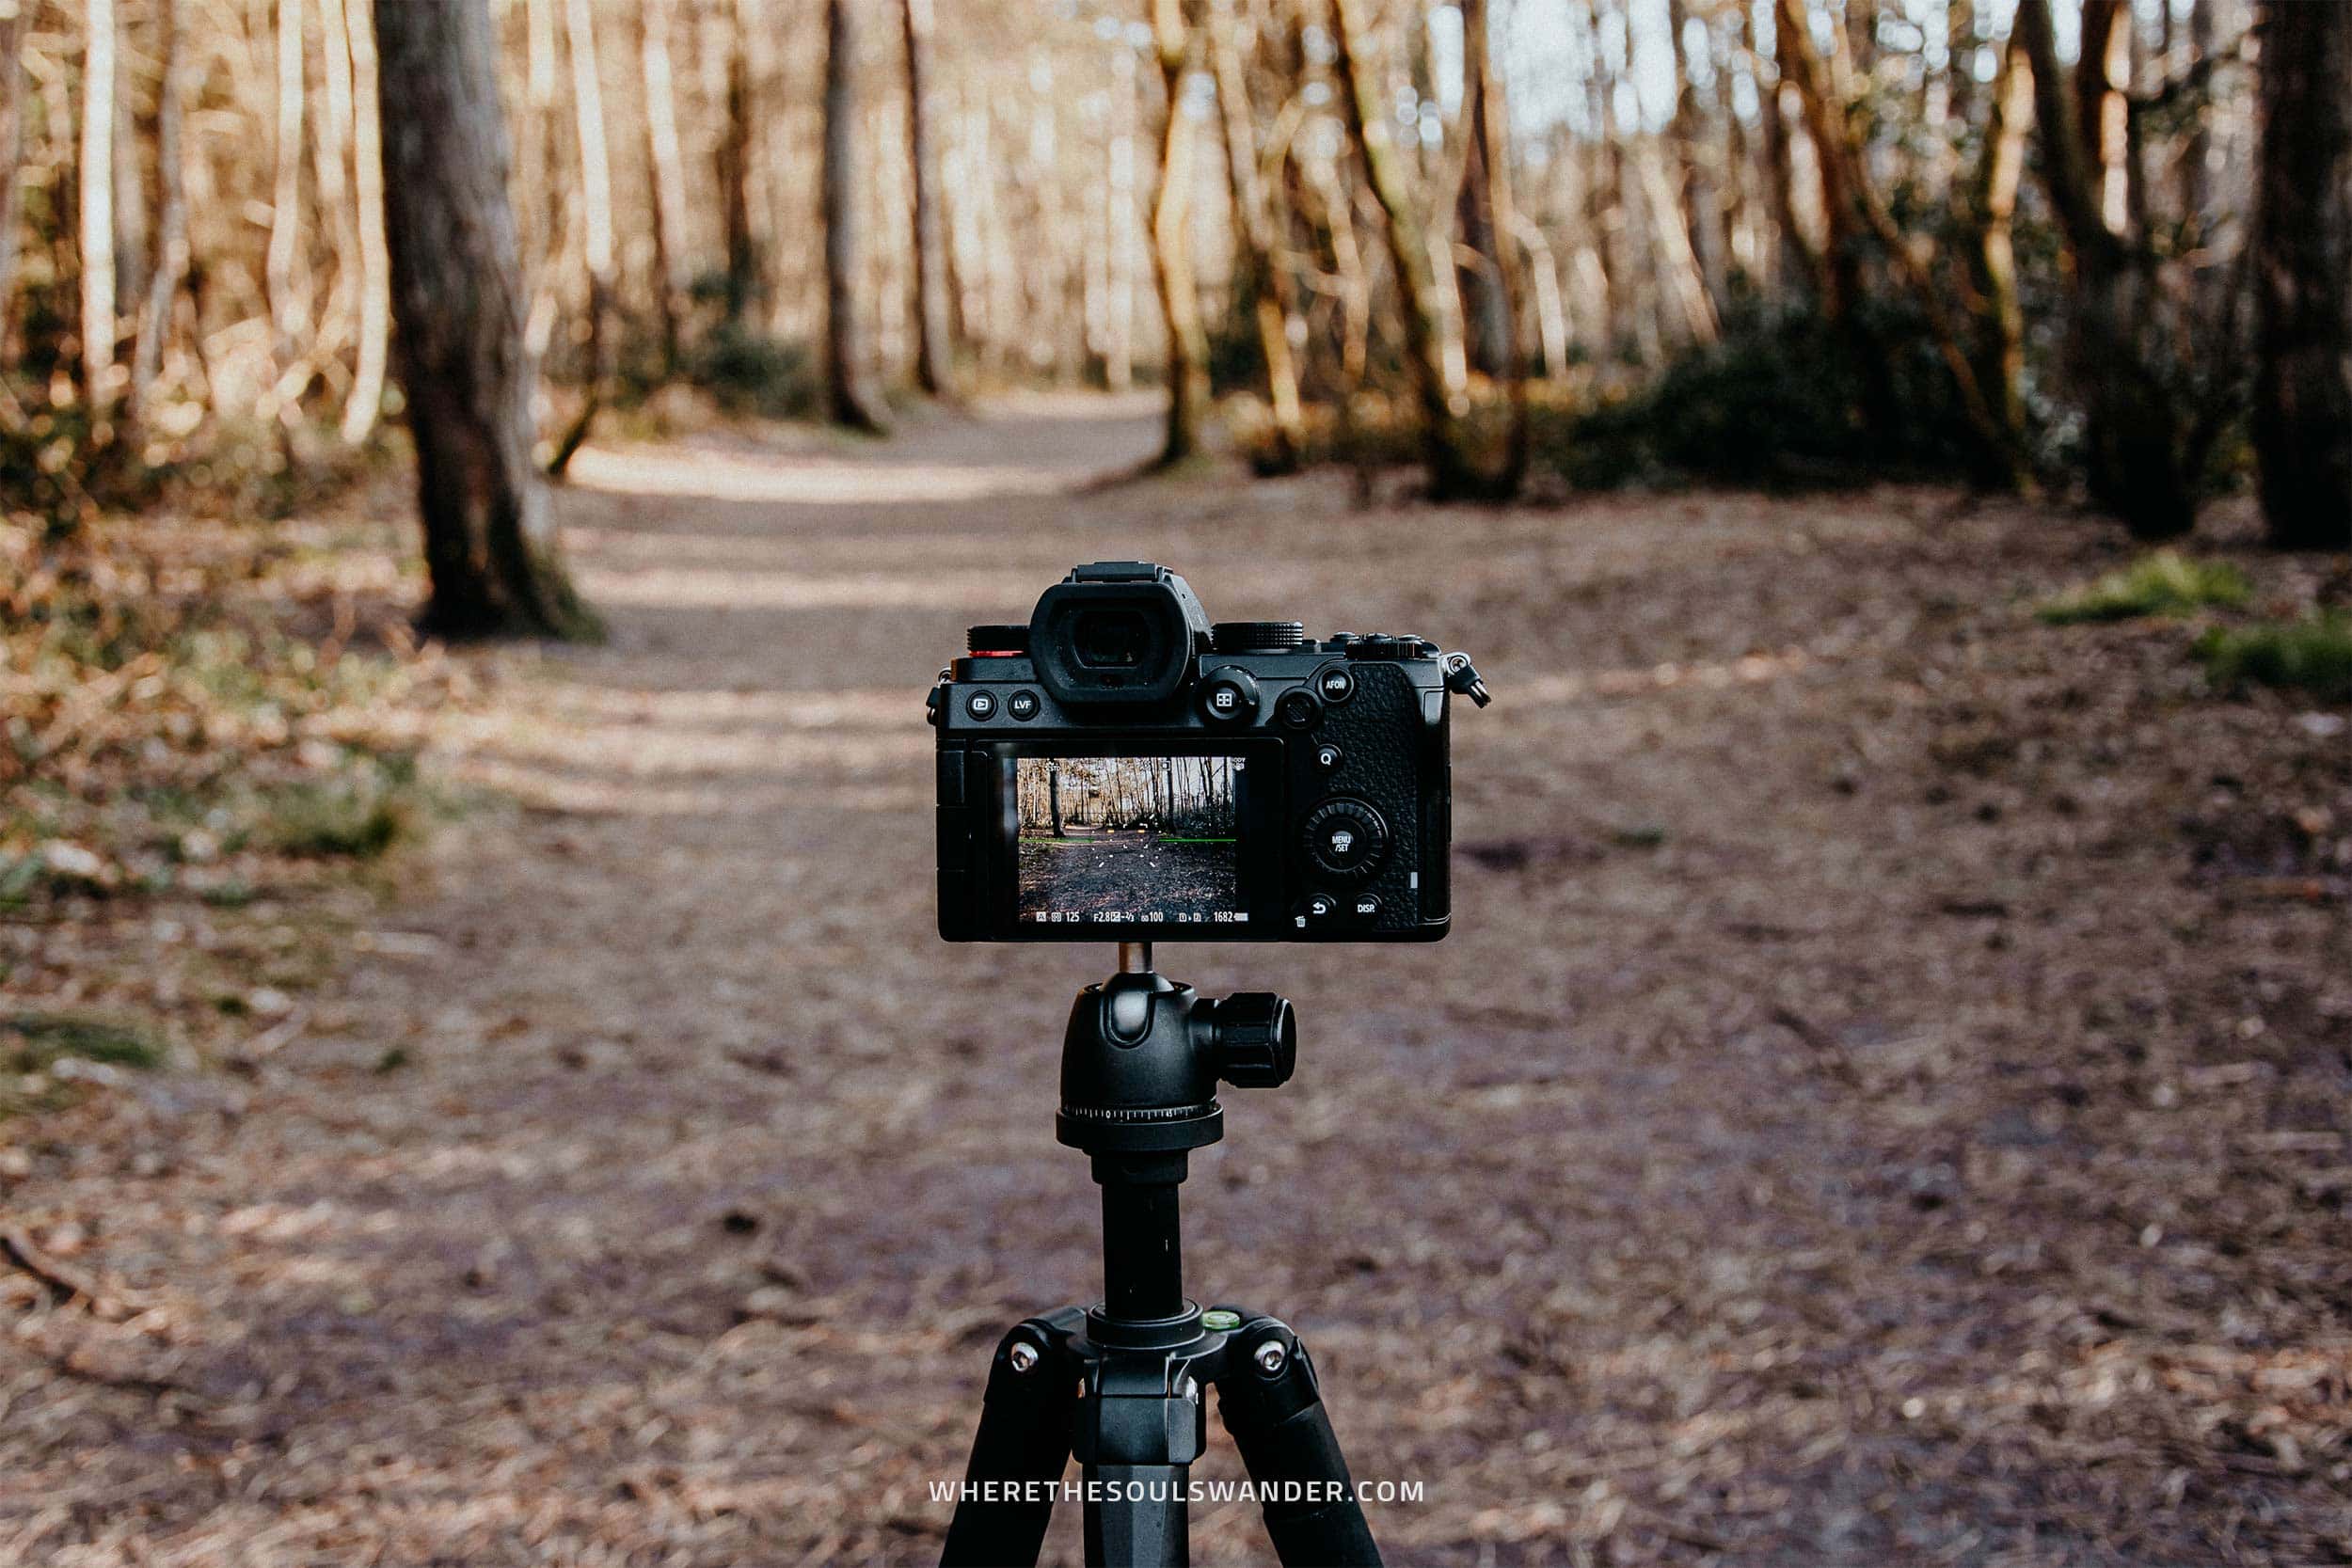
As a travel and landscape photographer, a tripod has become an essential part of my photography gear.
I often use my Cullmann Nanomax 400T Tripod in low light situations, or when I use the bracketing function of my camera to get the sharpest possible image of an incredible piece of scenery.
Additionally, it comes in extremely handy when getting shots around sunsets, sunrises and night.
In some cases, I also use it to get a shot with myself in it.
Since the Cullmann Nanomax 400T is rather compact, it is a perfect tripod for travel.
SanDisk Memory cards
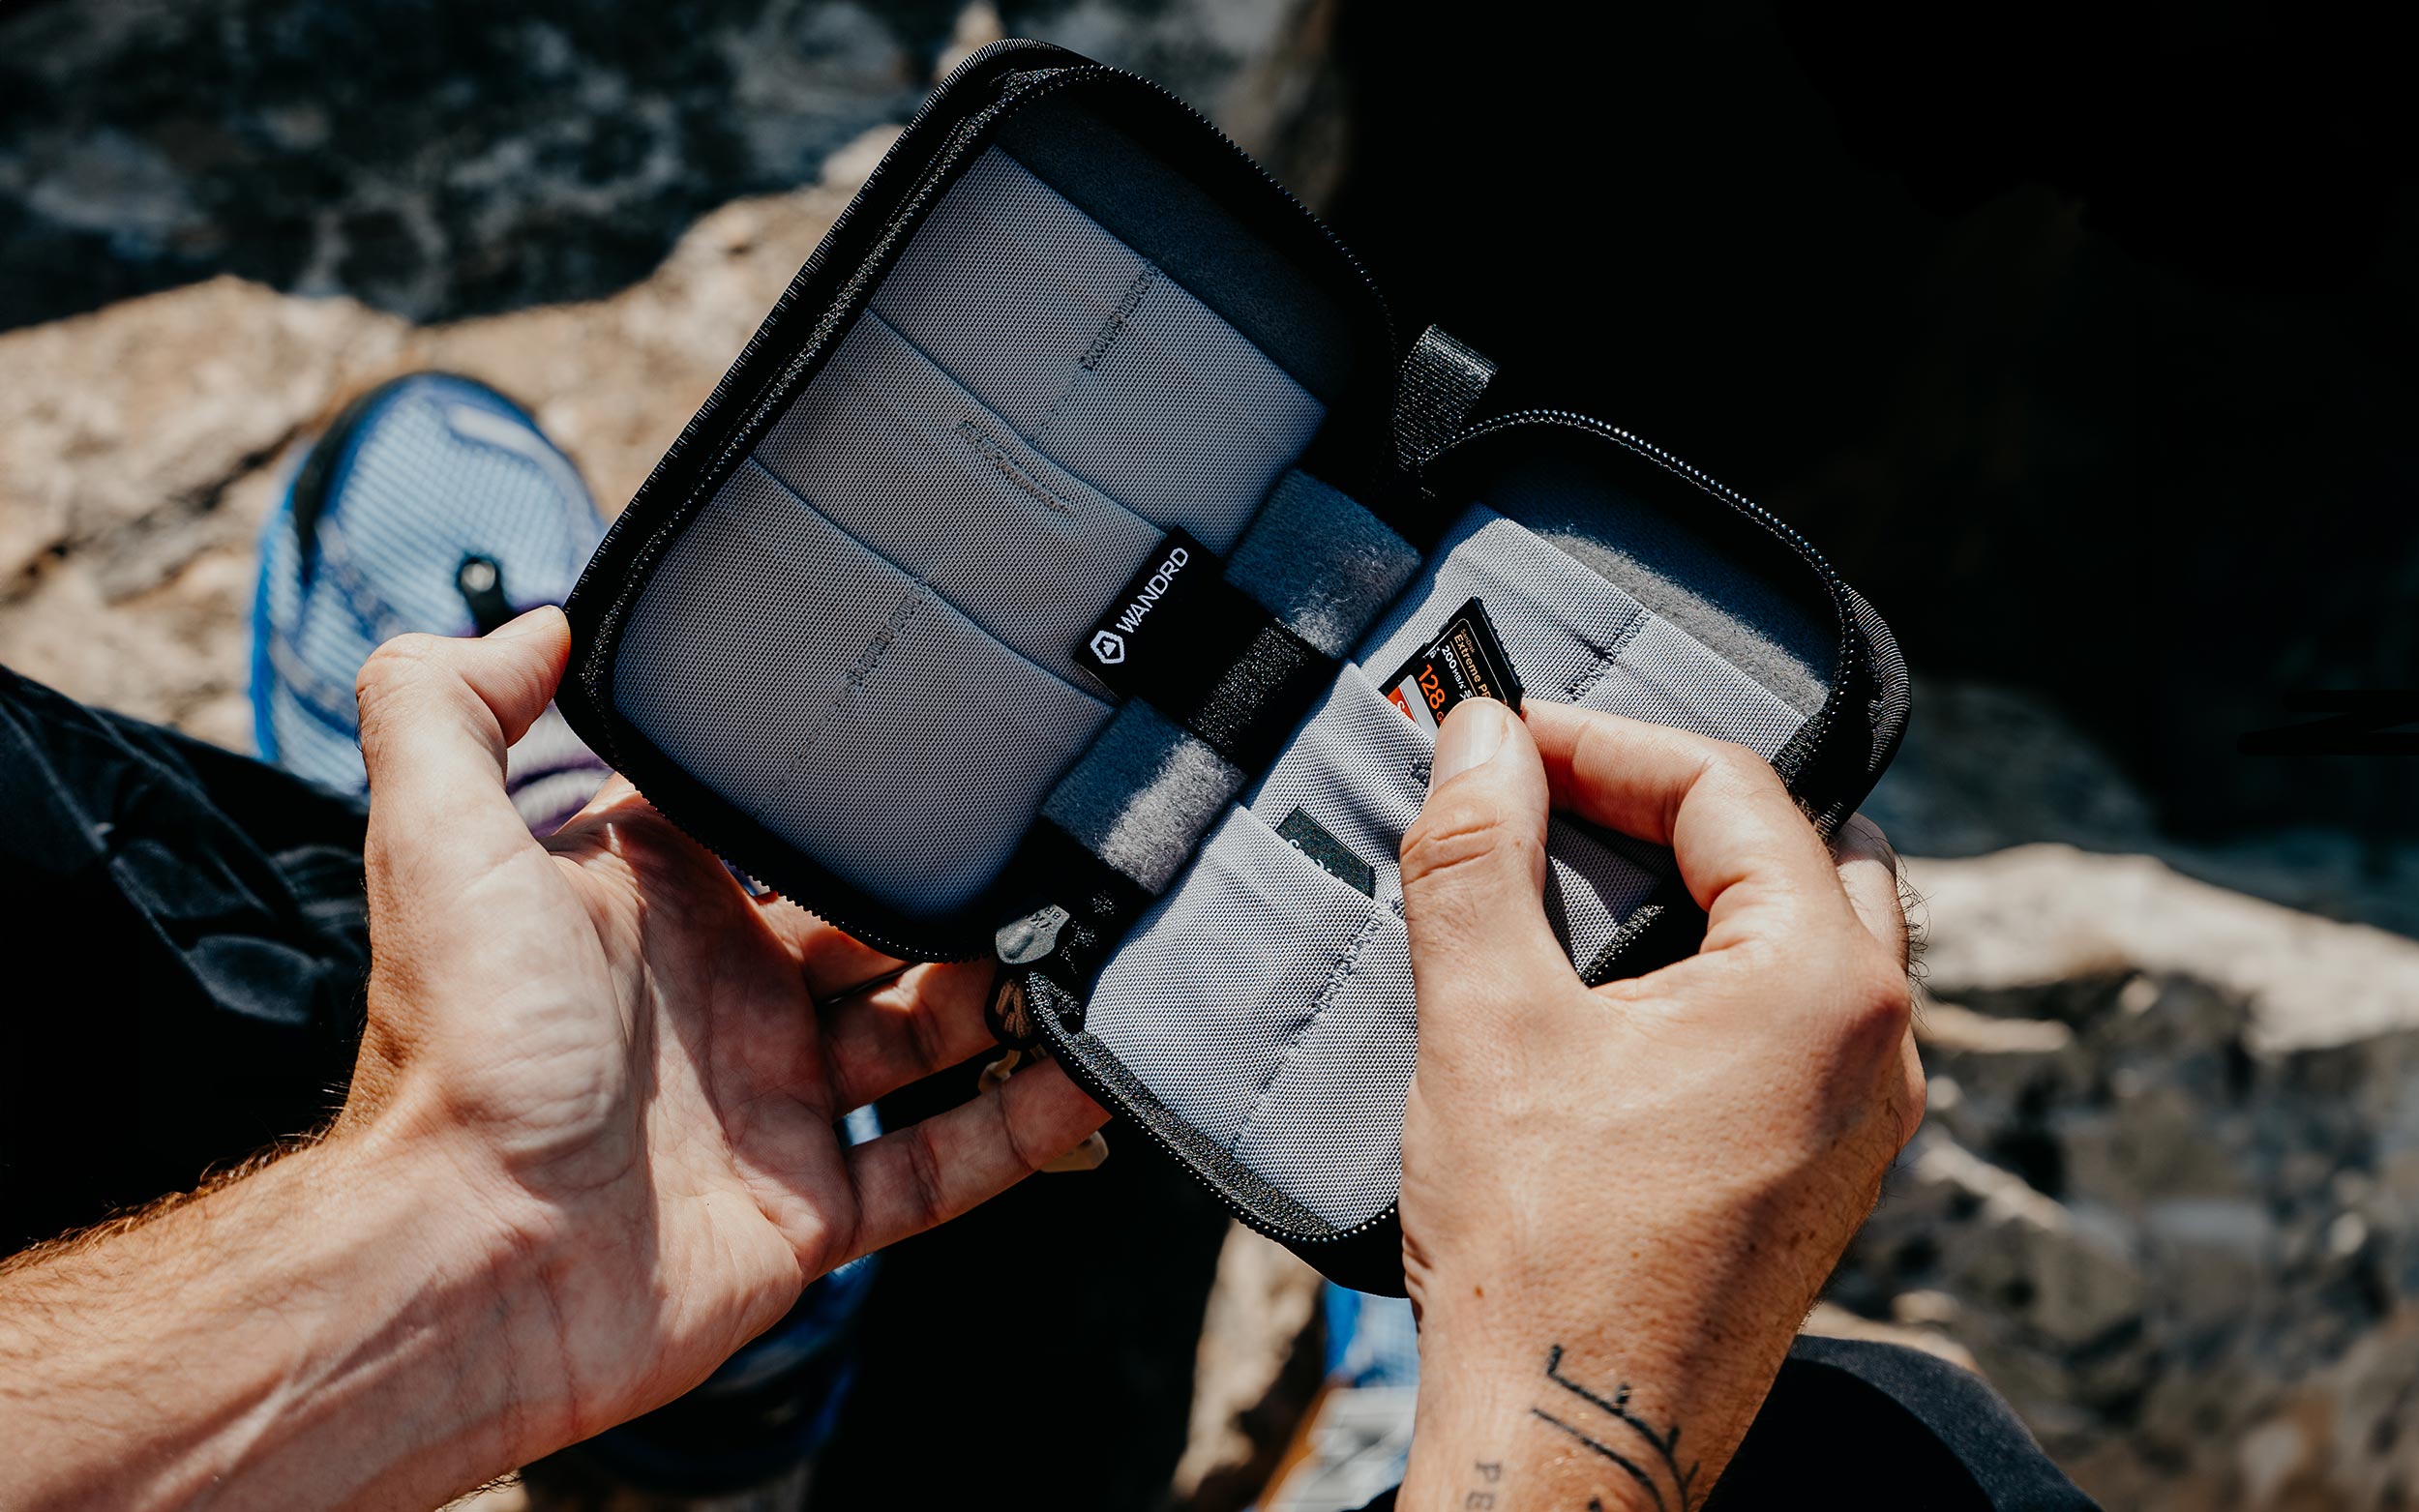
Since I shoot in RAW with high-quality photography gear, I need quite a few SanDisk SD cards to keep me shooting while on the road.
My favourite option, and the one I keep coming back to again and again, are the SanDisk Extreme Pro, cards as they’re one of the fastest and most reliable options on the market.
With speeds of up to 300MB/s read and 260MB/s write, these SD cards can handle quite an impressive workload, which is of great value for my post-production workflow too.
Seagate Hard drives
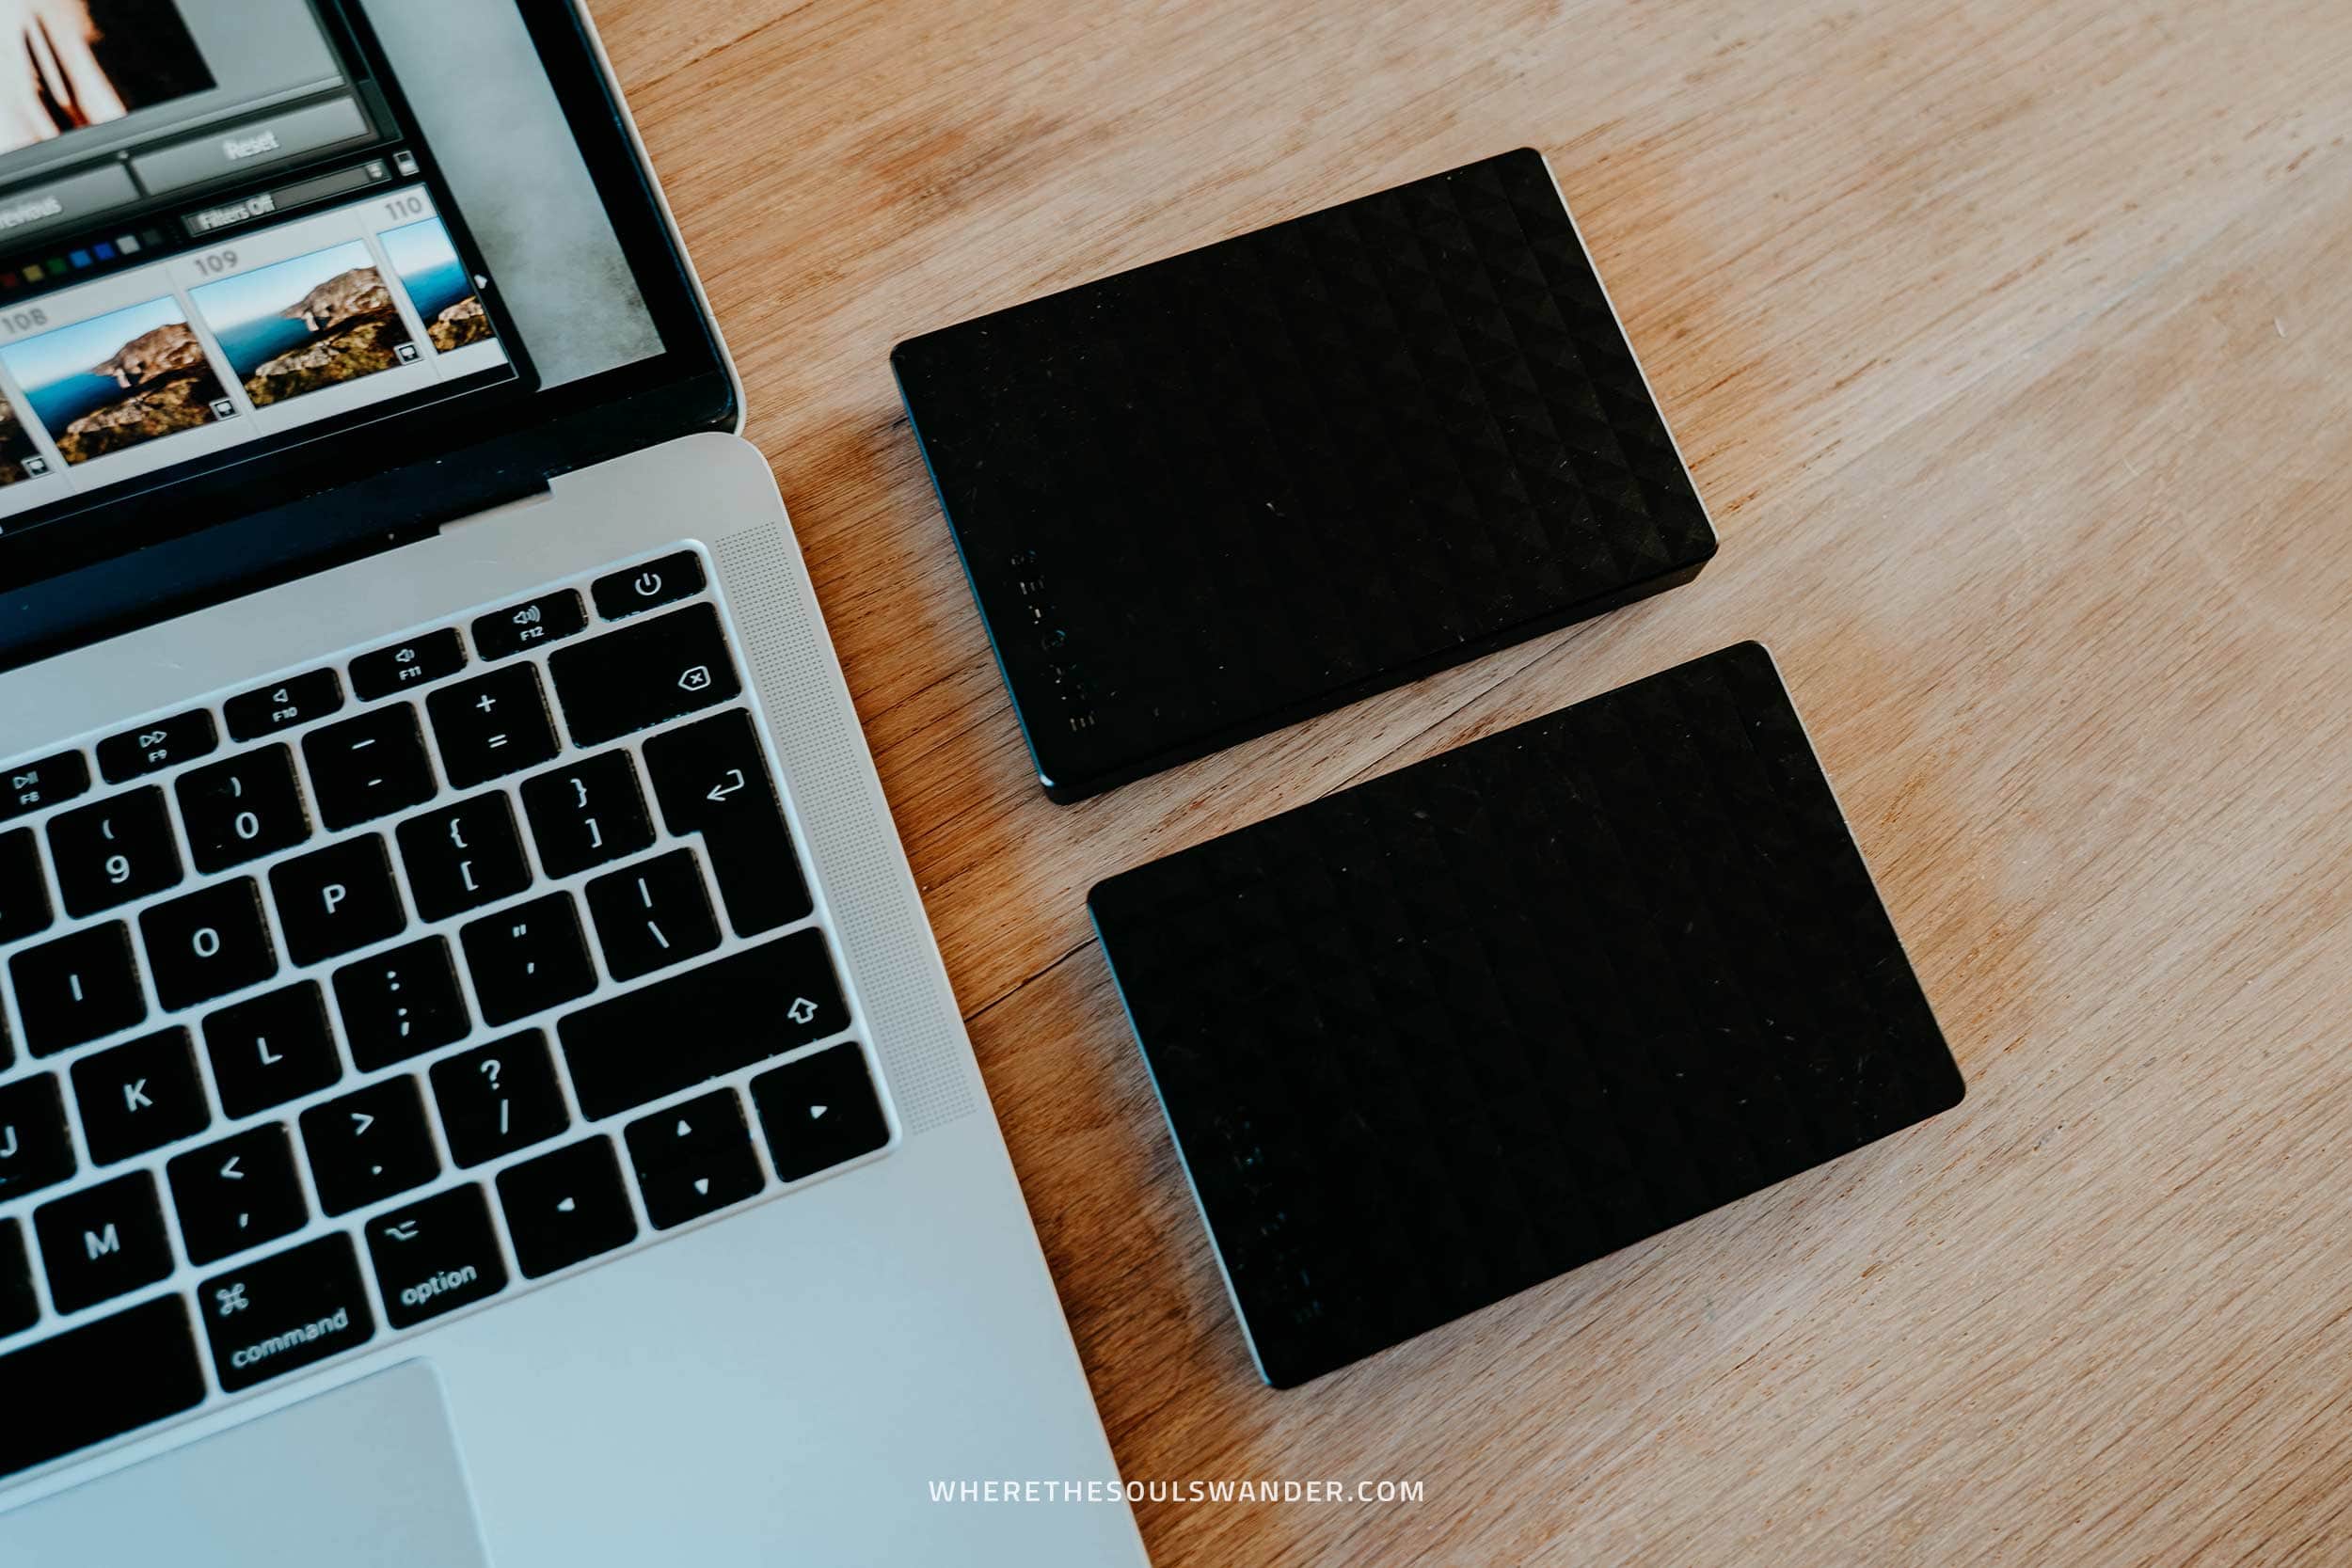
To keep my content organized, I always have a Seagate Hard Drive within my backpack, so I can efficiently back up my photos during a trip.
As soon as I come home from my travels, I make an extra backup on a separate hard drive – cause we all know, losing your footage is the worst thing that could happen to a photographer.
Cleaning Kit
To me, nothing is more important than keeping my expensive lenses dust and fingerprint-free.
From my experience it doesn’t matter how mindful you are, there’s always a chance that you’ll find one or two greasy fingerprints on your lenses – that’s where a cleaning kit comes in handy.
For that reason, I’m always carrying a few microfiber Lens cloths and a lens pen to clean my glass. Additionally, I also use an air blower when there’s dust on my sensor.
MacBook Pro
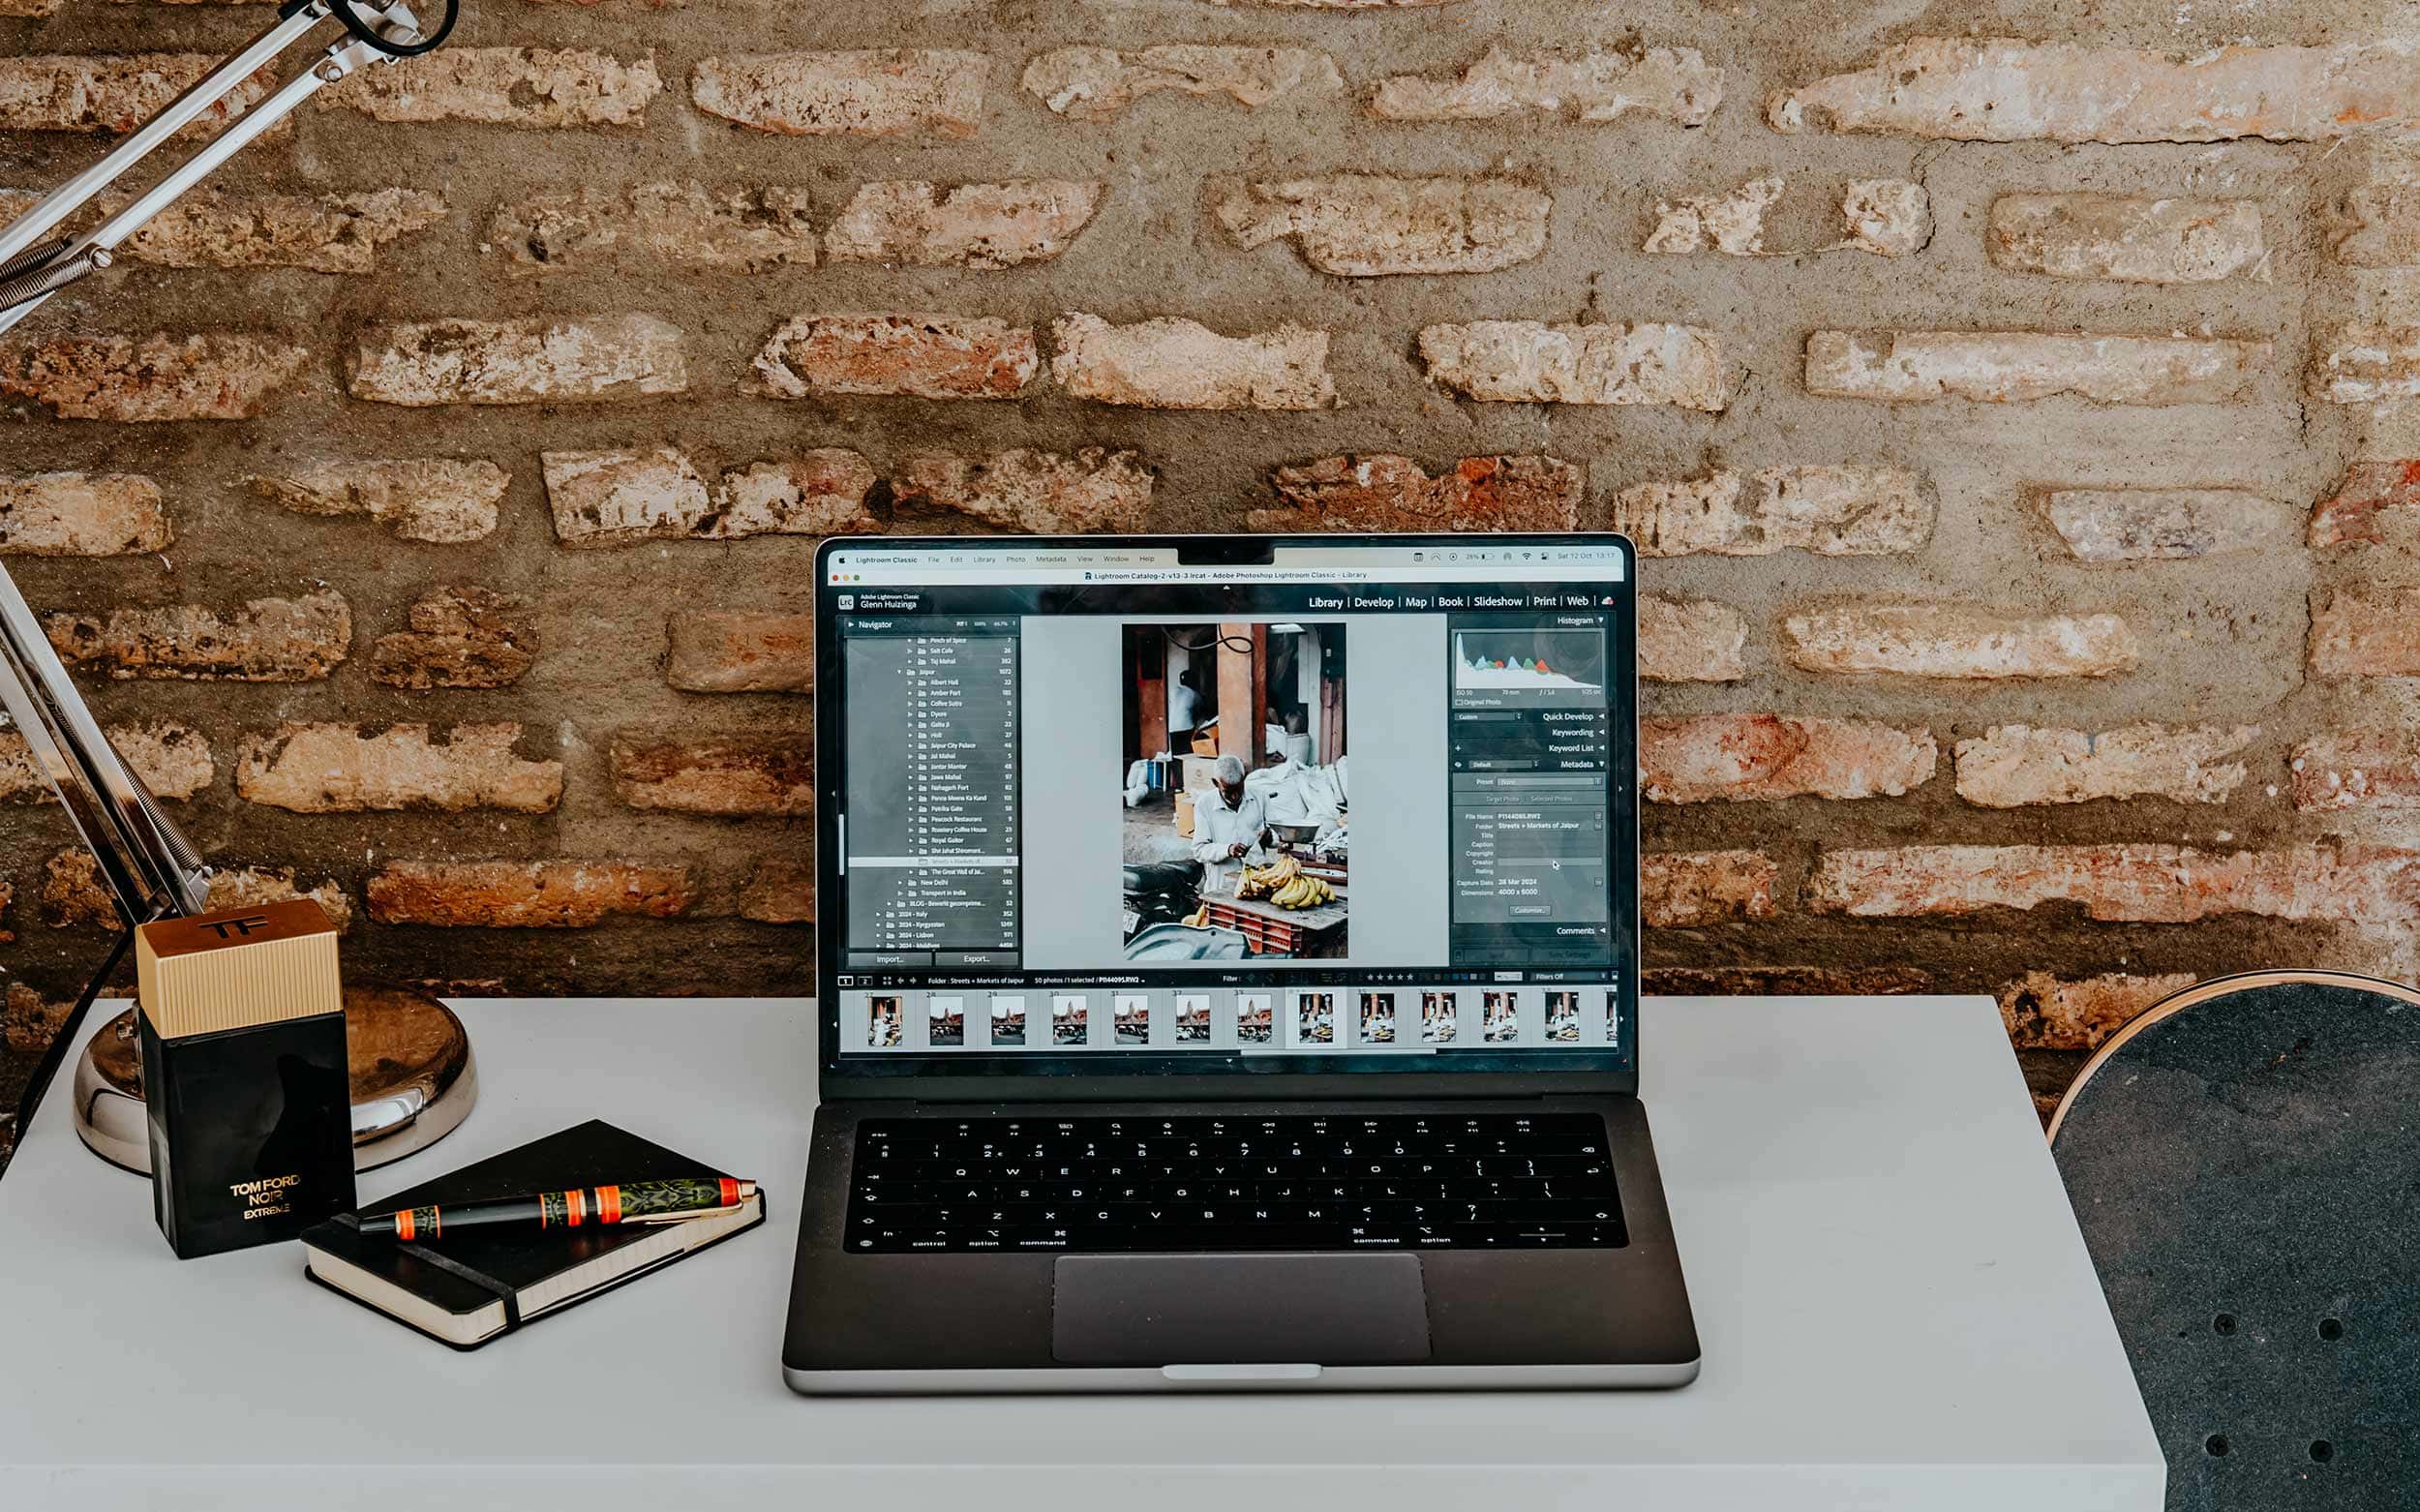
My MacBook Pro is the foundation of all the work I do online, whether it’s editing photography, writing a new article or designing a logotype.
Not only is a MacBook Pro lightweight, but it also has the power to perform tasks with a heavier workload, such as editing photography for my blog or composing a video for Instagram or YouTube.
On top of that, I use it to sort out my accommodation, car rental and flights when on the road.
Adobe Lightroom + Photoshop
Over the course of my photography journey, I realized how many advantages a thoroughly thought-out post-production workflow impacts the quality of my photography.
With a background in graphic design, I started off right instantly, since I had the knowledge that the Adobe Creative Cloud software was ahead of the game.
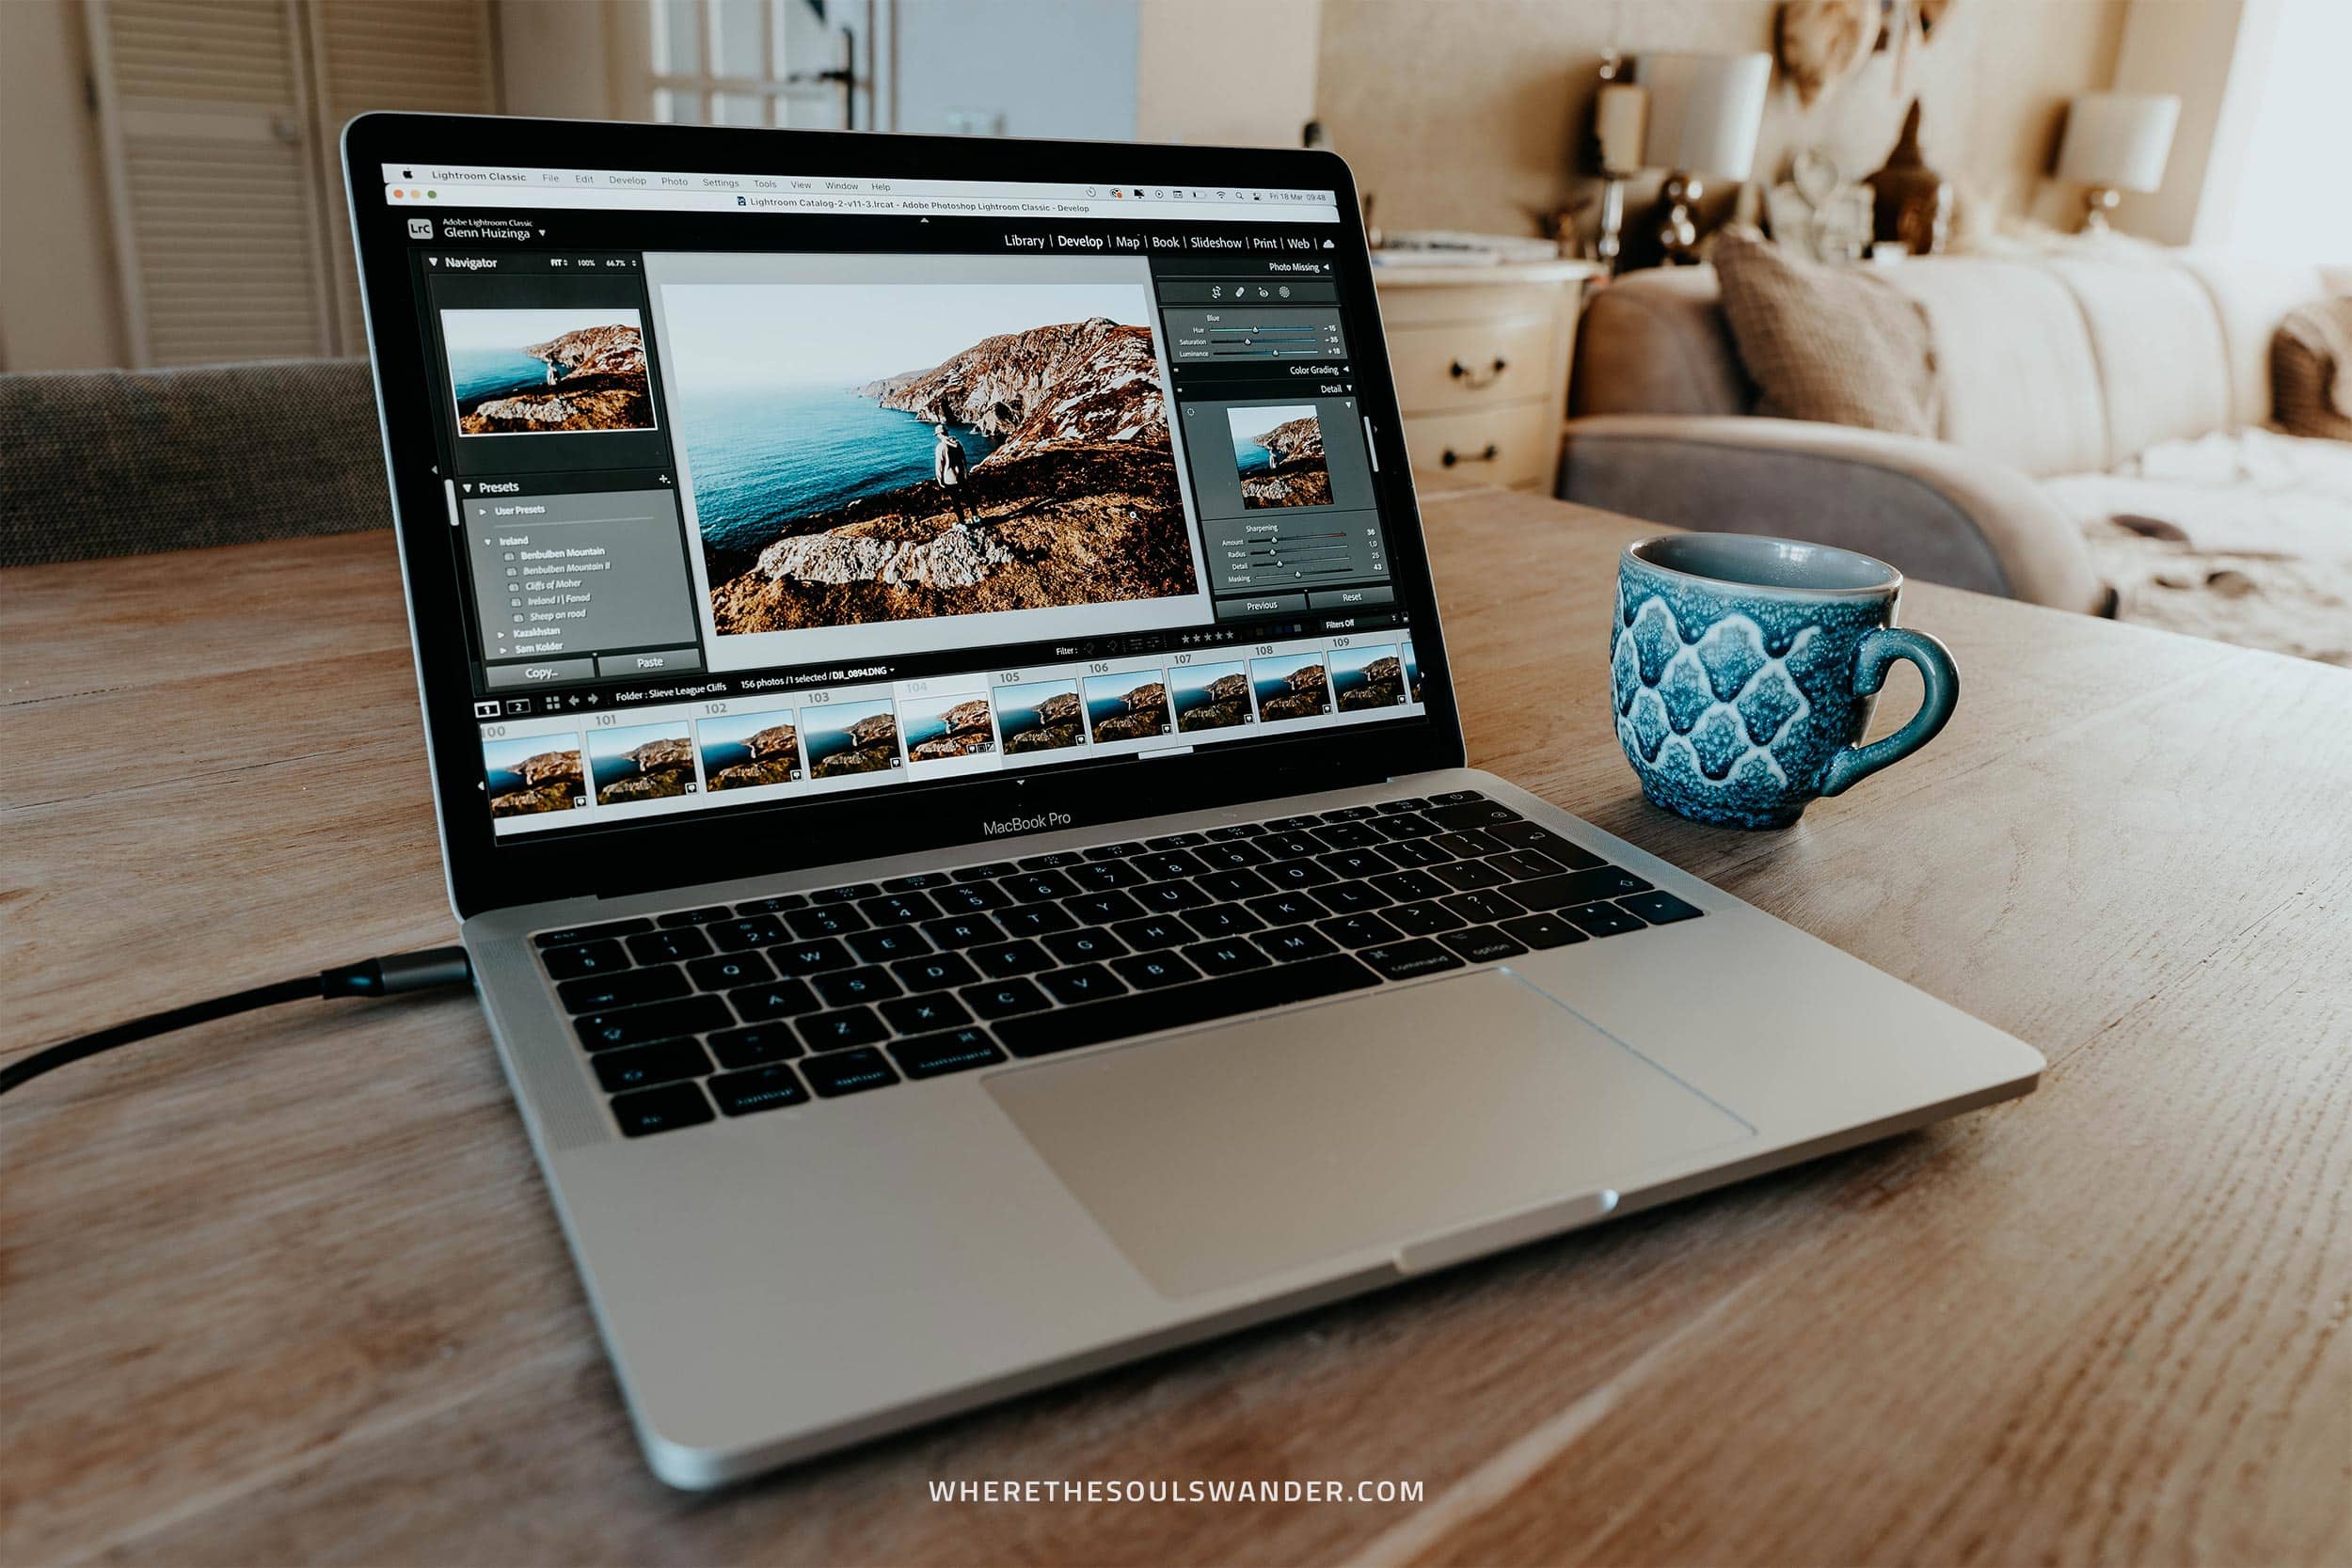
While I personally use the complete Creative Cloud plan, I’d believe subscribing to the photography plan and learning how to use Adobe Lightroom + Photoshop is the best advice I can provide if you’re keen to elevate your photography by means of post-production.
While it might take quite some time to figure things out, it’s a brilliant piece of software that will help you create a style and add a distinctive look and feel to your images.
The photography plan comes as a monthly subscription via Adobe Creative Cloud, and start at $13,29 (€12,09) per month. For more information, visit the official Adobe website, and don’t forget to click on the link to receive a free 7-day trial.
Cheers!
I’ve been on this travel blogging journey since 2019.
If you appreciate what I do here, these are some ways you can support me.
