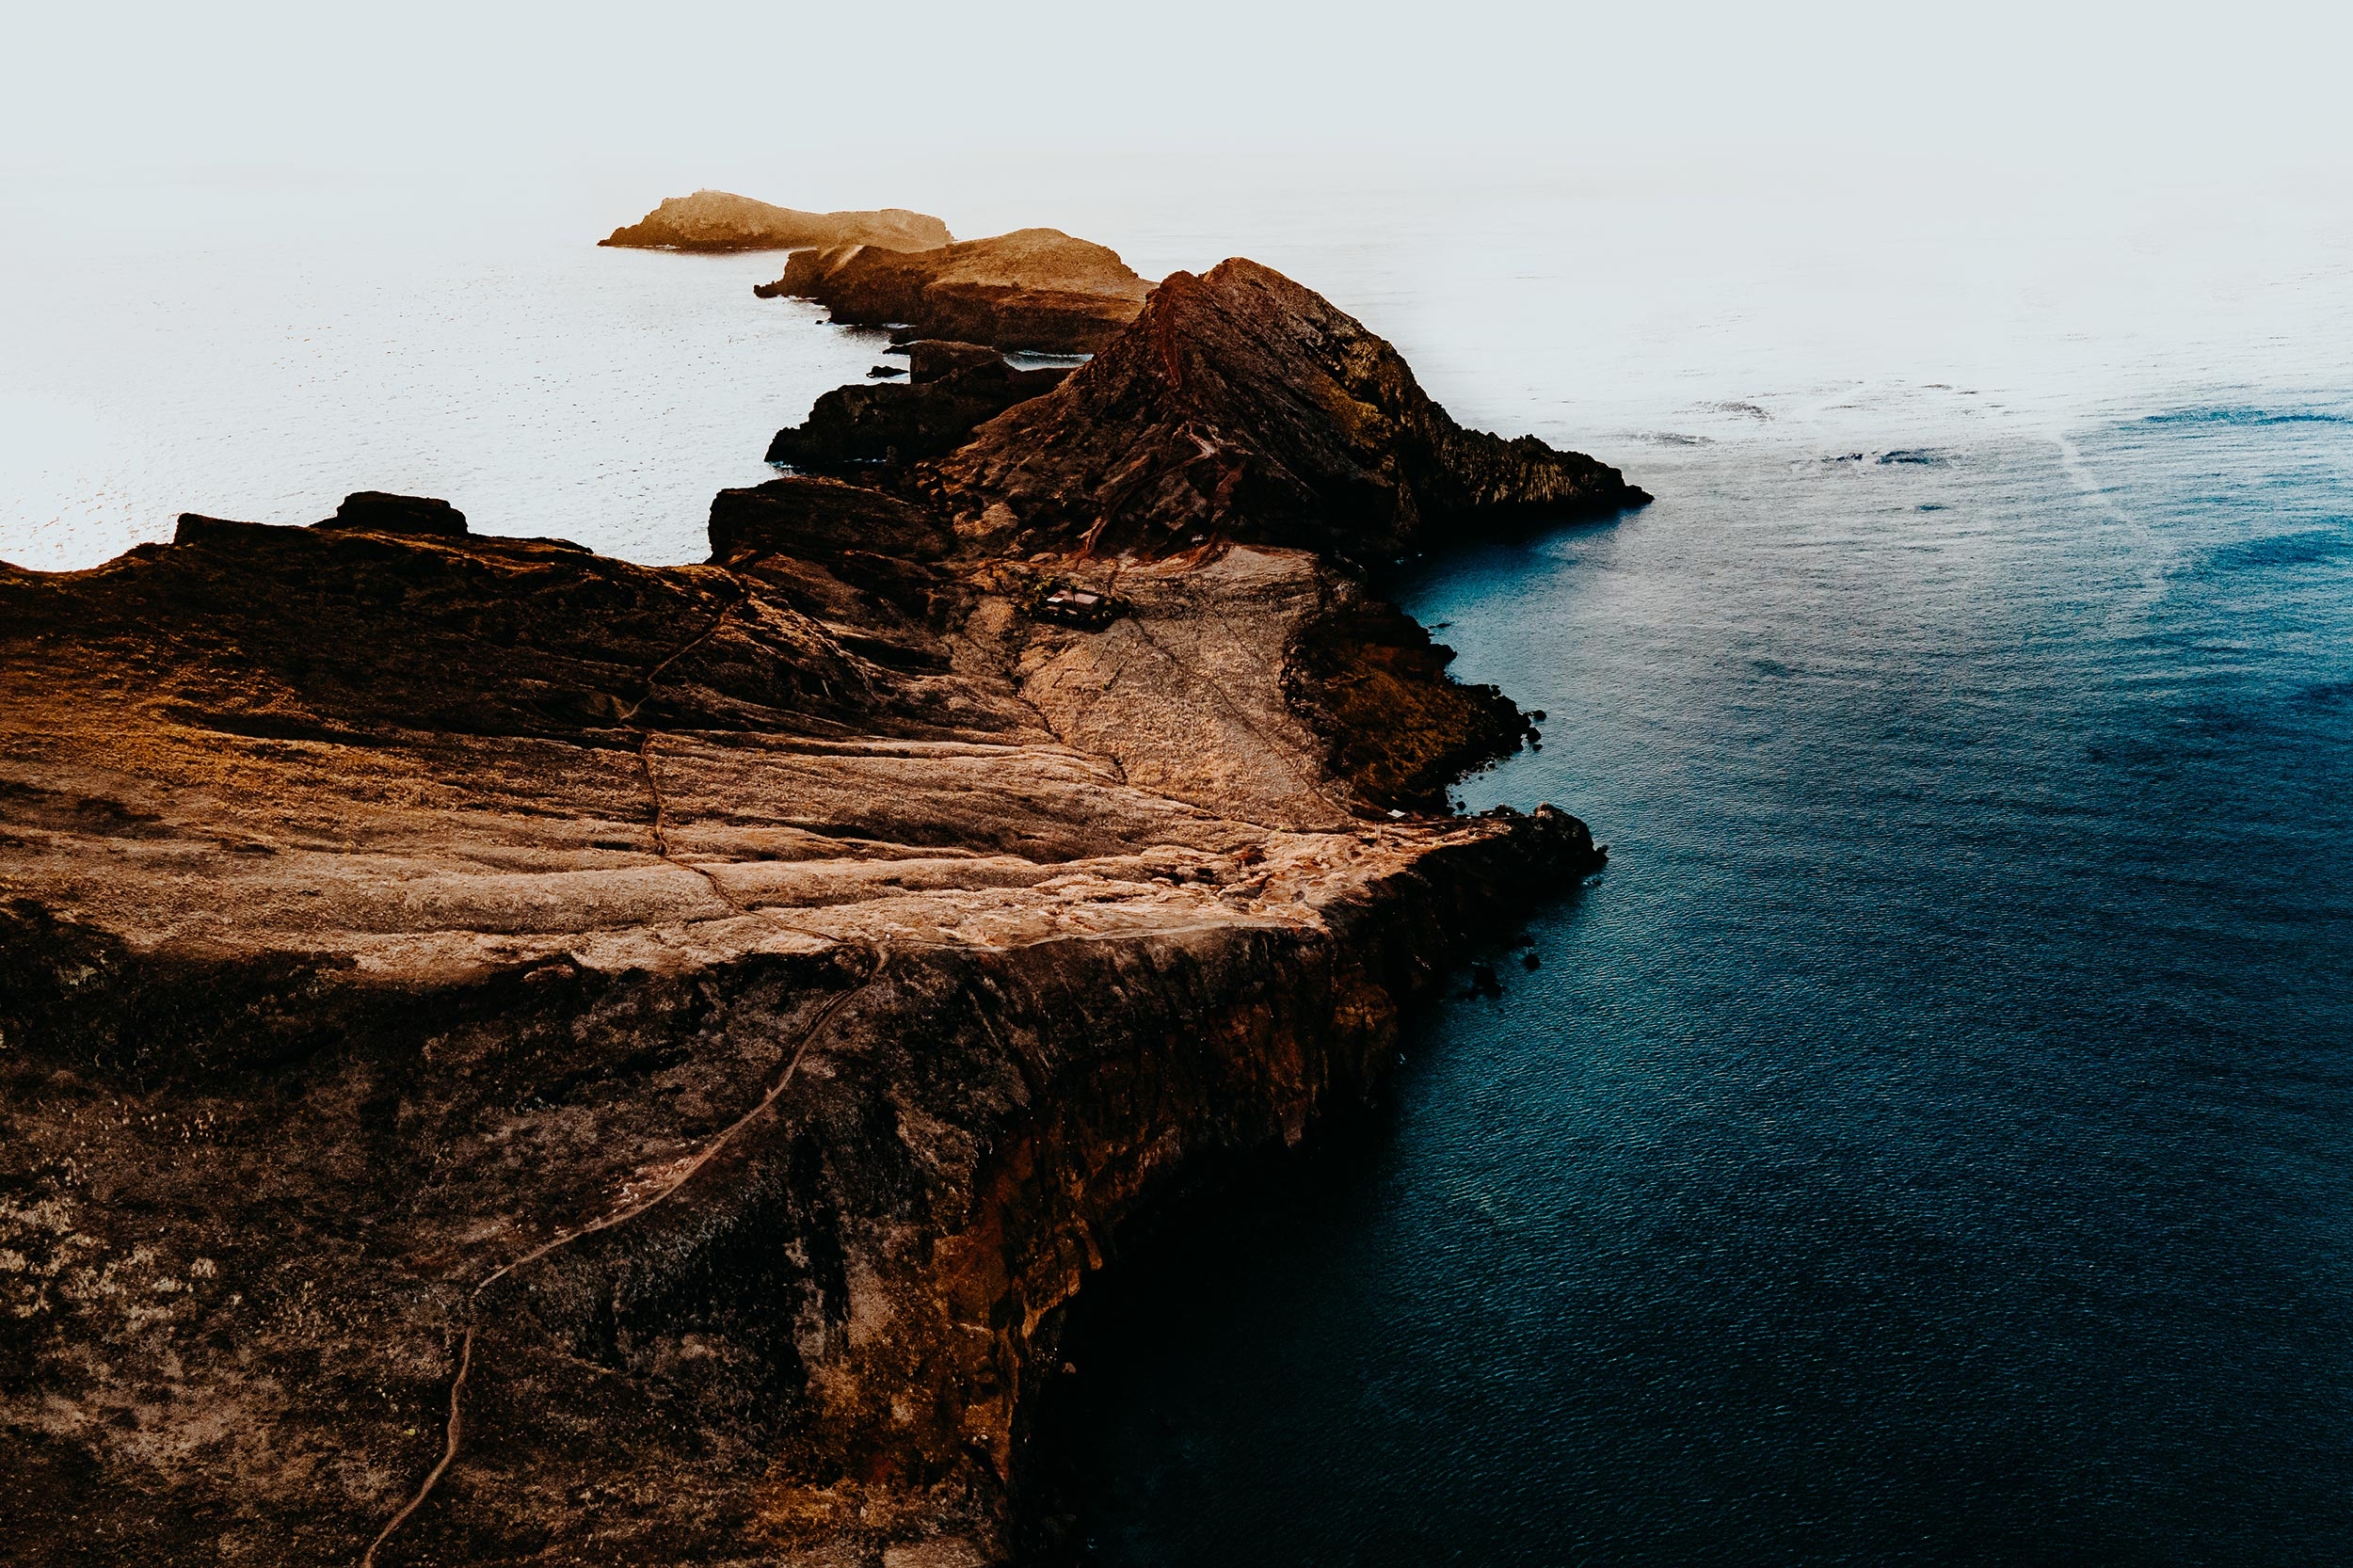
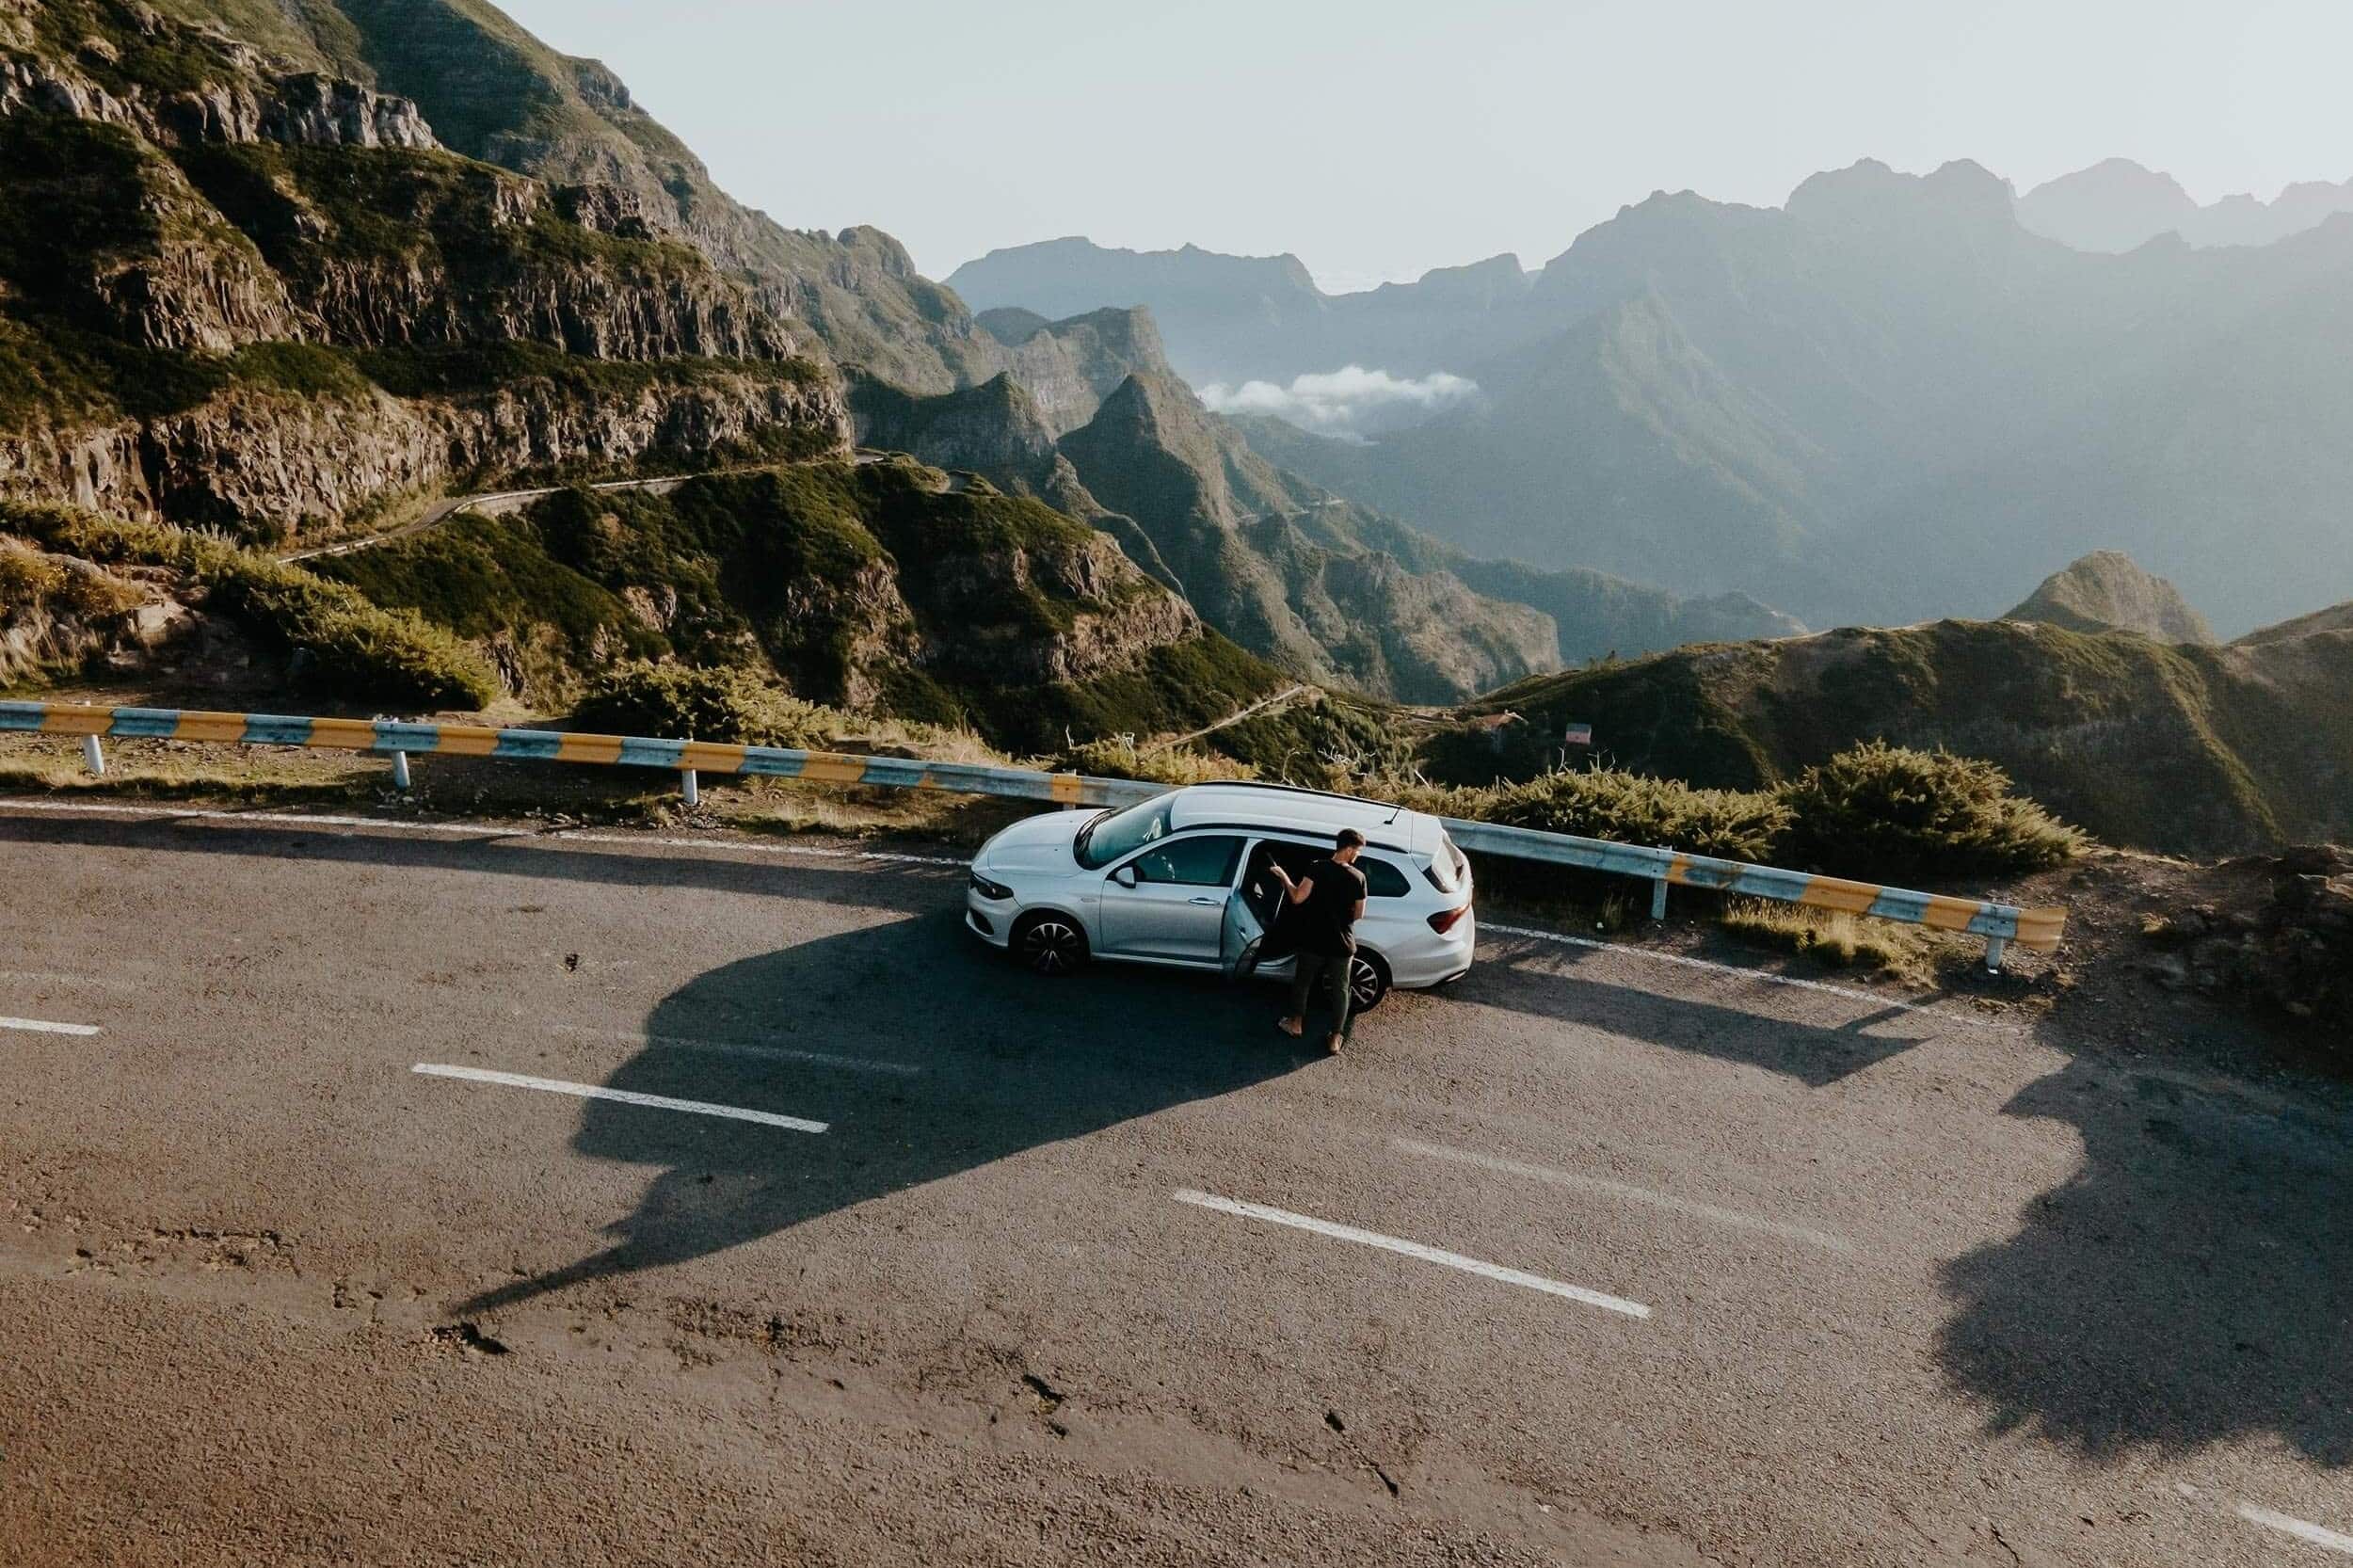
It’s no secret that Madeira is the dream destination for those into nature and hiking, given there’s plenty of adventurous levada walks dotted throughout the dense inland of the island.
Located in the midst of the lush valley of São Jorge, the Levada do Caldeirão Verde is such a walk and in my opinion, an essential hike for anyone travelling to Madeira.
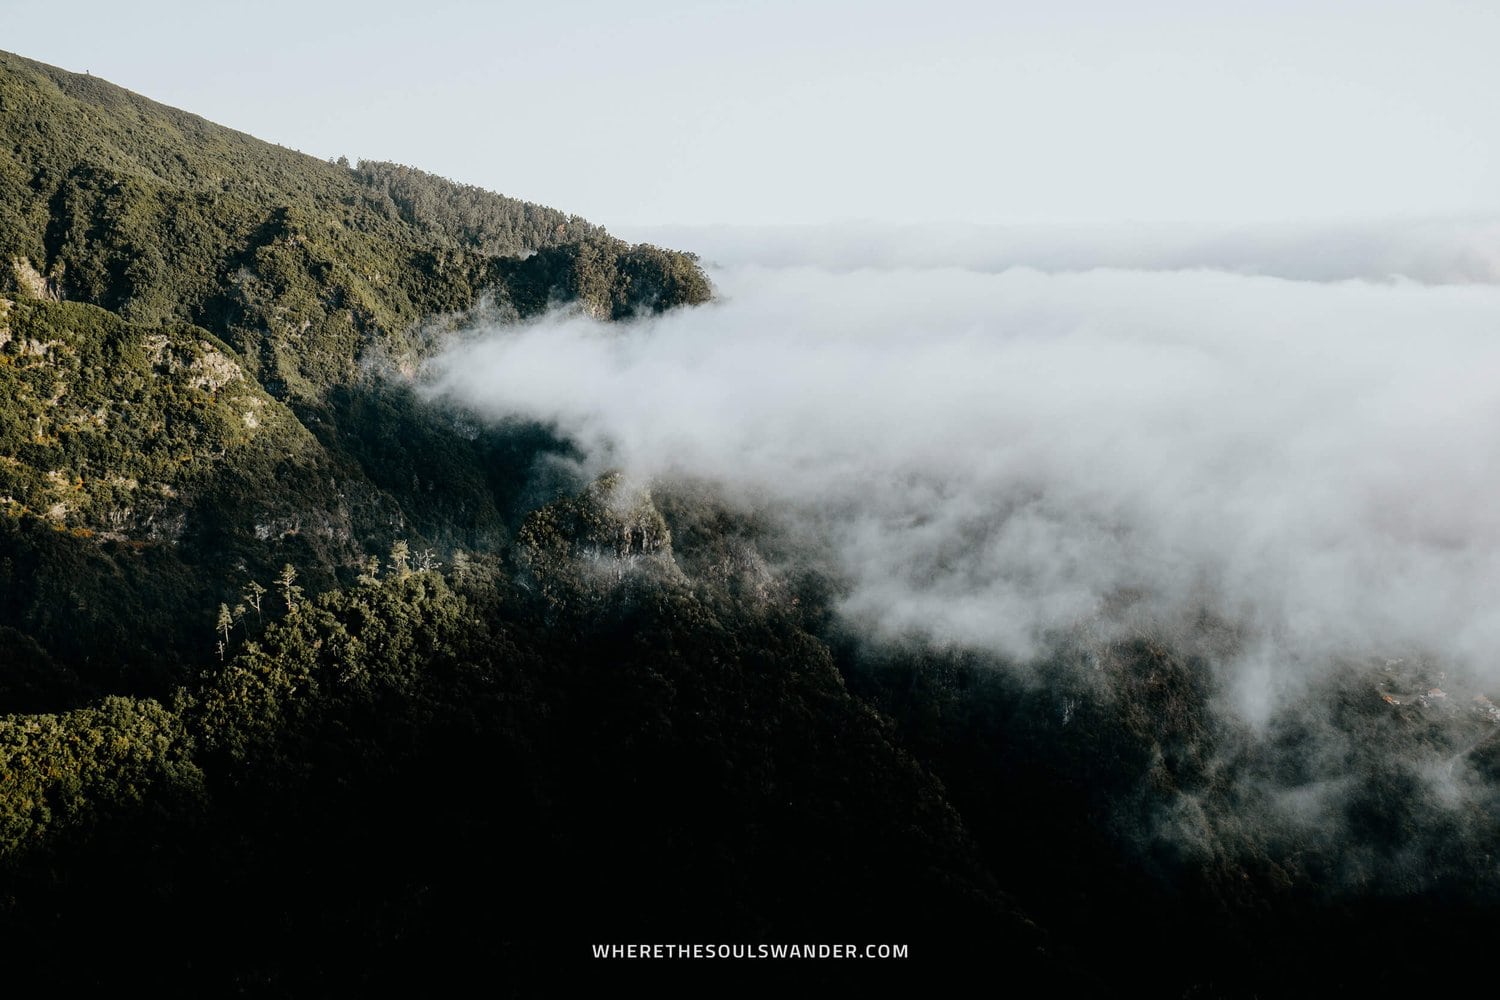
From distinctive tropical flora to gushing waterfalls to dense mountain hills tucked between beds of rolling clouds, the PR9 hike, with its stunning natural features, is truly one of the island’s most scenic levada walks.
After doing several levada walks and hikes on Madeira, I came to the conclusion that Levada do Caldeirão Verde is up there with my absolute favourites, and I’m pretty sure it will be yours too.
So if you’re planning to do the Levada do Caldeirão Verde PR9 hike, here’s my hiking guide featuring all the essential information, as well as some of my best hiking tips.
If you choose to use any of the links on this page, I may receive a small commission at no extra cost to you. By using these links, you’ll have a direct impact on WTSW and my ability to continue to create free insightful travel content for you. If you find any of my tips useful, you can support me by buying a virtual coffee here.
Where is Levada do Caldeirão Verde
Situated just outside of the Santana municipality, the Levada do Caldeirão Verde hike starts at the Queimadas Forestry Park, before guiding you deep into the picturesque valley of São Jorge.
The Queimadas Forestry Park itself – the starting point of the popular PR9 hike, is easily accessible and about an hour’s drive from Funchal.

Levada do Caldeirão Verde hike details
Levada do Caldeirão Verde hike details
HIKE DIFFICULTY
EASY
HIKE DURATION
3 – 4 HOURS
HIKE DISTANCE
13KM ROUND TRIP
ELEVATION GAIN
100 METERS
How to get to Levada do Caldeirão
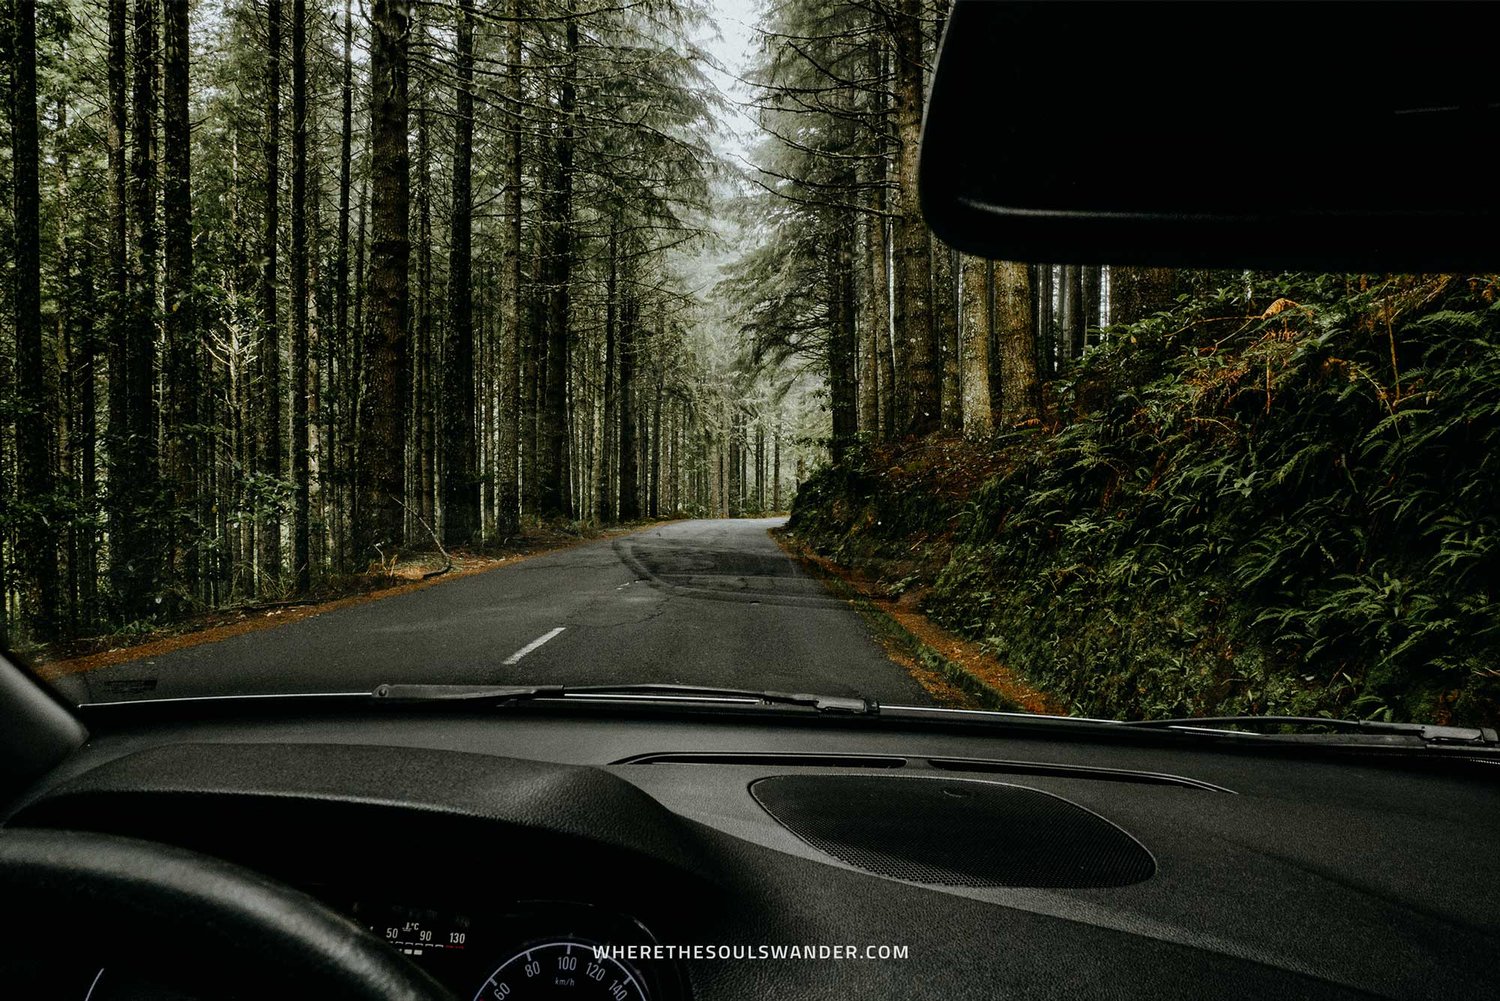
CAR | If you’ve read any of my other Madeira articles, you should likely already know that the best way to explore the island is by renting yourself a car for the duration of your trip.
From Funchal, it takes only an hour to get to the Queimadas Forestry Park, where you can park your car for just under €3,- a day. From the parking lot, it’s only a short walk until you reach the beginning of the Levada do Caldeirão Verde PR9 hike.
It is worth mentioning, that the parking ticket should be paid at a cafe named Casa de Abrigo das Queimadas.
If you haven’t sorted out your rental car yet, make sure you explore the options at Rentalcars.com. Not only do they have a wide range of cars on offer, but they provide brilliant service and extra insurance options too.
GUIDED TOUR | Another great option to do the Levada do Caldeirão Verde hike, is by joining this full-day guided group tour of the PR9 hike, as it offers an experienced local guide, as well as hotel pickup and dropoff service from both Funchal and Canico.
If you prefer going on a private tour, you might want to consider this private tour of Levada do Caldeirão Verde instead. This option offers the same services as the aforementioned tour, yet the group size is limited to you and you’re company. However, do note that the luxury of a private tour comes with a cost.
PUBLIC TRANSPORTATION | While it’s totally possible to get to Levada do Caldeirão Verde by public transportation, I would not necessarily recommend it, since it’s quite a long journey.
First, you’ll need to hop on either bus lines 56, 103 or 138 in the direction of Santana. Upon arrival at the bus station in Santana, you’ll notice a taxi stand, where you can grab a taxi for the remainder of the journey.
Altogether, this journey takes around 2 hours.
The Levada do Caldeirao Verde PR9 hike
Arrival at the Queimadas Forestry Park
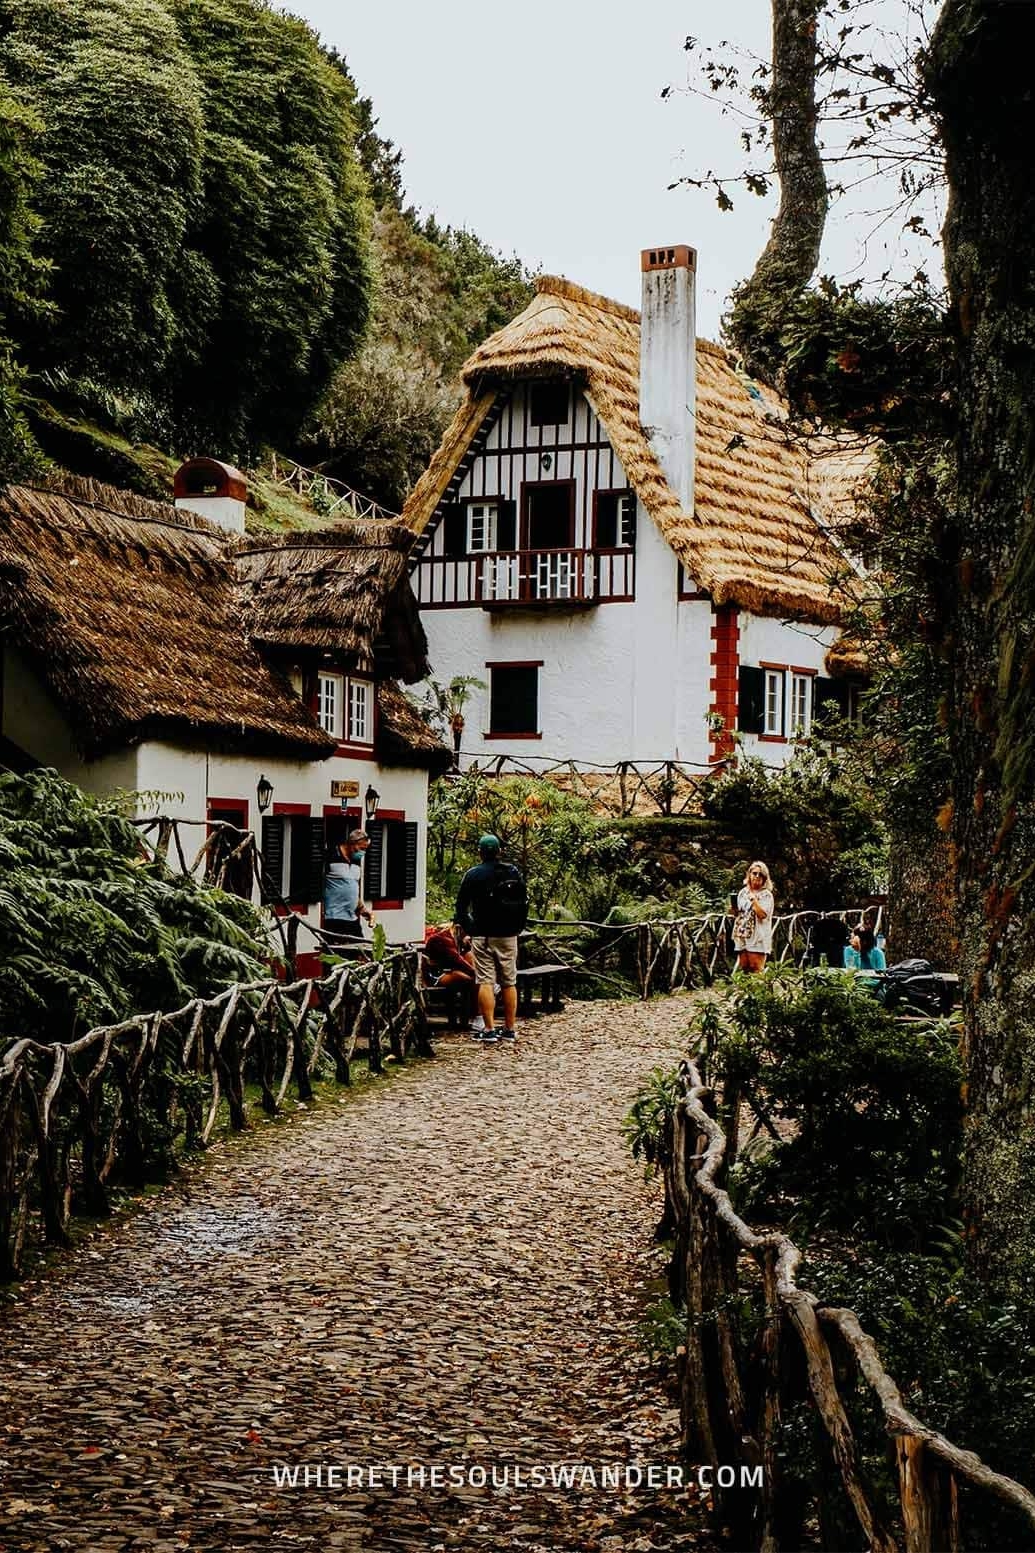
As soon as you arrive at the parking lot of Queimadas Forestry Park, you notice a small cafe that goes by the name of Casa de Abrigo das Queimadas – this is basically the starting point of the Levada do Caldeirão Verde hike.
The cafe is the perfect place to start as they sell excellent coffee and several homemade cakes and cookies (make sure you try one of the cakes, you won’t regret it). I decided to do the hike first and had a short coffee break before driving back to Funchal.
Section I | Start of the trail and the first waterfall
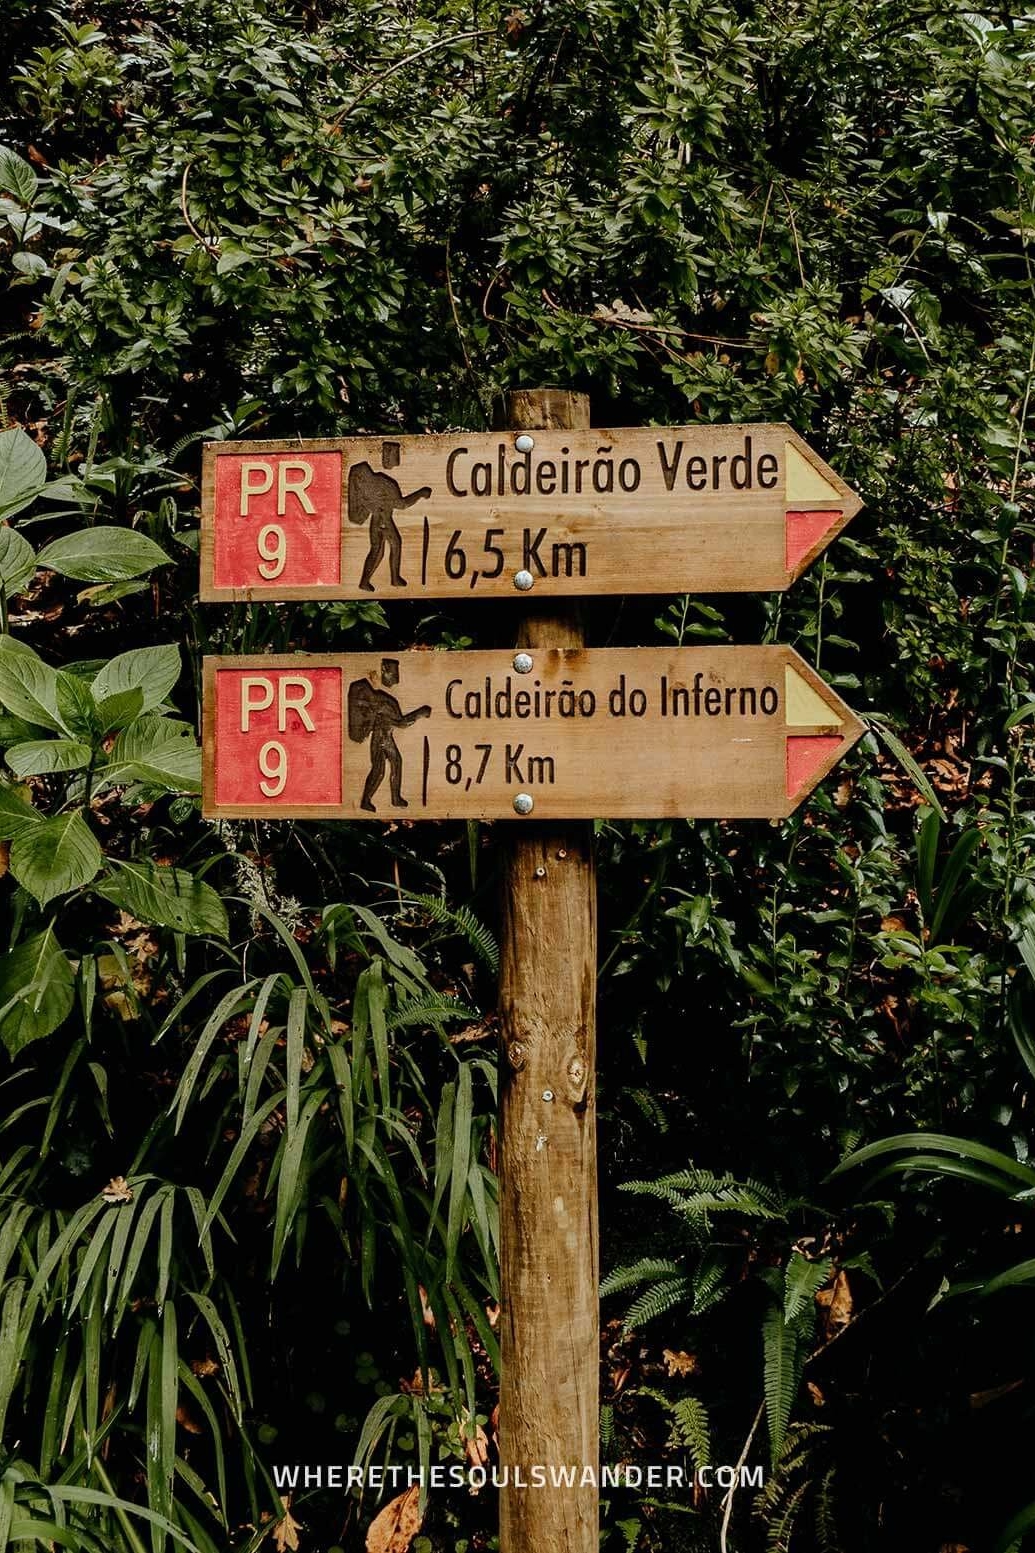
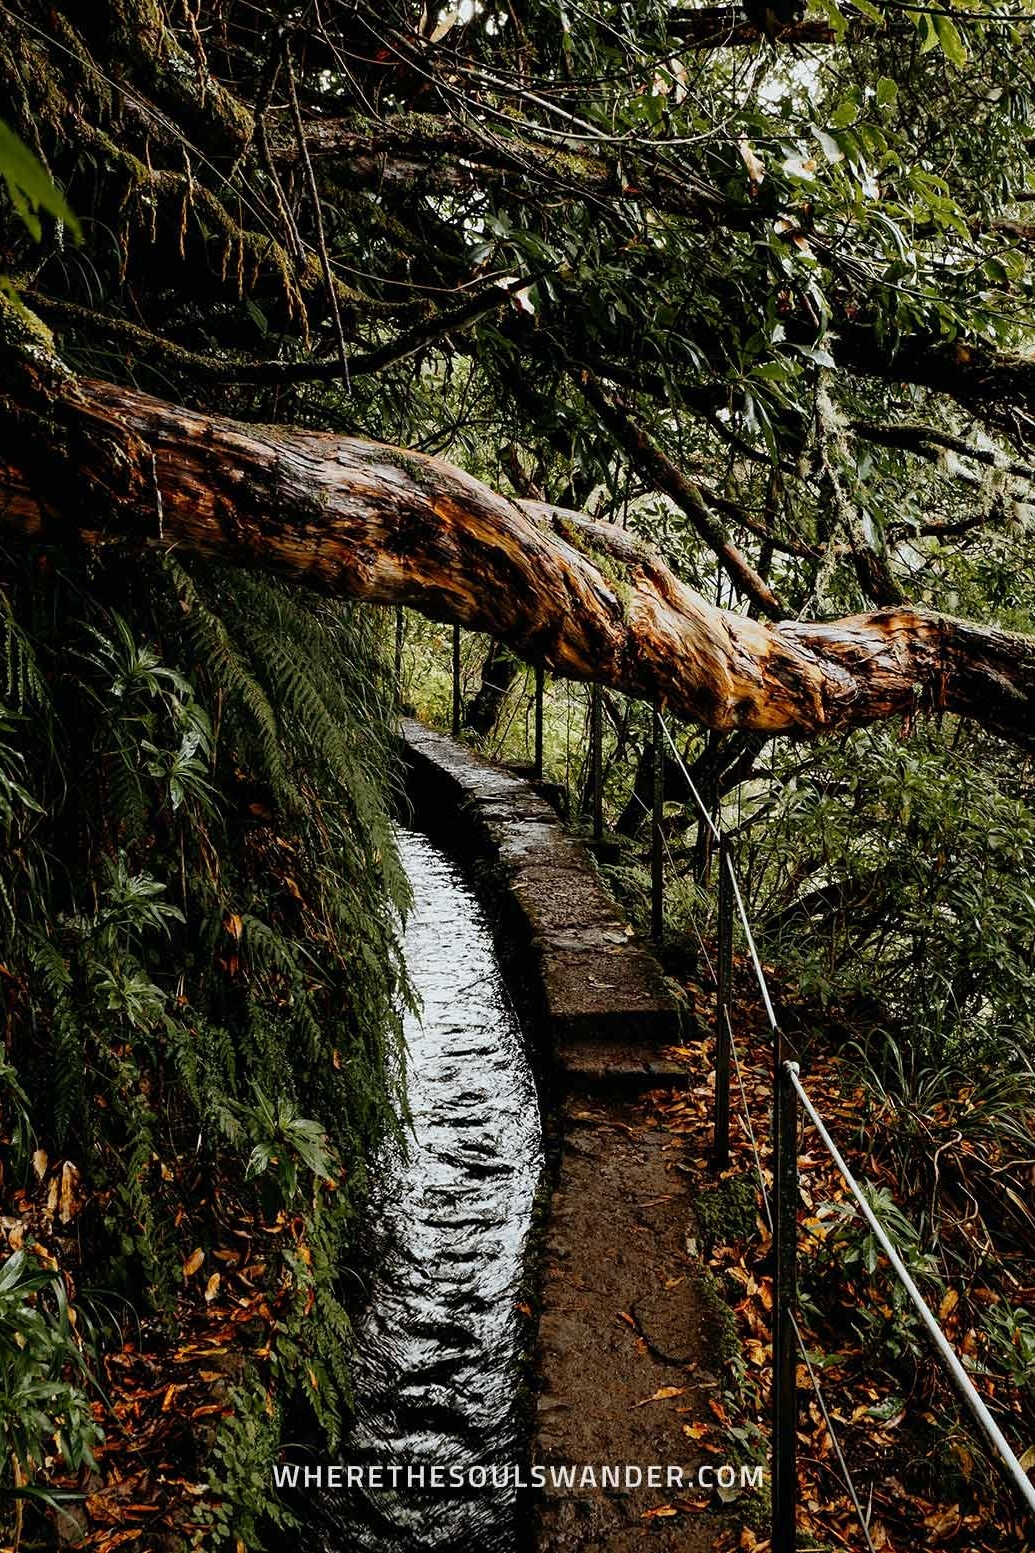
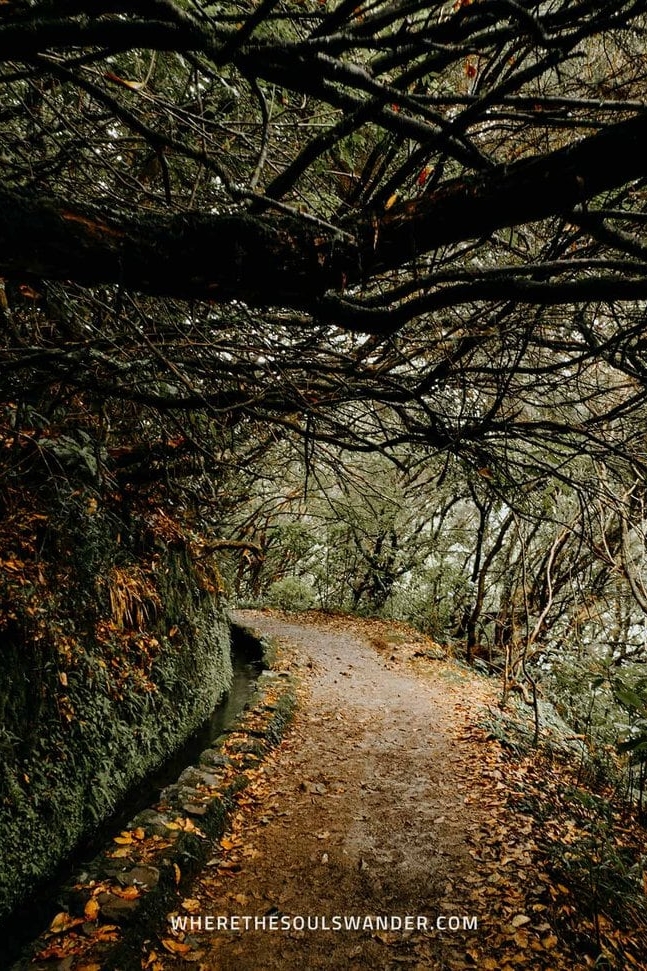
Once you’ve passed the cafe, you notice a signpost, followed by a clear winding pathway along the levada. The path itself is straightforward since there’s basically only one path to the Caldeirão Verde waterfall.
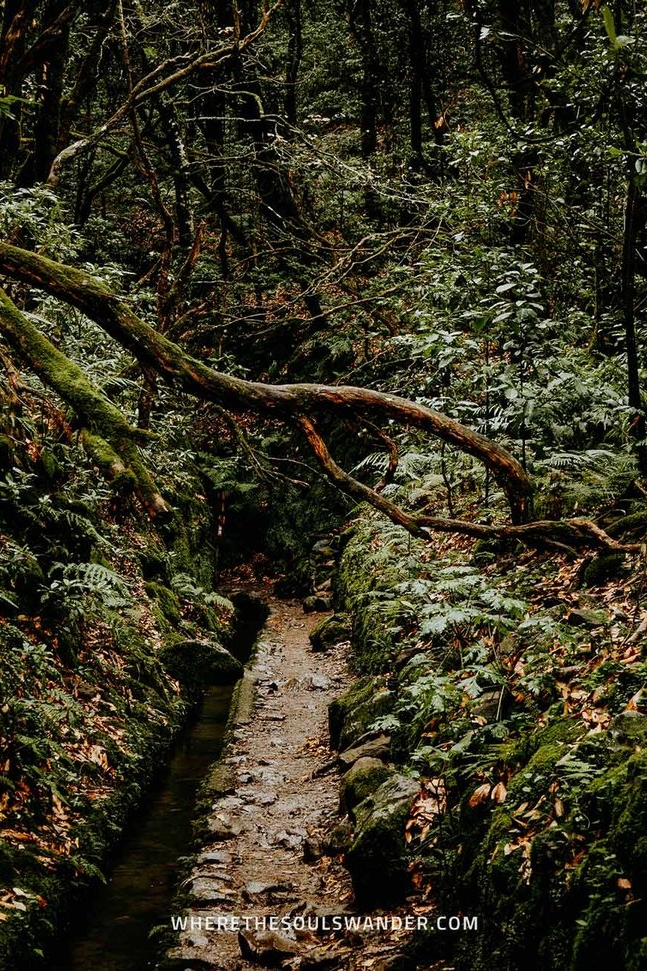
Once you’ve arrived on the path, you’ll be surrounded by impressive trees, wild-grown branches, and some of the most beautiful flowers found on Madeira. In some parts, the greenery is so dense that you can see only a few meters of the trail.
After about an hour into the hike, the path begins to narrow, and you’re about to arrive at the first waterfall. Though this waterfall is relatively small (and somewhat dried up during my visit), it’s a good teaser for what’s waiting for you at the end of the hike.
Section II | Tunnels and mountain views
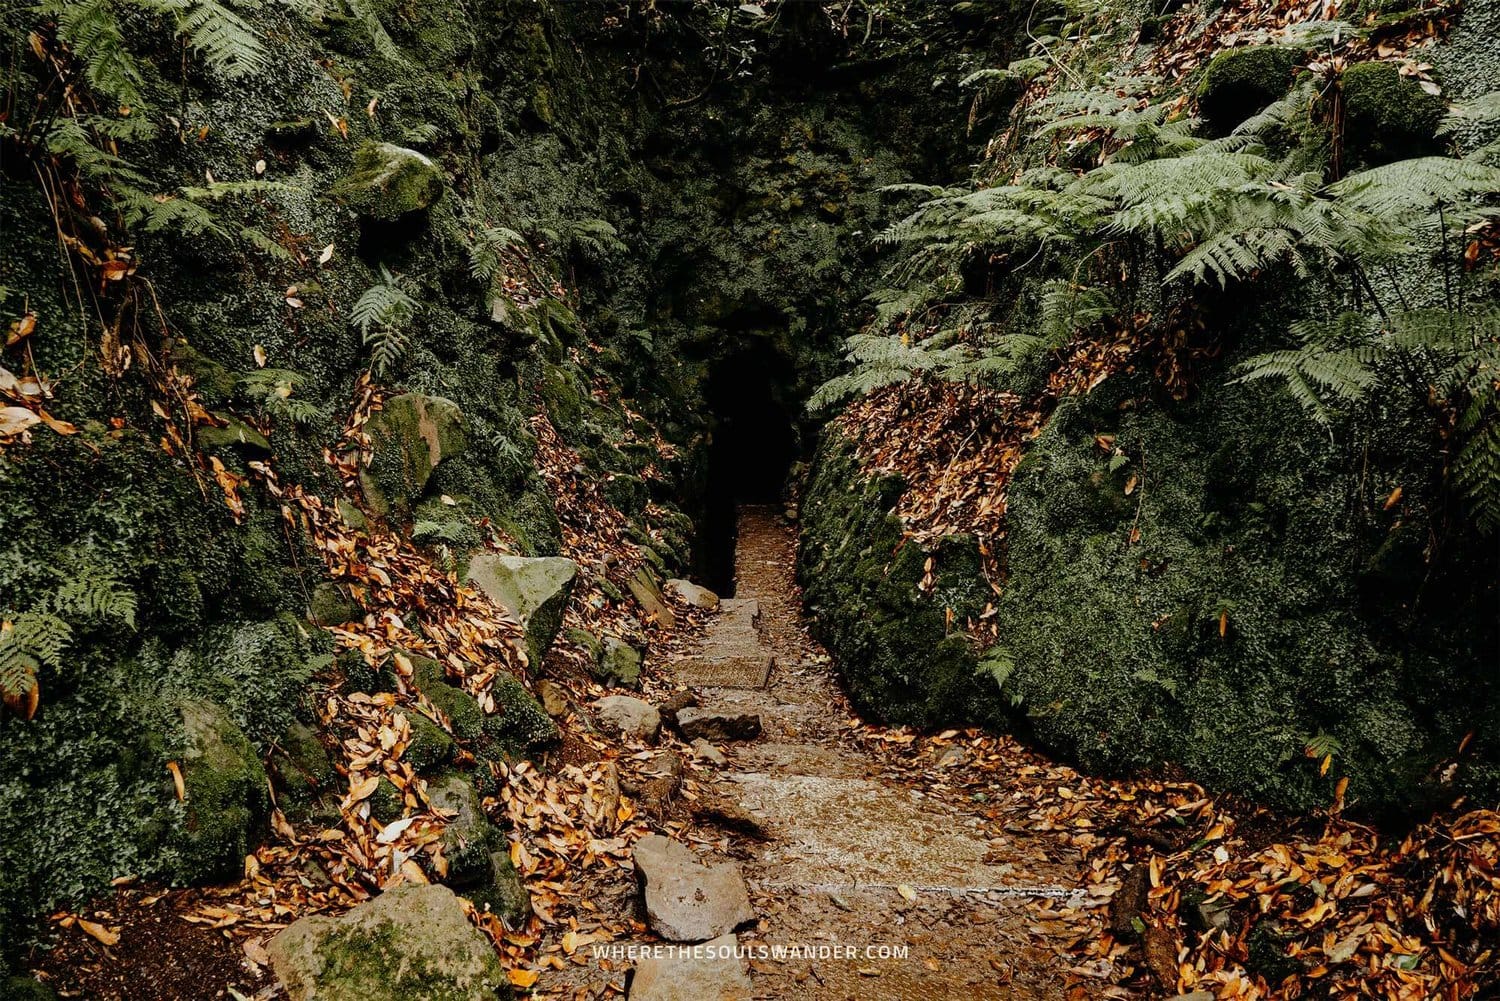
The second, and final section of the hike before reaching the Caldeirão Verde waterfall is marked by four tunnels and a scenic levada trail around a cliffside.
First of all, you’ll need to pass through the tunnels, which is quite an adventurous experience. Since some parts of the tunnels have low ceilings, it’s essential to bring a flashlight, headlamp or a fully charged phone.
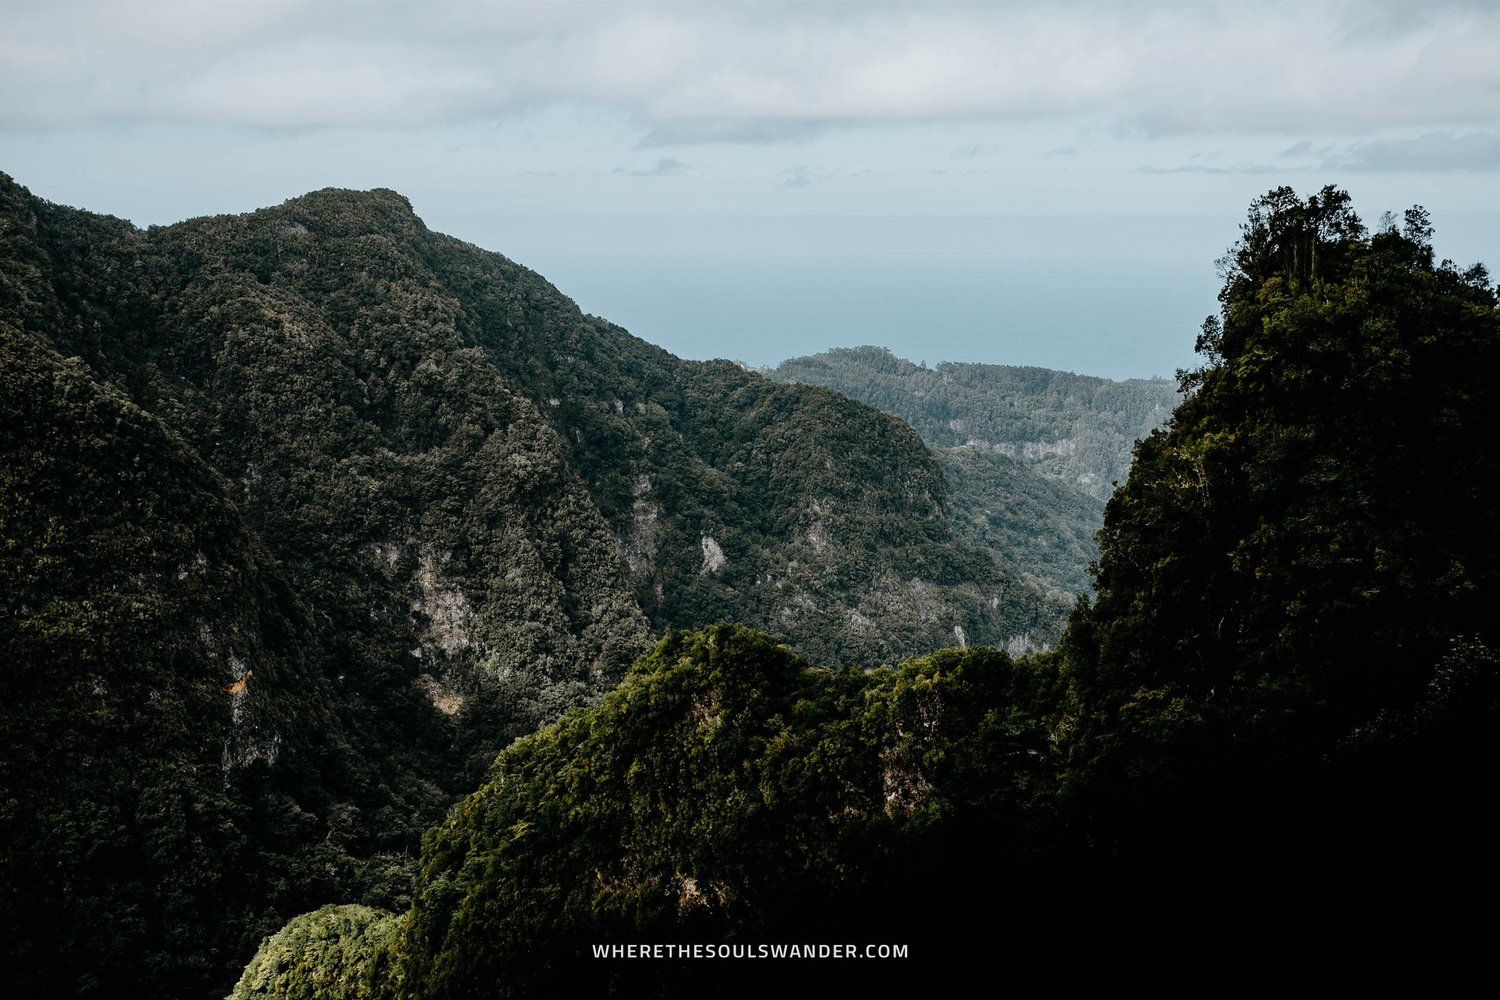
After you’ve made it through the last tunnel, the trail continues around a cliffside and will welcome you to stunning views of the surrounding mountains and the lush valley of São Jorge.
Though the path is completely fenced off, this part of the hike has quite a deep abyss on the right-hand side, so make sure you’re taking the right safety precautions.
Section III | The Caldeirão Verde waterfall
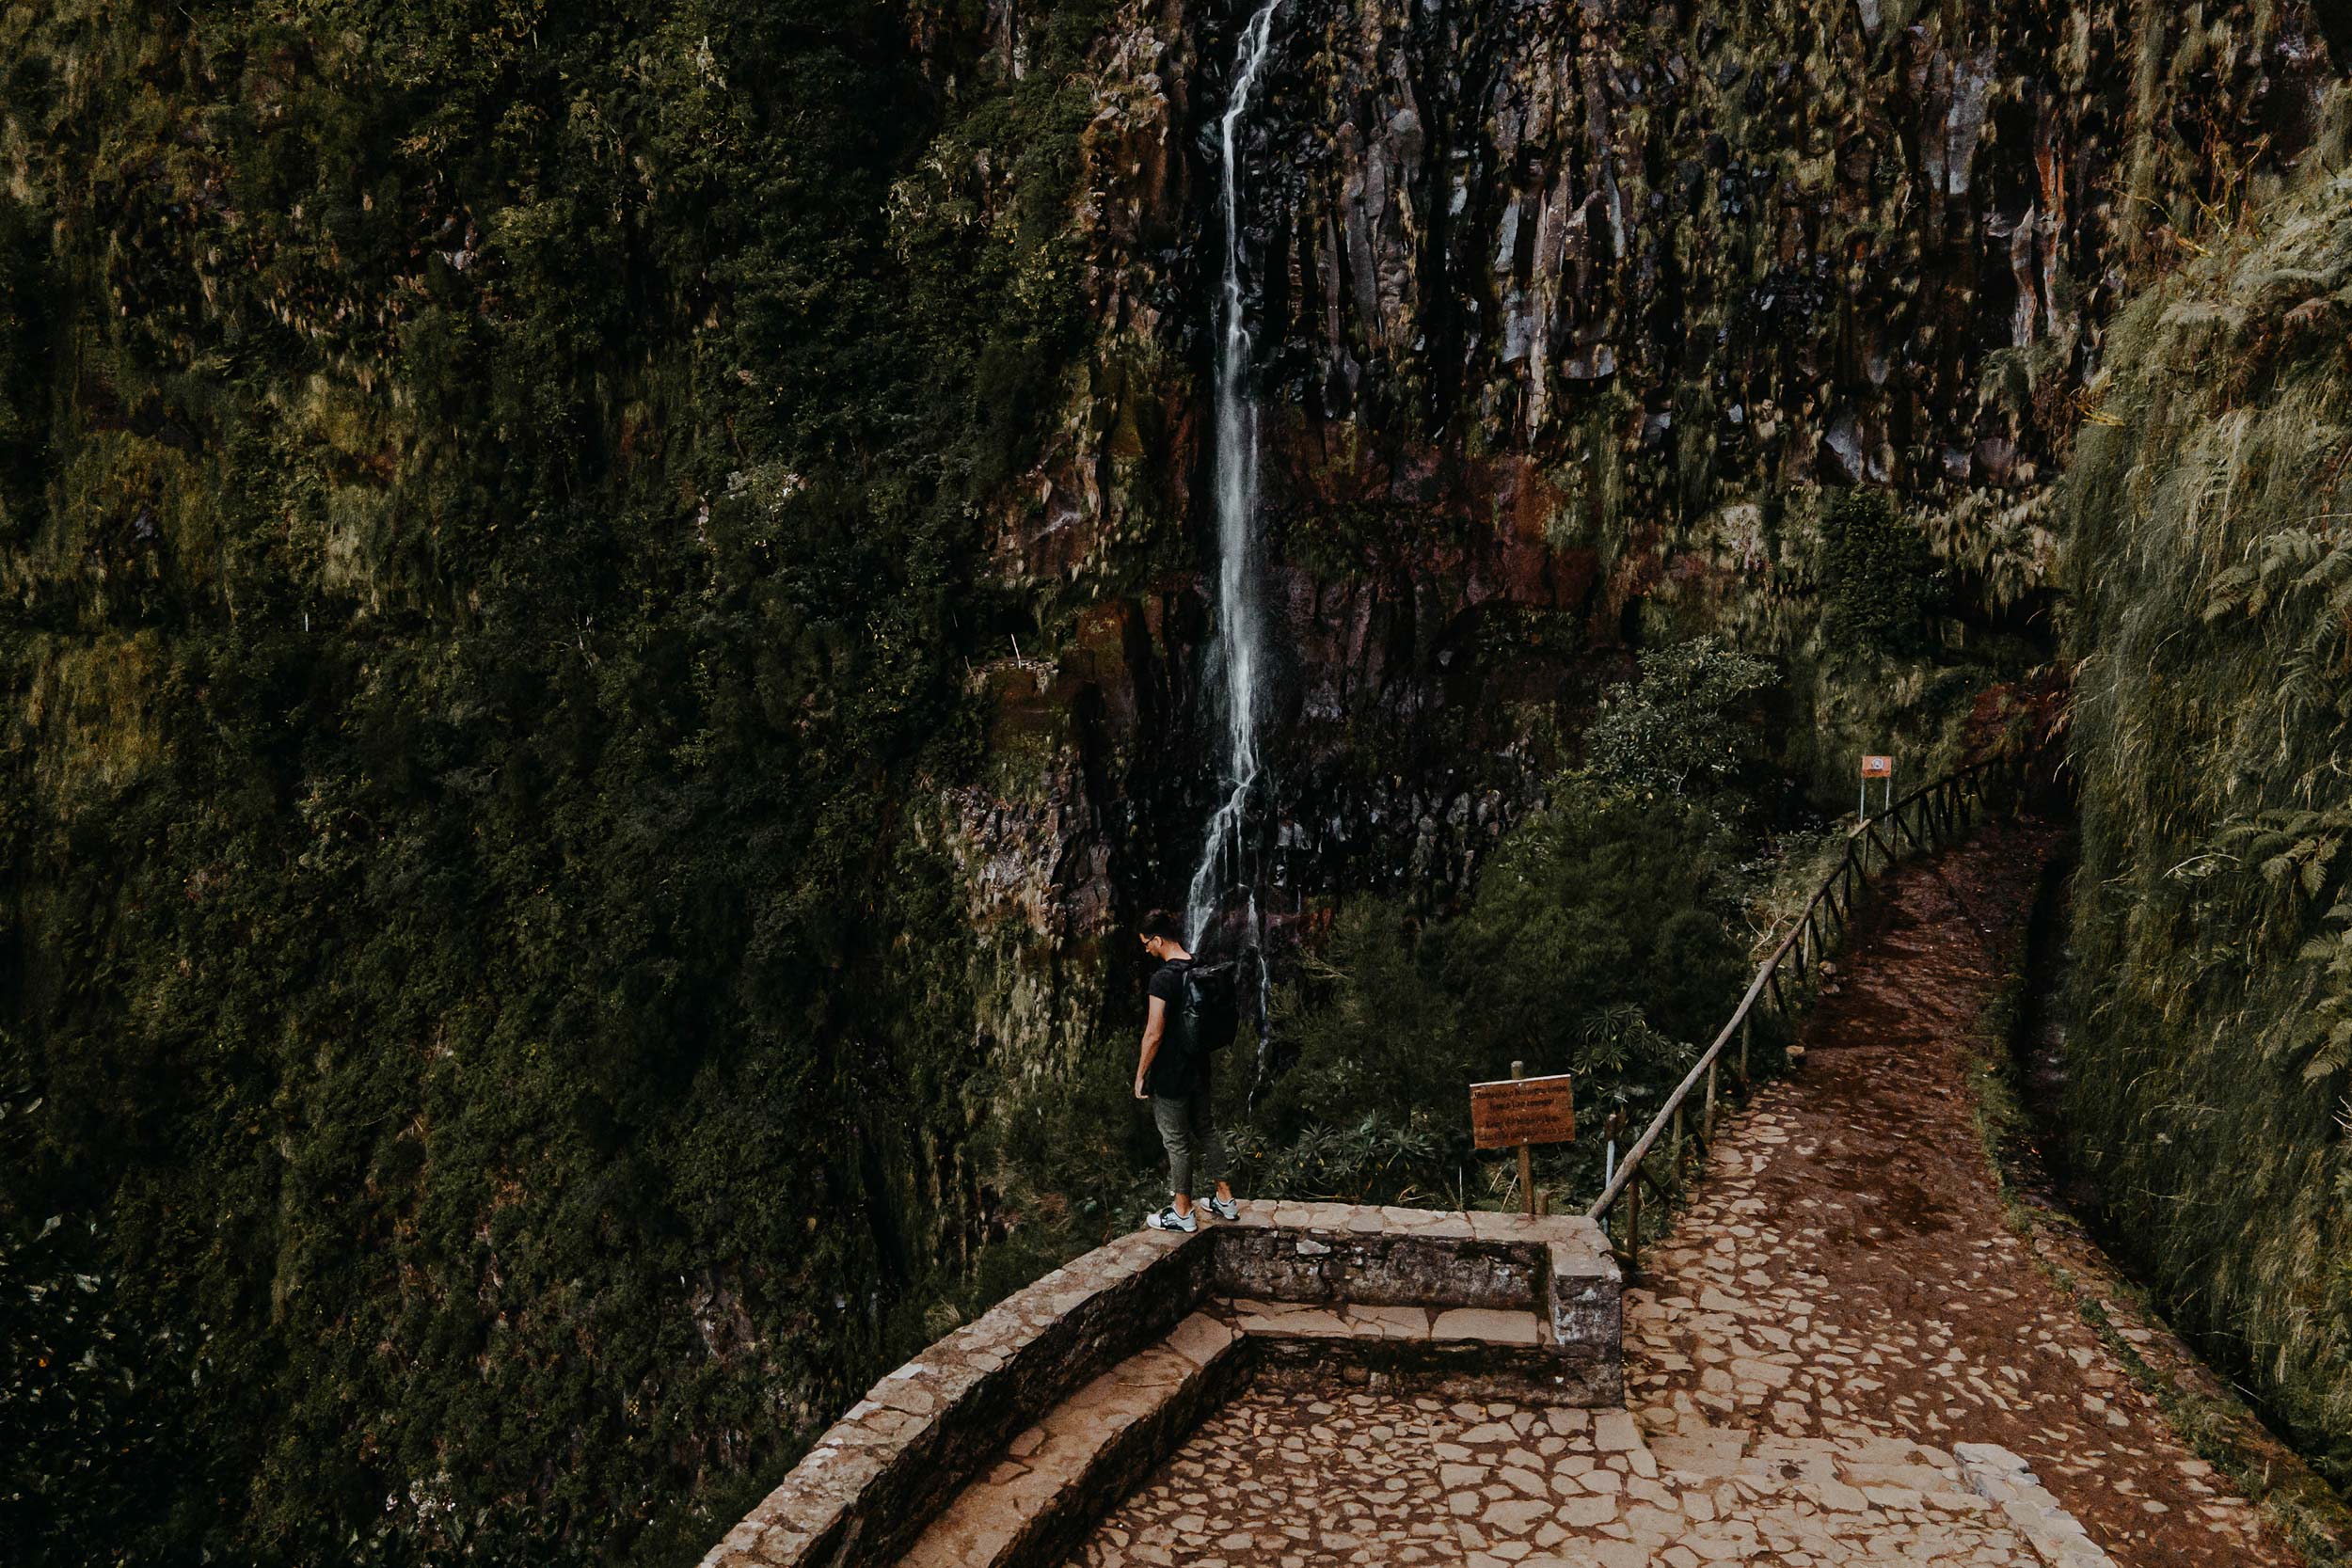
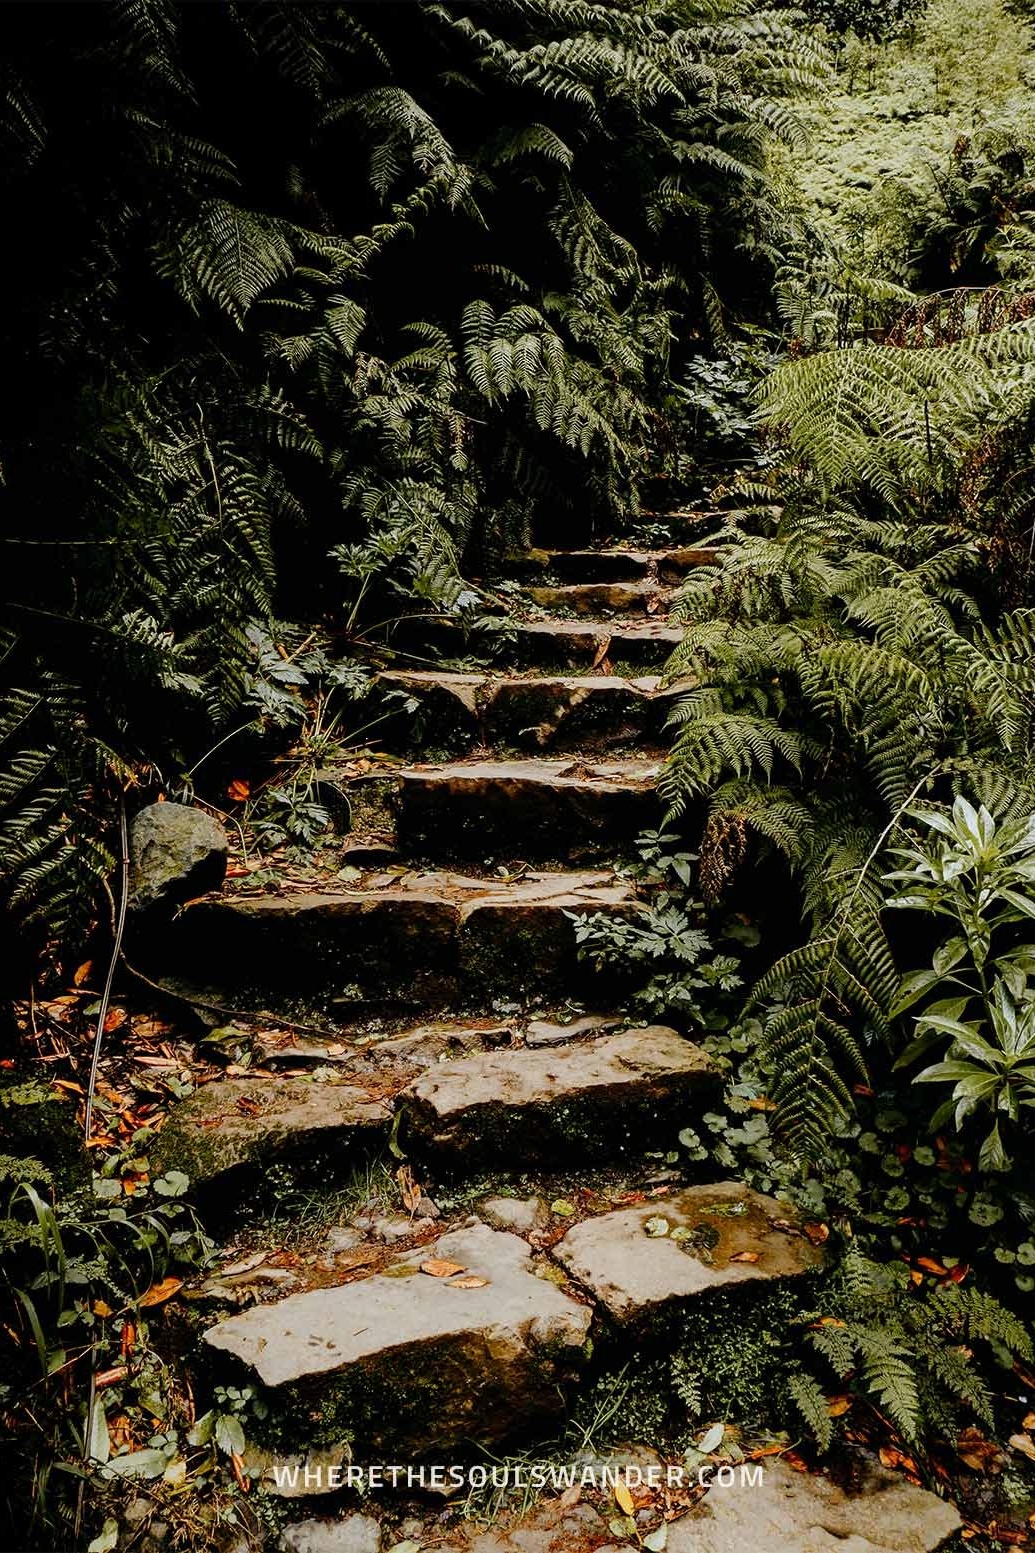
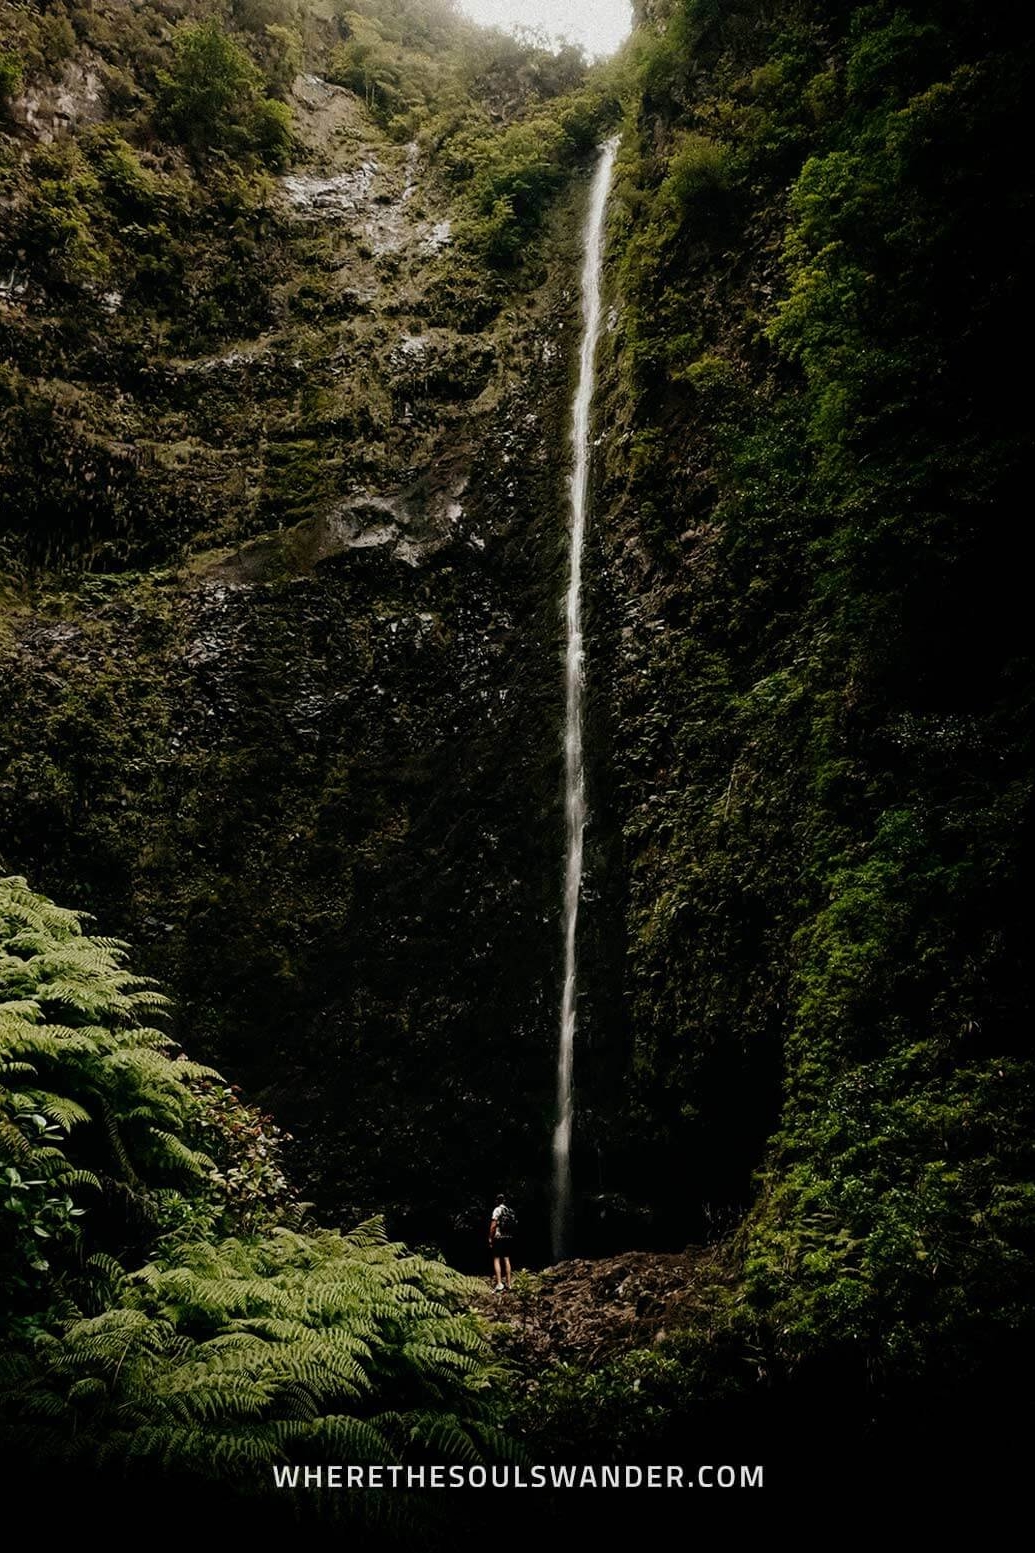
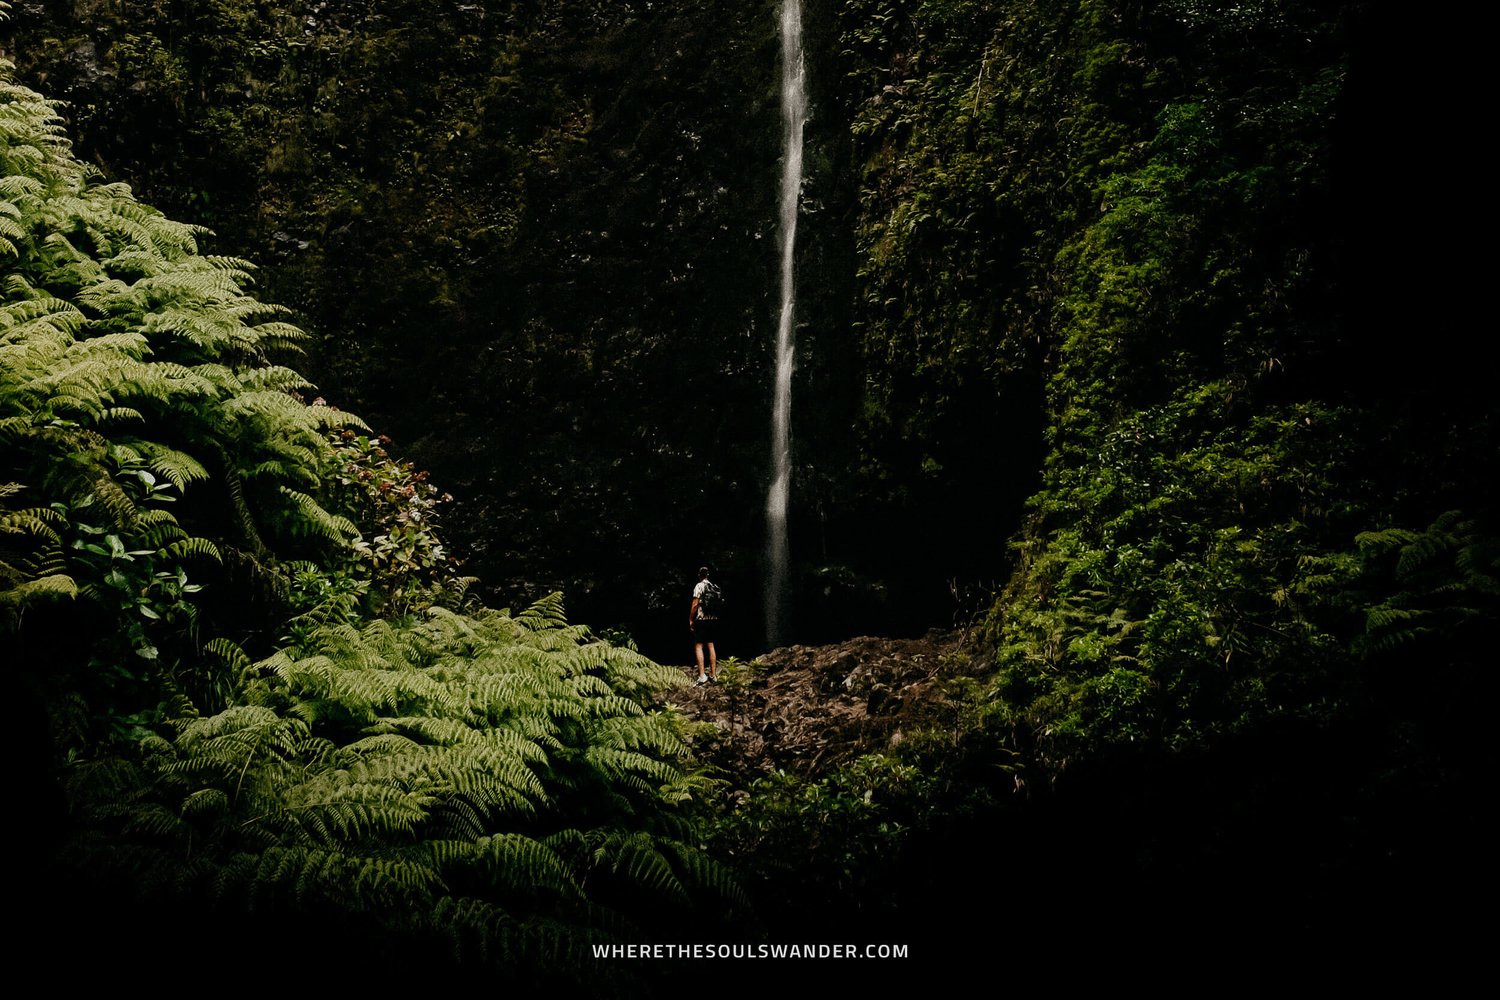
As you head deeper and deeper into the jungle, you’ll gradually begin to hear the sound of water falling down. After a few more steps you’ve arrived at one of the highest waterfalls on Madeira; the impressive Caldeirão Verde waterfall.
From around 100 metres, the waterfall gushes down into a perfectly shaped natural pool – which is truly a spectacular sight to behold.
Though it’s completely possible to take a dip into the ice-cold water, I’d highly advise being cautious, since landslides are pretty common near the waterfall.
How to complete the Caldeirão Verde PR9 hike
After you’ve spent some time at the Caldeirão Verde waterfall, it’s time to continue.
From here, you can choose to hike back following the exact same path or opt to proceed with the hike to the neighbouring Caldeirão do Inferno waterfall.
Though I chose to turn back at this point, I definitely believe that combining the two waterfalls is a great option, especially if you have the time and energy.
However, this isn’t for the faint of heart, as the total hike will land around the 20km mark.
Best time of day to do the Caldeirão Verde PR9 hike
Since Caldeirão Verde is one of Madeira’s most popular Levada walks, it does get pretty busy throughout the day, especially during the peak summer months.
Therefore, I believe the best time to start the PR9 hike is early in the morning. By doing so, you’ll be one of the first to arrive at the impressive Caldeirão Verde waterfall.
If you don’t necessarily feel the need to have the waterfall to yourself, then starting in the late morning or afternoon is fine too. Just make sure you get back to the trailhead before dark.
Best time of year to do the Caldeirão Verde PR9 hike
Though Madeira enjoys comfortable weather year-round, this area is known to experience significantly more rainfall than elsewhere on the island.
For that reason, the best time to do the Levada do Caldeirão Verde PR9 hike is during the peak summer months of June, July, or August, when the temperature is good, and less rainfall occurs.
Additionally, if you prefer fewer other people on the trail, opt for the shoulder months of May, September or October. During this period, you experience smaller crowds, yet still have comfortable weather conditions.
I did the Levada do Caldeirão Verde PR9 hike in early October and had excellent hiking circumstances – plus it was pretty quiet on the trail, which is awesome if you’re into photography.
What to pack for the Caldeirão Verde PR9 hike
As with any hike, I believe it’s essential that you’re well-equipped before setting out on your adventure.
For that reason, I recommend anyone who’s planning to hike the Levada do Caldeirão Verde PR9 hike to do the same. To help you have a comfortable journey, I’d highly suggest bringing the following items:
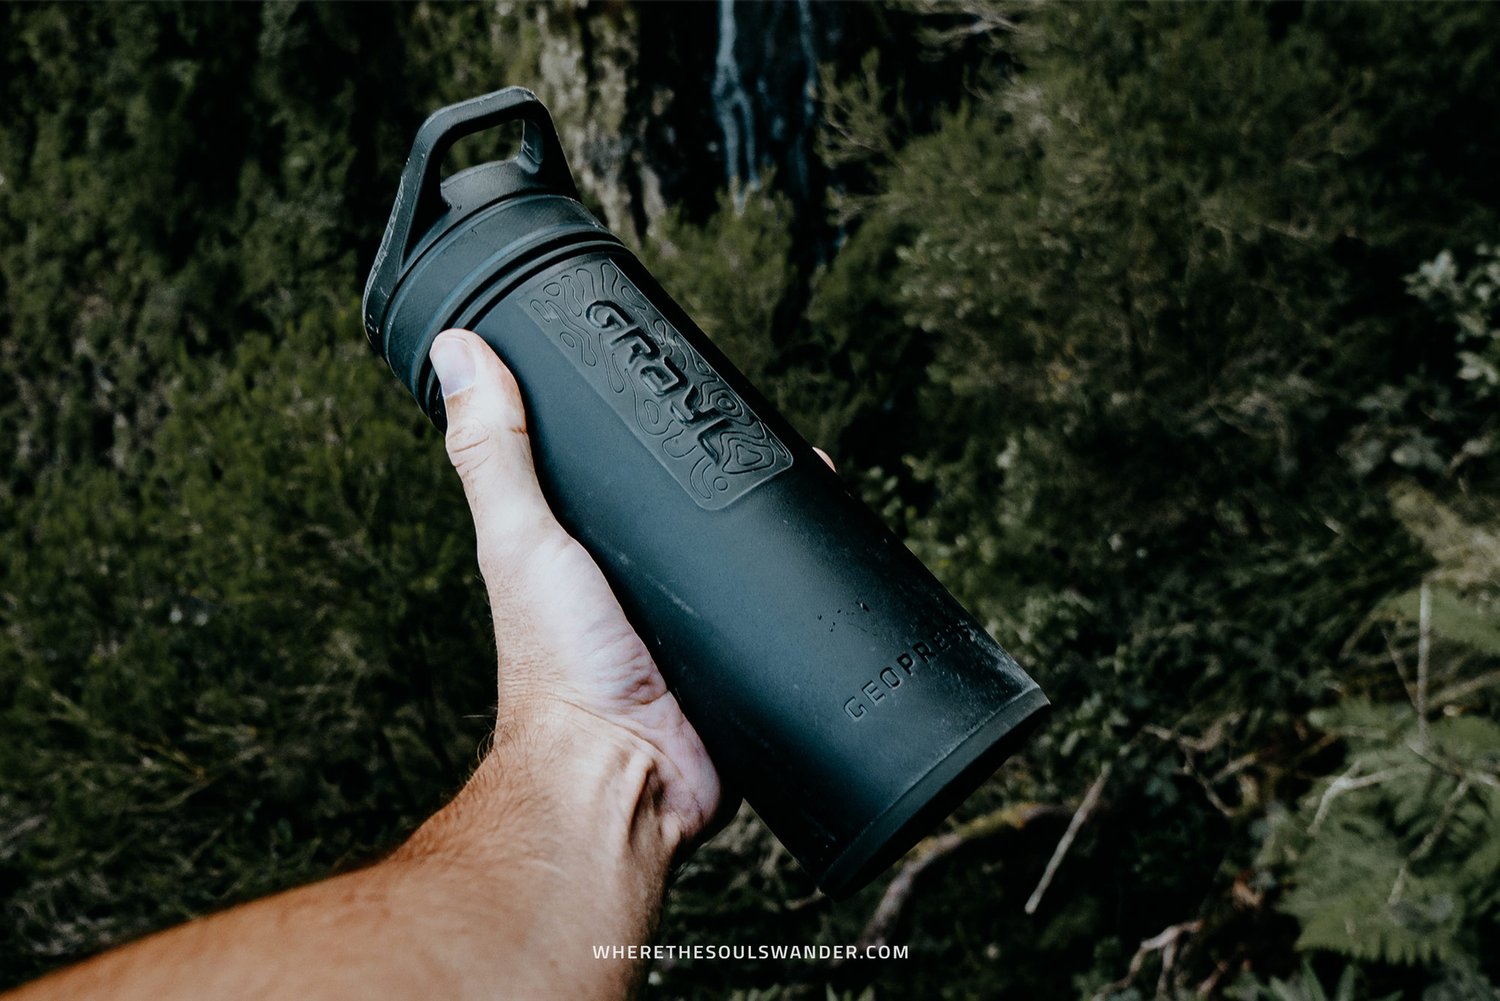
REUSABLE WATER BOTTLE | One travel essential that I carry with me at all times is the Grayl Geopress. This reusable water purification bottle allows me to fill up water from nearly every water source, making it one of my best investments to date.
HIKING BOOTS OR A GOOD PAIR OF SNEAKERS | While hiking boots definitely provide more stability to your ankles, I believe you could easily do the PR9 hike in a good pair of sneakers – just be sure that they have a firm sole with enough grip, so you’re supported when things get slippery.
HEADLAMP, FLASHLIGHT OR PHONE | The Levada do Caldeirão Verde PR9 hike is home to four tunnels, and for that reason, I’d advise you to bring one of the following light sources; a flashlight, headlamp or a fully charged phone.
SNACKS | Even though I practise intermittent fasting, and prefer to hike on an empty stomach, I always bring a few snacks to fuel me during my hikes. And I advise everyone to do the same, especially since you’ll only be able to buy something at the beginning or end of the hike. So, don’t mind bringing some fruits, nuts and a few protein bars. Also, bring enough cash to get a coffee or some snacks from the mountain hut if necessary.
HIKING POLES | I did the PR9 hike without hiking poles, but if you have poor knees or prefer a little support during the more strenuous parts of the trail, I highly advise bringing a set of quality hiking poles. These Montem Ultra Strong Hiking Poles are light, collapsible, and a great value for the price.
Where to stay on Madeira
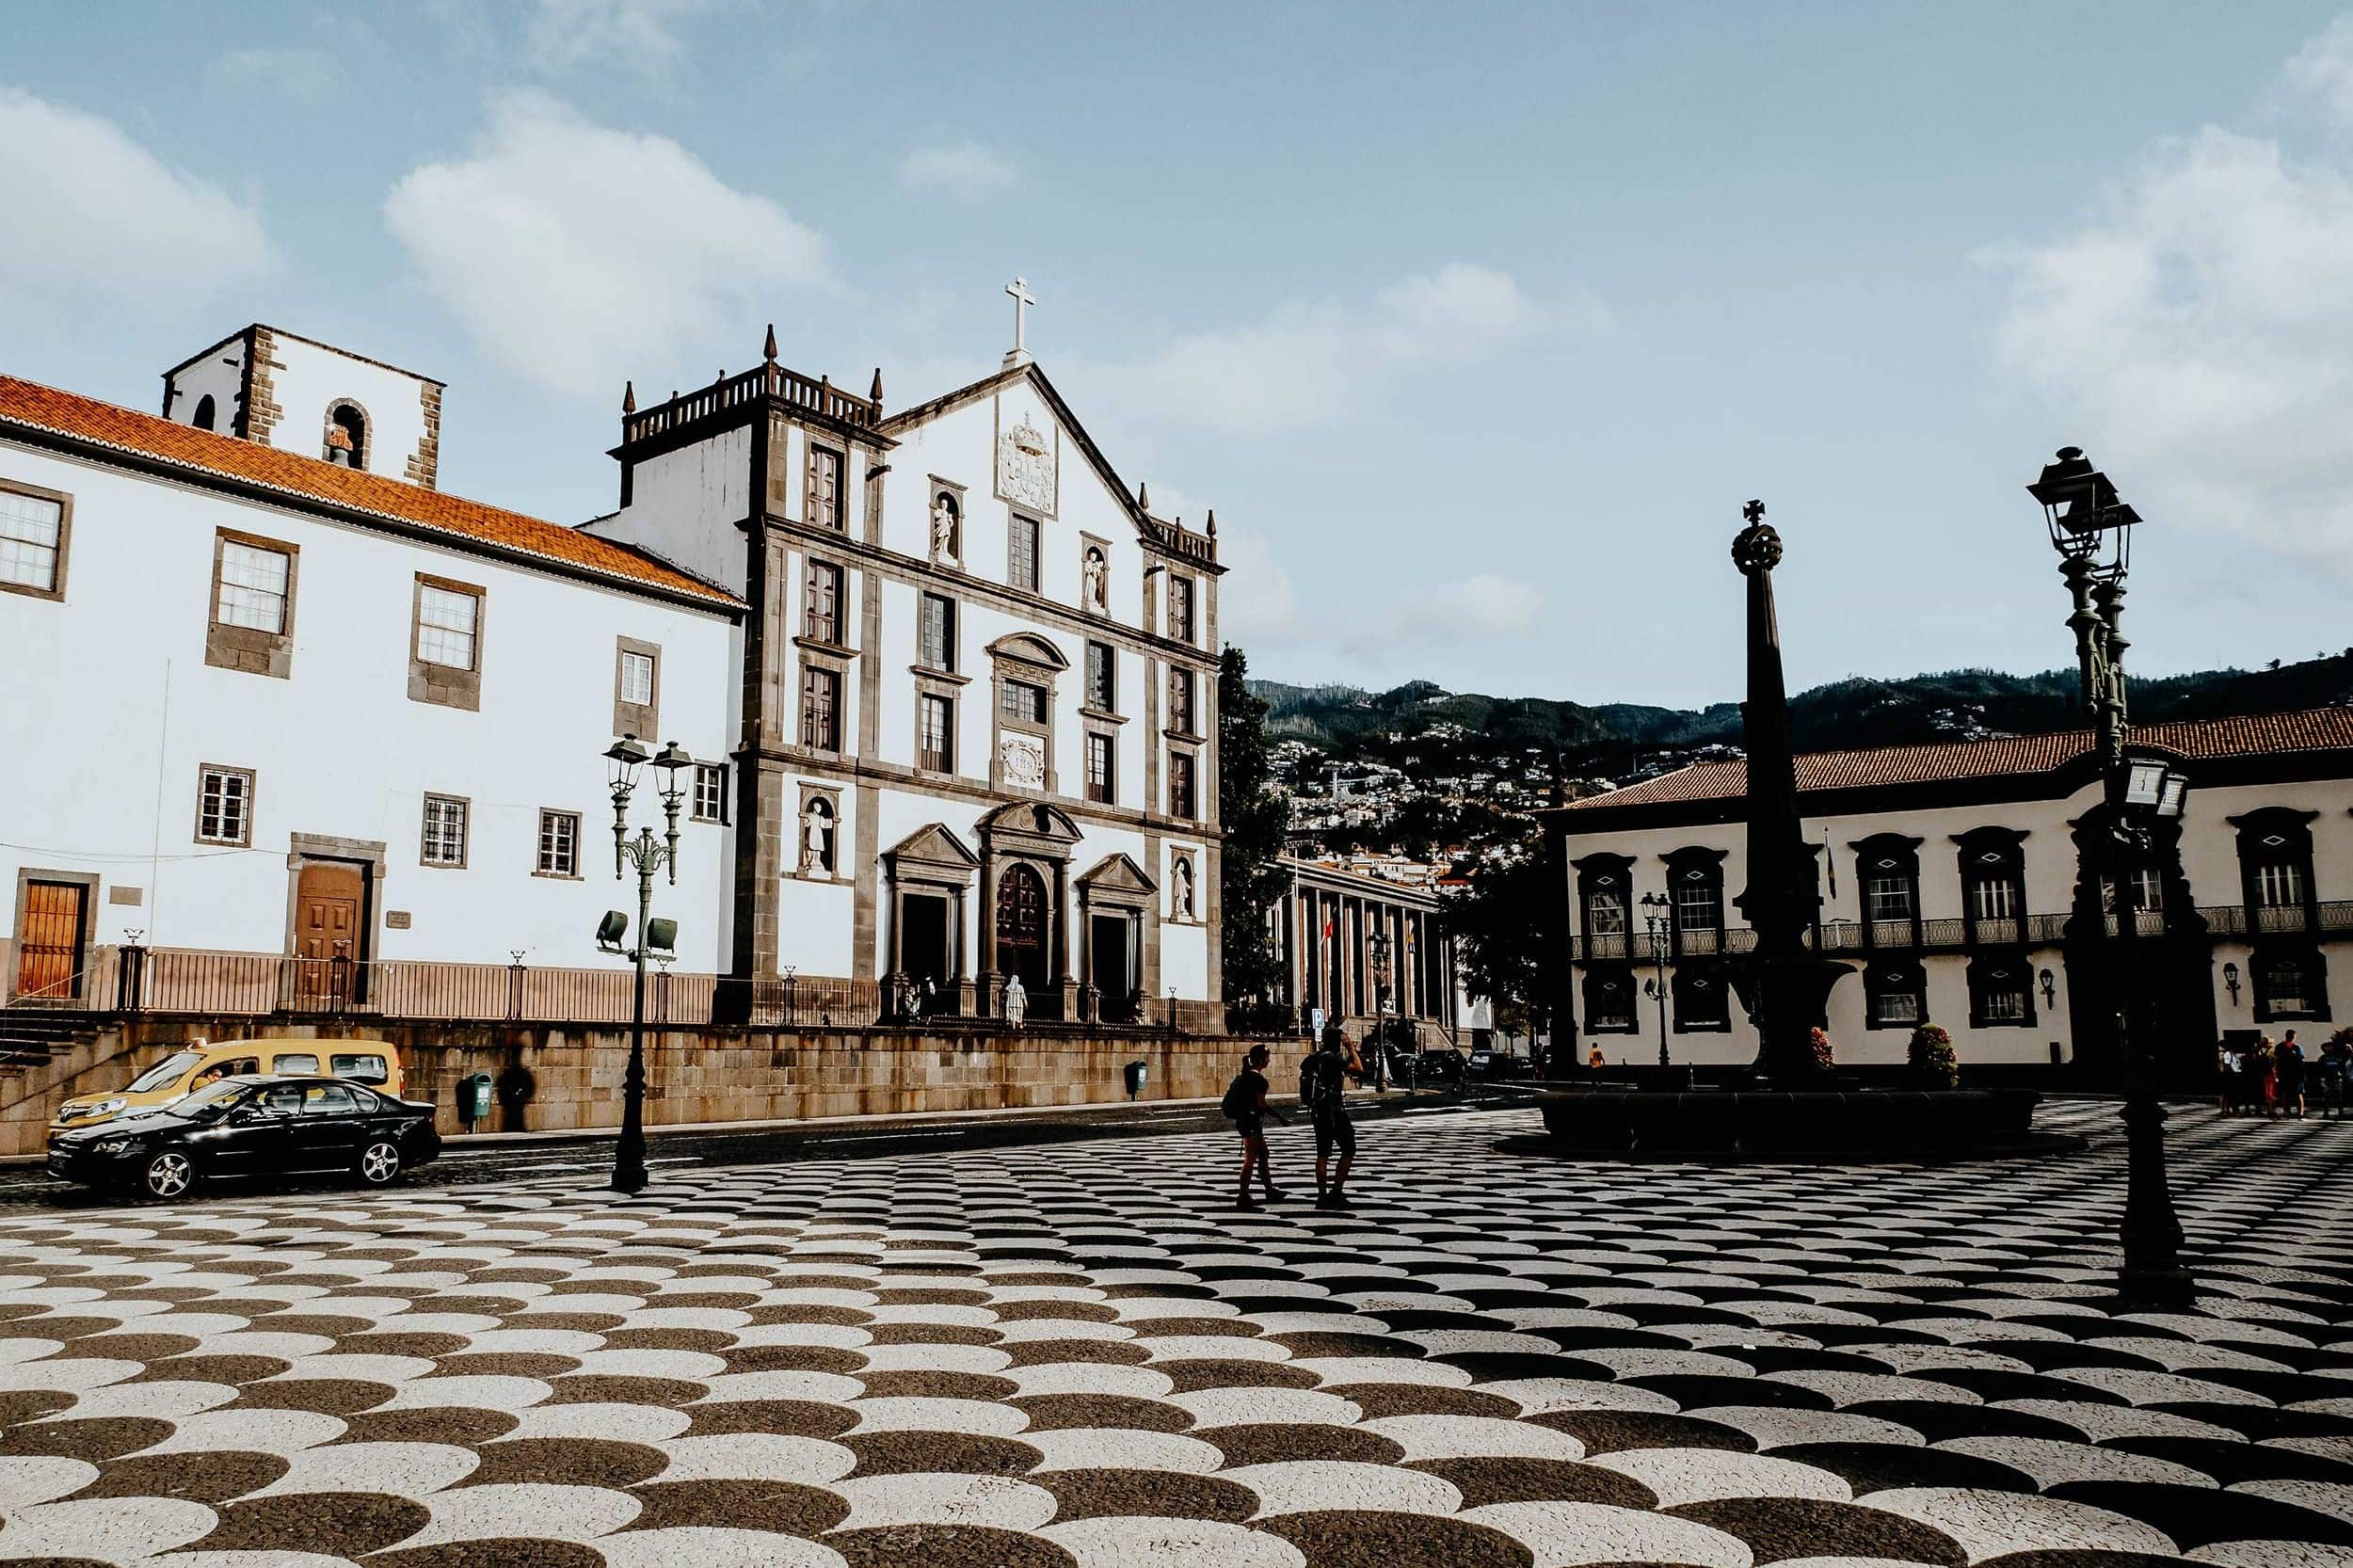
Given Madeira is rather compact, I highly recommend anyone to base themselves in Funchal, Madeira’s vibrant capital city.
Funchal is an awesome city in its own right and is home to plenty of excellent accommodation options, is packed with history and culture, plus it has trendy restaurants and cafes at just about every corner.
To help you find suitable accommodation, I’ve listed three of my favourites below, one of which is marked – this is the place where I stayed.
+ Vila Baleira | This was my base for the whole of my trip, and if you’re seeking comfort without spending your entire budget straight away, Vila Baleira will be perfect for you too. Located within the popular Lido area, this hotel offers spacious rooms, comfortable beds, a large rooftop terrace with a swimming pool. They also have a tasty breakfast spread, excellent wifi throughout the entire property, and a secured parking lot right under the property.
Hotel Cajú | Set within the heart of Funchal, Hotel Cajú is a great place to stay, with stylish double rooms, friendly staff, and a small yet excellent in-house fitness centre. All bookings come with exceptional breakfast too. One small downside though, they don’t have private parking.
NEXT – Savoy Signature | This budget-friendly hotel in the centre of Funchal has spacious modern-style rooms with comfortable double beds and a brilliant private bathroom with a rain shower. They also have an incredible rooftop swimming pool with amazing sea views. Double rooms at only €50,- per night make this place one of the best picks in Funchal.
Alternatively, search for accommodation in Funchal on booking.com.
Stay safe on Madeira | Travel insurance
Since travelling on Madeira is all about hiking and nature, I recommend everyone to sort out good travel insurance before setting out on their own adventure.
Where we prefer that everything goes smoothly during our travels, something unfortunate can happen at any moment, whether it’s an injury during a hike or an accident on the road.
For travel insurance, I use Heymondo, as they offer full covid-19 coverage, as well as a handy app with 24-hour medical assistance. Make sure you check it out – readers of WTSW receive 5% off any insurance policy too. Additionally, I also recommend World Nomads.
Keep on reading with these in-depth Madeira guides
Need more inspiration for Madeira, I’ve made plenty of guides that might interest you too.
Funchal | 9 Things to do in Funchal
Madeira Driving Essentials | A guide to driving on Madeira
The best viewpoints on Madeira | 9 Incredible viewpoints on Madeira
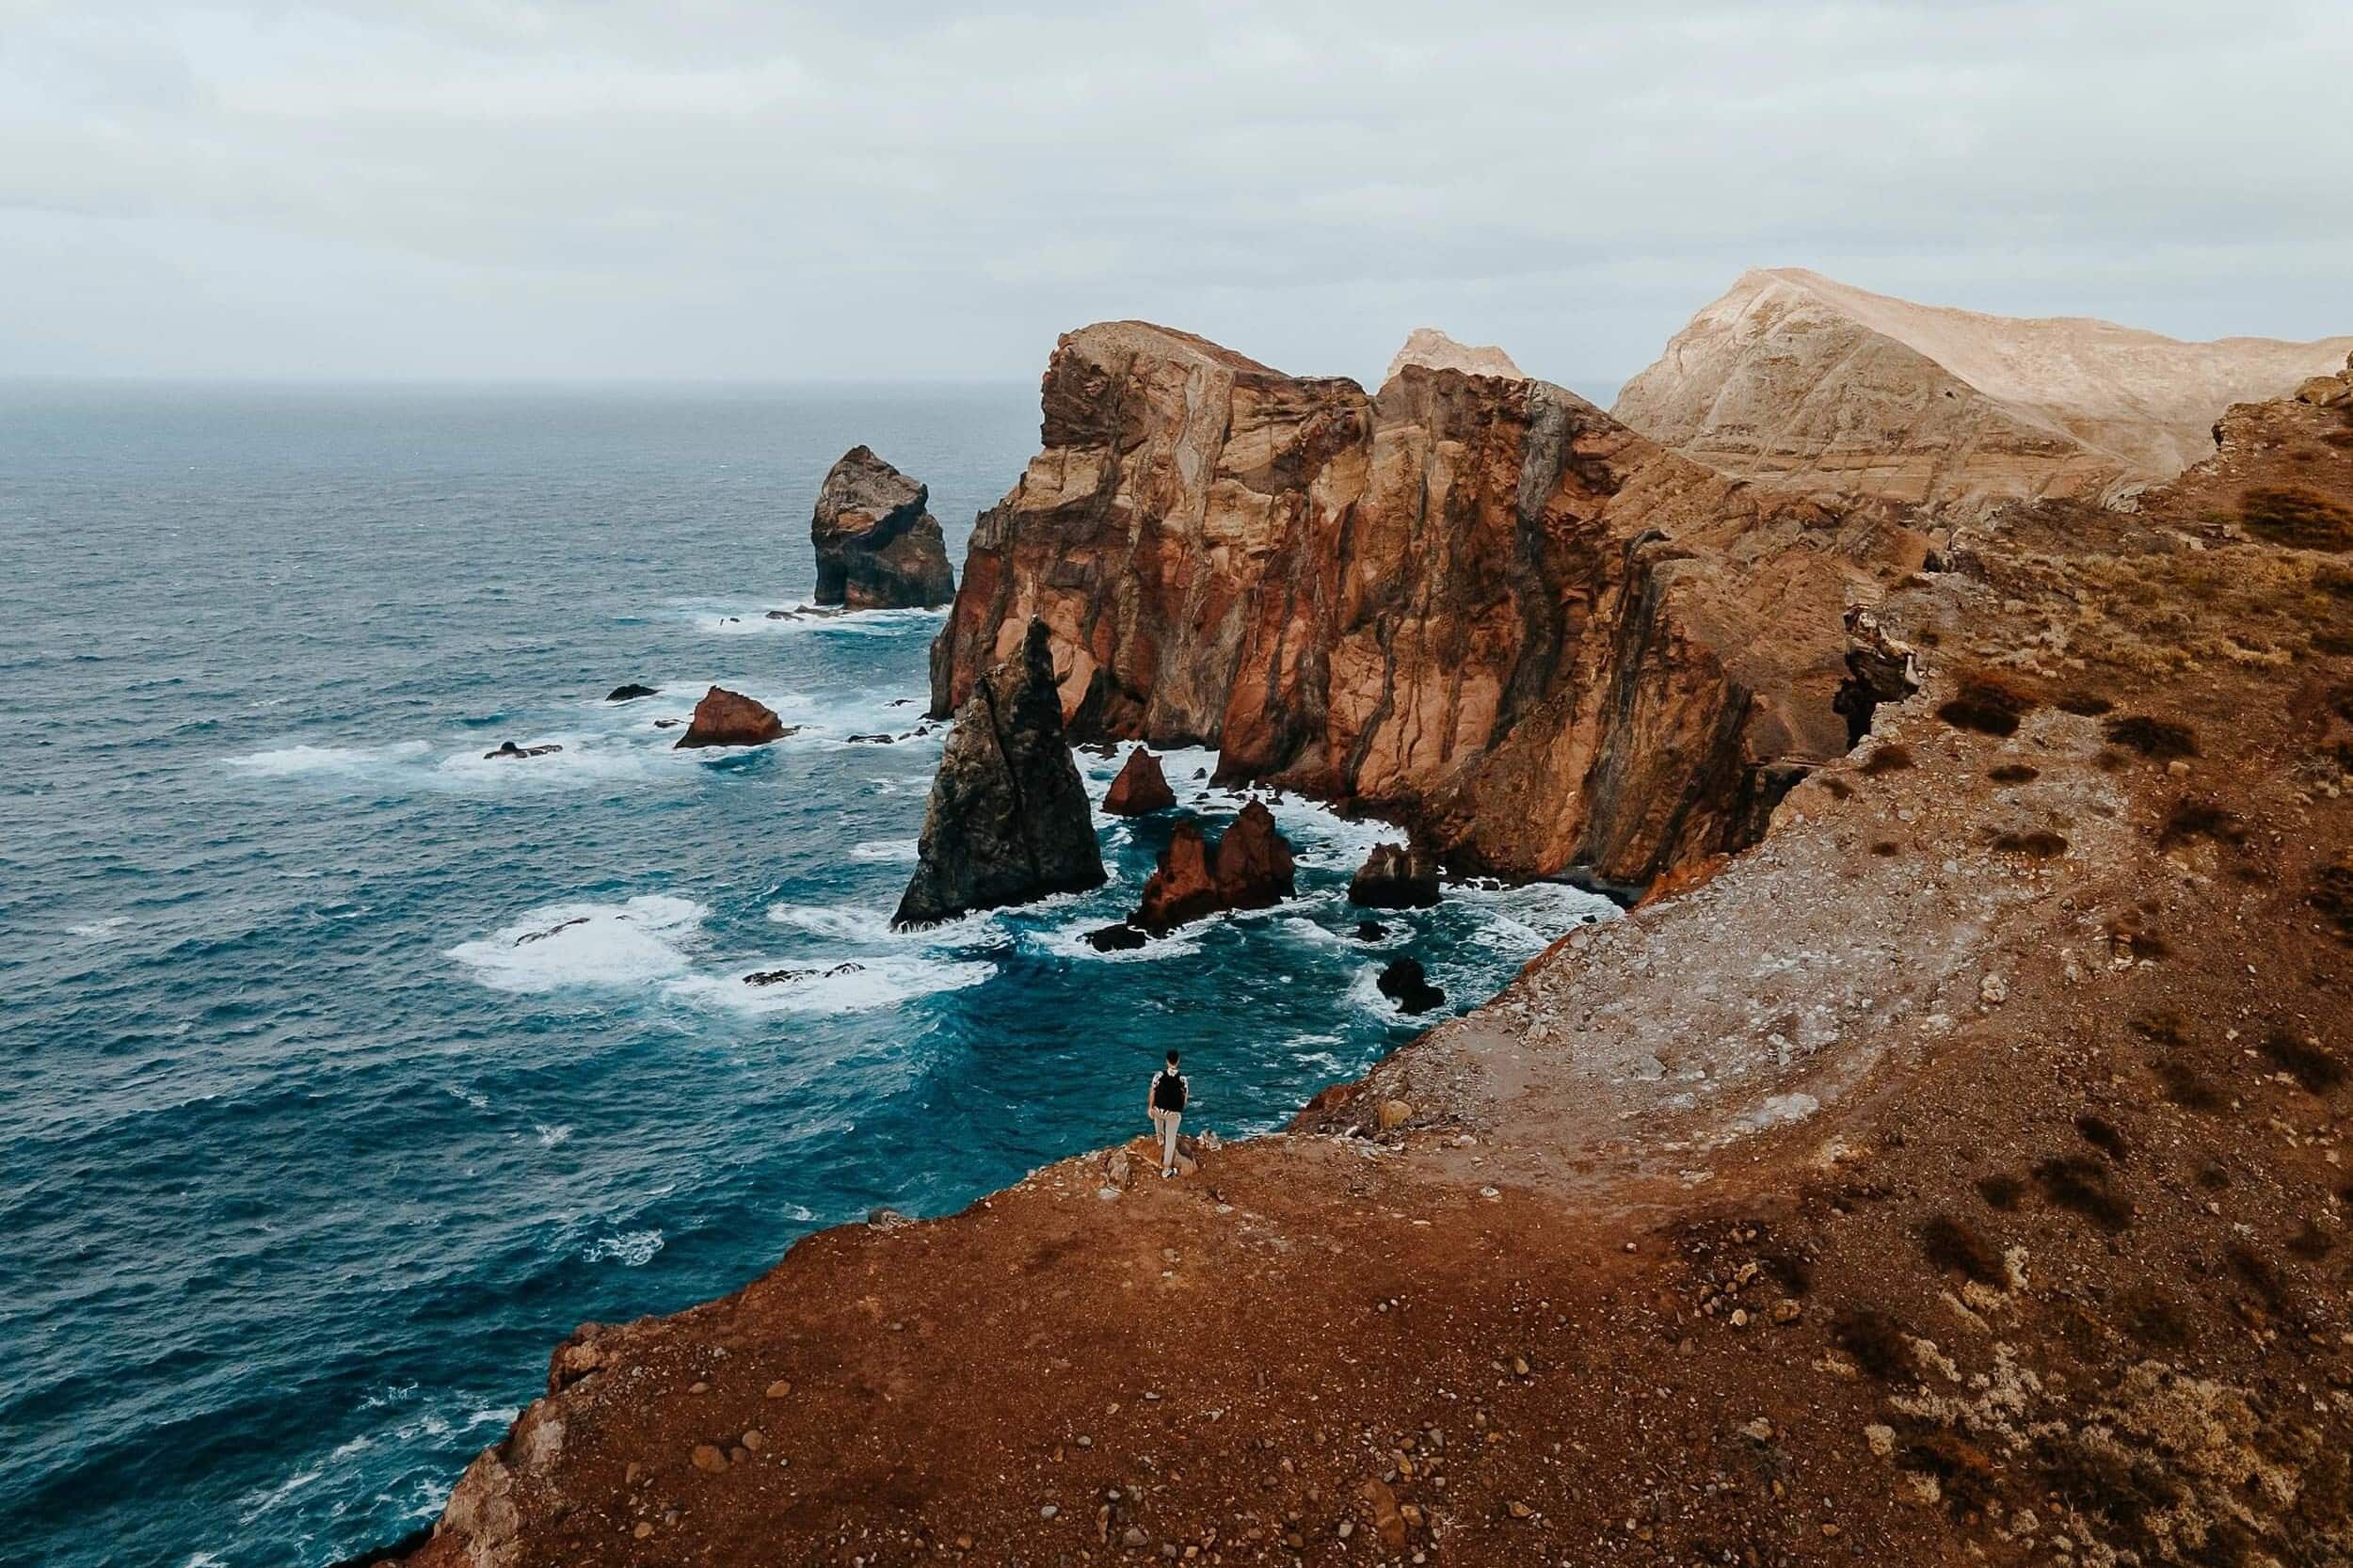
Vereda da Ponta de São Lourenço | A guide to the PR8 hike
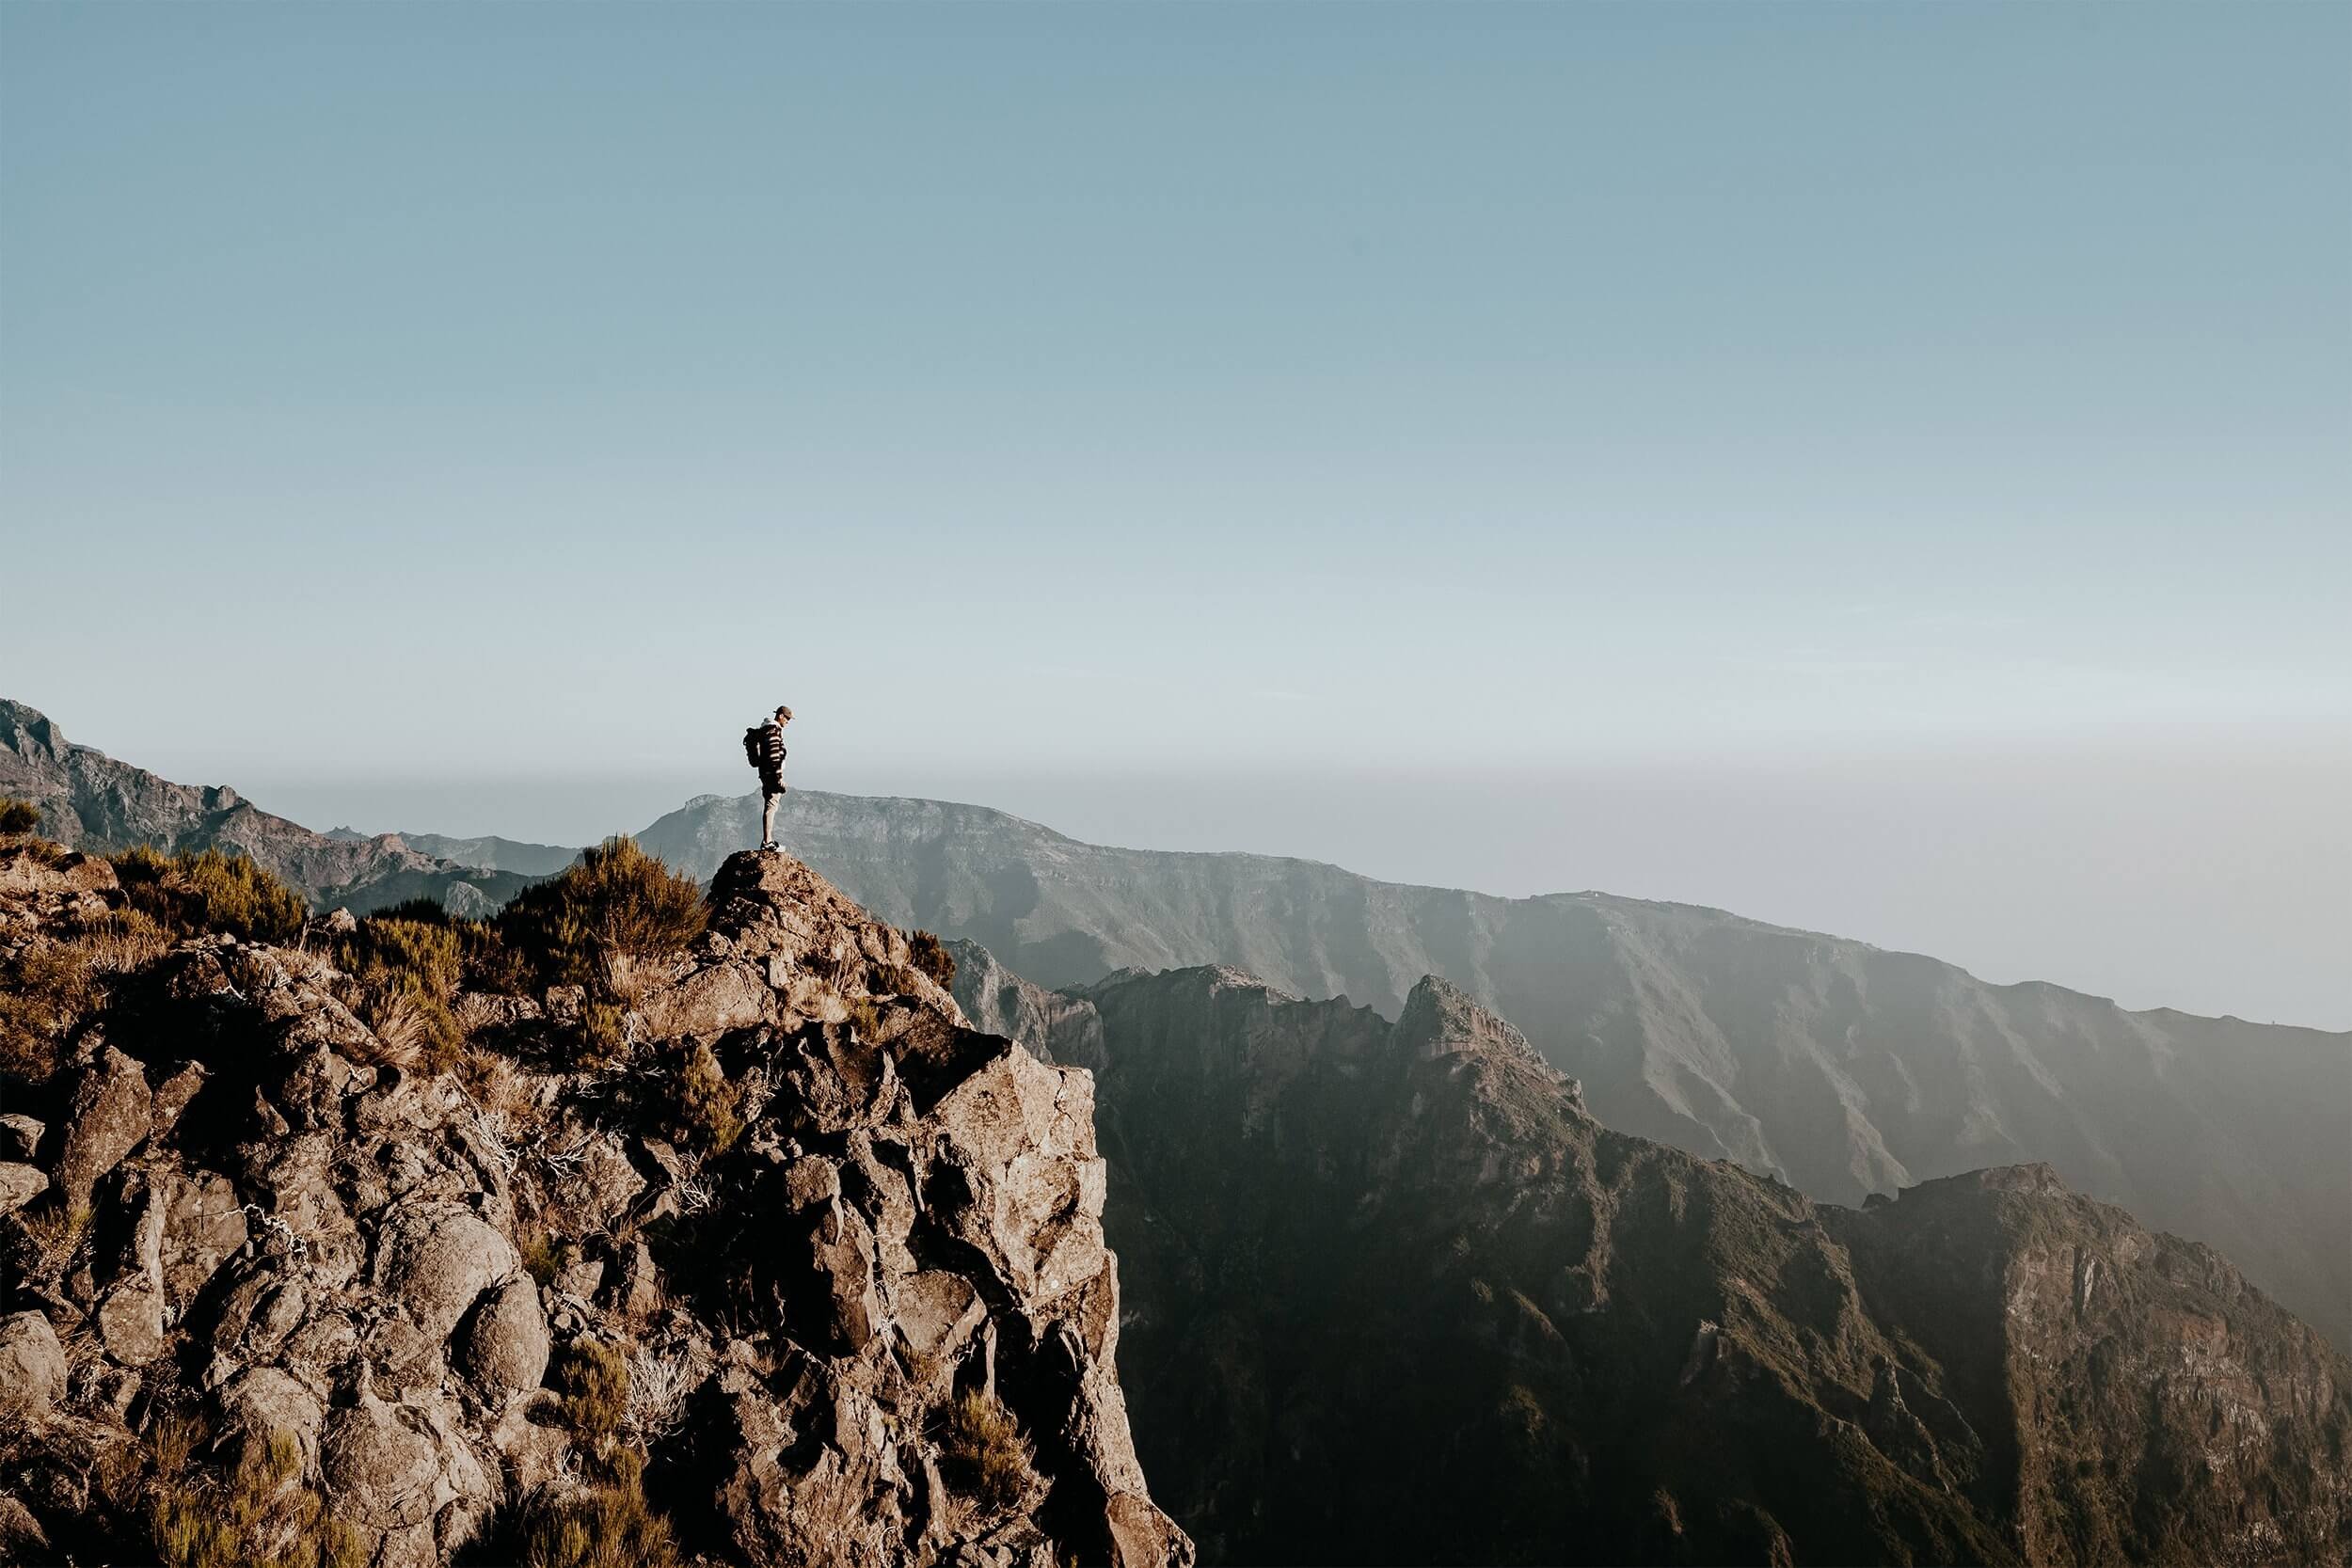
Pico do Arieiro to Pico Ruivo | A guide to the PR1 hike
Levada do Caldeirão Verde | A guide to the PR9 hike
Levada das 25 Fontes | A guide to the PR6 hike
Cheers!
I’ve been on this travel blogging journey since 2019.
If you appreciate what I do here, these are some ways you can support me.
